Einleitung
The screen is an essential component to all phones. There could be various instances when the screen of your phone begins to malfunction. The following guide will take you step by step on how to install a new screen on your Motorola Defy XT.
Was du brauchst
-
-
Wedge the plastic opening tool in between the back cover and the body of the phone in the opening denoted by the arrow.
-
-
-
Once wedged in the opening, slide the opening tool sideways around the sides of the phone.
-
Remove the back cover and set it aside.
-
-
-
Insert the opening tool between the battery and the battery holder and wedge the battery out.
-
-
-
Open the plastic cover with your finger, exposing the SD card.
-
Use the opening tool to grab the edge of the SD card and pull it straight out.
-
-
-
-
Use the Torx T4 screwdriver to remove the six 3 mm screws from the back case.
-
-
-
Use the plastic opening tool to pop the volume buttons off from the side of the phone.
-
-
-
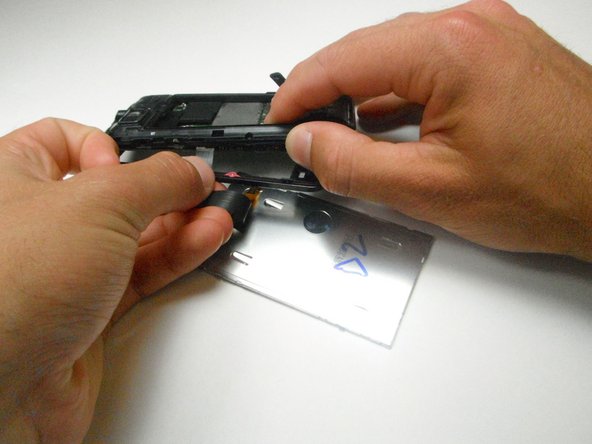
Wedge the plastic opening tool between the plastic layer and the shiny front cover.
-
-
-
Slide the plastic opening tool along the edge, wedging the the two pieces apart.
-
-
-
Slide the screen out and disconnect the ribbon cable connecting the display to the motherboard by pulling straight outward.
-


To reassemble your device, follow these instructions in reverse order.
To reassemble your device, follow these instructions in reverse order.
Rückgängig: Ich habe diese Anleitung nicht absolviert.
2 weitere Nutzer:innen haben diese Anleitung absolviert.
Team

Cal Poly, Team 2-22, Maness Spring 2013 Mitglied von Cal Poly, Team 2-22, Maness Spring 2013
CPSU-MANESS-S13S2G22
3 Mitglieder
8 Anleitungen geschrieben