Zum Hauptinhalt wechseln
Gemeinsam reparieren - Jetzt registrieren

Motorola Droid Pro Camera Replacement

Was du brauchst

  1. Motorola Droid Pro Camera Replacement, Battery: Schritt 1, Bild 1 von 1
    • Remove the back cover using the thumb tab located on the bottom of the phone.

    Frag FixBot
  2. Motorola Droid Pro Camera Replacement: Schritt 2, Bild 1 von 2 Motorola Droid Pro Camera Replacement: Schritt 2, Bild 2 von 2
    • Remove the battery using the thumb tab.

    Frag FixBot
  3. Motorola Droid Pro Camera Replacement, SD Card/SIM Card PCB Board: Schritt 3, Bild 1 von 2 Motorola Droid Pro Camera Replacement, SD Card/SIM Card PCB Board: Schritt 3, Bild 2 von 2
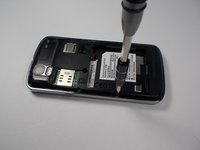
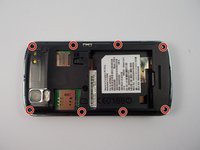
    • Using a T4 Torx driver, remove the eight 4 mm back panel screws.

    Frag FixBot
  4. Motorola Droid Pro Camera Replacement: Schritt 4, Bild 1 von 3 Motorola Droid Pro Camera Replacement: Schritt 4, Bild 2 von 3 Motorola Droid Pro Camera Replacement: Schritt 4, Bild 3 von 3
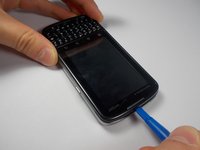
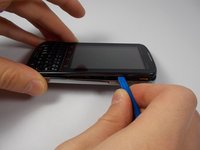
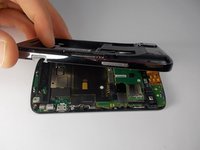
    • Use a plastic opening tool to open the phone along the sides between the front panel and the chrome trim.

    • It is held together by small clips that lock in. You may have to use extra force to unlock them.

    • Go around on all sides of the phone, unlocking the clips. Then pull the back panel off.

    Frag FixBot
  5. Motorola Droid Pro Camera Replacement: Schritt 5, Bild 1 von 2 Motorola Droid Pro Camera Replacement: Schritt 5, Bild 2 von 2
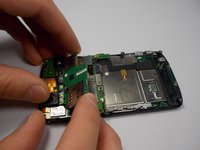
    • Gently lift the SD & SIM card board (PCB) as shown.

    • There is a ribbon cable attached underneath. Gently pull the PCB board away from the phone and it will detach easily.

    Frag FixBot
  6. Motorola Droid Pro Camera Replacement, Motherboard: Schritt 6, Bild 1 von 2 Motorola Droid Pro Camera Replacement, Motherboard: Schritt 6, Bild 2 von 2
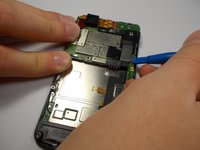
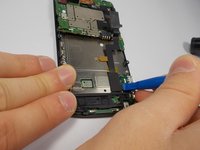
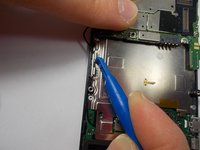
    • Use your plastic opening tool to disconnect the motherboard/keyboard ribbon cable.

    • There are small tabs on the side of the connectors to wedge your tool under.

    Frag FixBot
  7. Motorola Droid Pro Camera Replacement: Schritt 7, Bild 1 von 2 Motorola Droid Pro Camera Replacement: Schritt 7, Bild 2 von 2
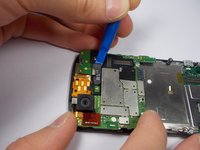
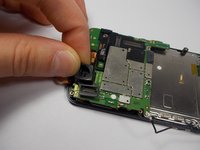
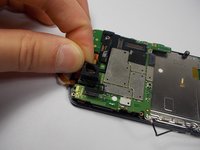
    • Use your plastic opening tool to disconnect the two ribbon cables at the top of the phone.

    Frag FixBot
  8. Motorola Droid Pro Camera Replacement: Schritt 8, Bild 1 von 2 Motorola Droid Pro Camera Replacement: Schritt 8, Bild 2 von 2
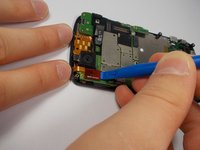
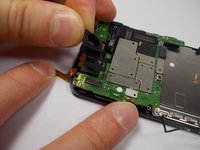
    • Disconnect the 2nd keyboard connector from the motherboard and remove it from its side holders.

    • This cable is fragile so be careful when disconnecting and moving it around.

    Frag FixBot
  9. Motorola Droid Pro Camera Replacement: Schritt 9, Bild 1 von 1
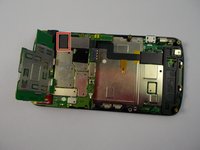
    • Use a T5 Torx Screwdriver to unscrew the 2mm screw.

    Frag FixBot
  10. Motorola Droid Pro Camera Replacement: Schritt 10, Bild 1 von 3 Motorola Droid Pro Camera Replacement: Schritt 10, Bild 2 von 3 Motorola Droid Pro Camera Replacement: Schritt 10, Bild 3 von 3
    • Remove the camera's rubber seal by pulling it off. It is not connected to anything.

    Frag FixBot
  11. Motorola Droid Pro Camera Replacement: Schritt 11, Bild 1 von 2 Motorola Droid Pro Camera Replacement: Schritt 11, Bild 2 von 2
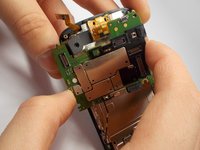
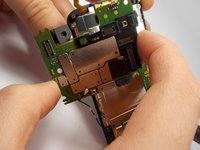
    • To remove the motherboard, pull it to the side. The camera that is connected to the motherboard does not pull straight up and out from its holder.

    Frag FixBot
  12. Motorola Droid Pro Camera Replacement, Camera: Schritt 12, Bild 1 von 3 Motorola Droid Pro Camera Replacement, Camera: Schritt 12, Bild 2 von 3 Motorola Droid Pro Camera Replacement, Camera: Schritt 12, Bild 3 von 3
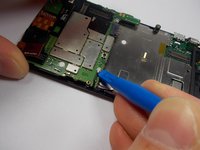
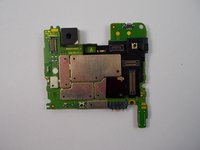
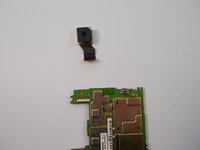
    • The camera is located on the back side of PCB board.

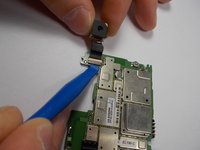
    • Flip the board over and you will see that the camera is connected by a ribbon cable.

    • Unlock the cable by using a plastic remover tool then pull the camera out.

    • Insert the new camera and re lock the ribbon cable.

    • Do not use excessive force and make sure the cameras ribbon cable gets properly re seated.

    Frag FixBot
Abschluss

To reassemble your device, follow these instructions in reverse order.

2 weitere Personen haben diese Anleitung absolviert.

Team

UMass Dartmouth, Team 1-6, Miles Fall 2015 Mitglied von UMass Dartmouth, Team 1-6, Miles Fall 2015

UMASSD-MILES-F15S1G6

3 Mitglieder

12 Anleitungen geschrieben

0 Kommentare zur Anleitung

Kommentar hinzufügen

Seitenaufrufe:

Letzte 24 Stunden: 0

Letzte 7 Tage: 5

Letzte 30 Tage: 35

Insgesamt: 367