Diese Version enthält möglicherweise inkorrekte Änderungen. Wechsle zur letzten geprüften Version.
Was du brauchst
-
Dieser Schritt ist noch nicht übersetzt. Hilf mit, ihn zu übersetzen!
-
To take off the Keyboard there are three tabs at the top of the Keyboard in the locations shown in the picture that you must press and unclip. They are located behind each of the keys that are removed.
-
-
Dieser Schritt ist noch nicht übersetzt. Hilf mit, ihn zu übersetzen!
-
You can use a small metal spudger to depress each tab to avoid scratching the keyboard.
-
-
Dieser Schritt ist noch nicht übersetzt. Hilf mit, ihn zu übersetzen!
-
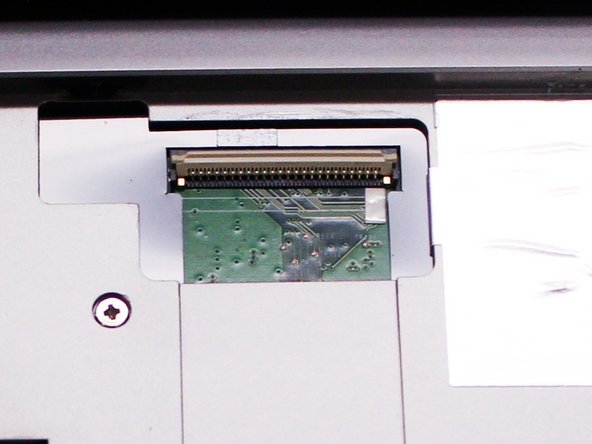
Lift up keyboard so that you are able to see the ribbon cable connected to the contact.
-
-
Dieser Schritt ist noch nicht übersetzt. Hilf mit, ihn zu übersetzen!
-
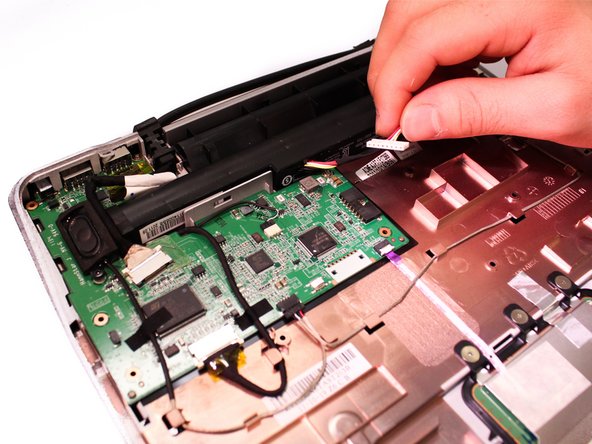
Flip up the ZIF connector holding the ribbon cable on the contact as shown in the two pictures and then gently disconnect the ribbon cable.
-
-
Dieser Schritt ist noch nicht übersetzt. Hilf mit, ihn zu übersetzen!
-
After we remove the Keyboard, you can clearly see the screws under it. Remove the ten 3mm long phillips head screws.
-
-
-
Dieser Schritt ist noch nicht übersetzt. Hilf mit, ihn zu übersetzen!
-
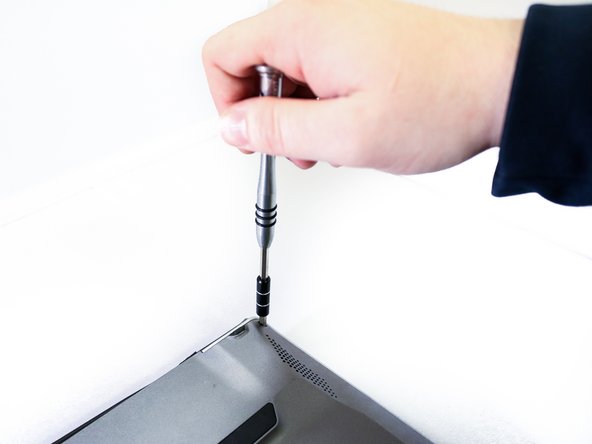
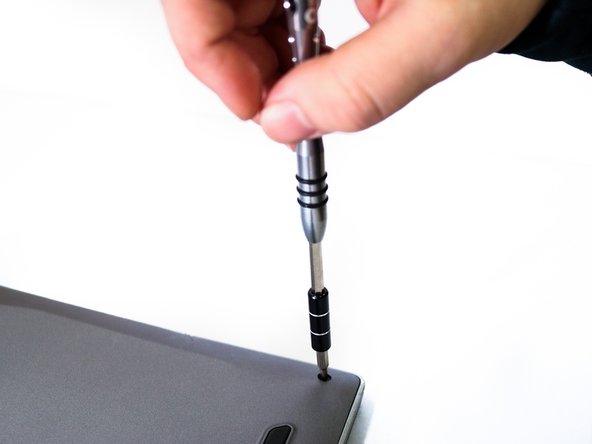
Flip over the Lapdock and remove the four 3.5mm long phillips head screws from the bottom.
-
-
Dieser Schritt ist noch nicht übersetzt. Hilf mit, ihn zu übersetzen!
-
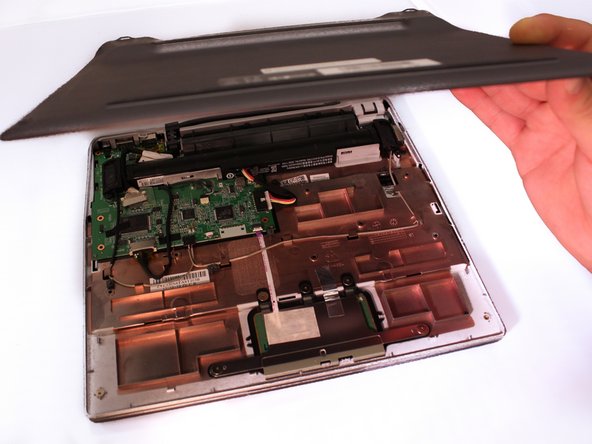
Use a plastic prying tool to take off the bottom case. Make sure that all of the clips are unclipped before trying to remove the case.
-
-
Dieser Schritt ist noch nicht übersetzt. Hilf mit, ihn zu übersetzen!
-
Unplug battery from motherboard.
-
-
Dieser Schritt ist noch nicht übersetzt. Hilf mit, ihn zu übersetzen!
-
Disconnect the two wires that attach to the screen.
-
-
Dieser Schritt ist noch nicht übersetzt. Hilf mit, ihn zu übersetzen!
-
Now flip the lapdock back over. Using a plastic prying tool, unclip and remove the small plastic cover at the top of the lapdock.
-
-
Dieser Schritt ist noch nicht übersetzt. Hilf mit, ihn zu übersetzen!
-
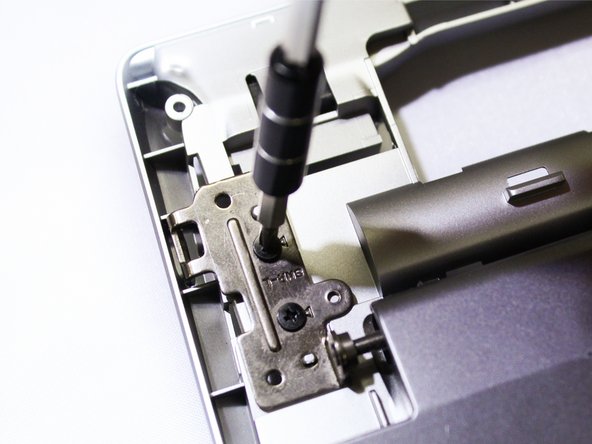
Remove the four 3.5 mm long phillips head screws from the two screen flanges holding the screen.
-


Rückgängig: Ich habe diese Anleitung nicht absolviert.
Ein:e weitere:r Nutzer:in hat diese Anleitung absolviert.
Team

Eastern Washington University, Team 1-3, Rowley Winter 2016 Mitglied von Eastern Washington University, Team 1-3, Rowley Winter 2016
EWU-ROWLEY-W16S1G3
4 Mitglieder
8 Anleitungen geschrieben