Einleitung
This guide will help with the replacement of a broken or faulty motherboard.
Before you begin, download the Rescue and Smart Assistant app to backup your device and diagnose whether your problem is software or hardware related.
Was du brauchst
-
-
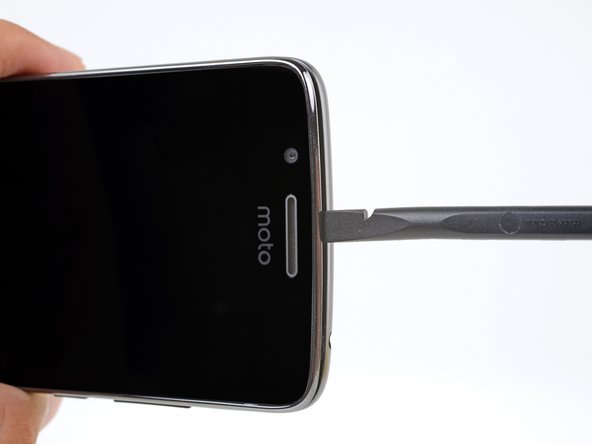
Insert your fingernail or the flat end of a spudger into the notch on the bottom edge of the phone near the charging port.
-
Pry with your fingernail or twist the spudger to release the back cover from the phone.
-
-
-
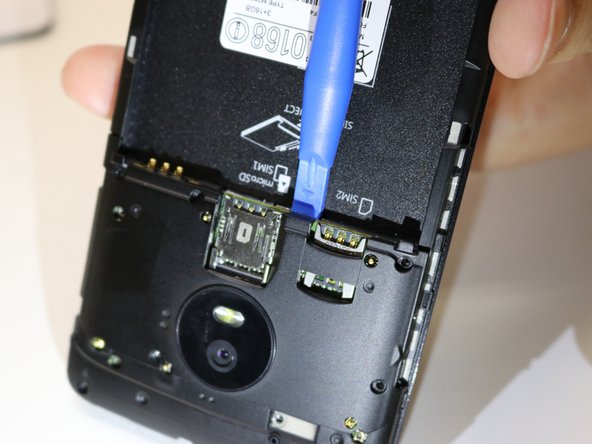
Insert the flat end of a spudger into the seam and slide it along the bottom edge to release the clips holding the back cover to the phone.
-
-
-
Continue sliding the flat end of the spudger along the seam for the remaining sides of the phone.
-
-
-
-
Insert your fingernail or the flat end of the spudger into the notch below the battery.
-
Pry with your fingernail or spudger until you free the battery from its recess.
-
-
-
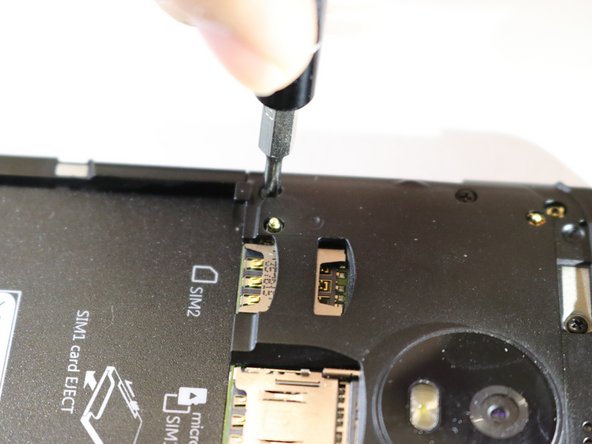
Remove the eight (8) 4mm screws with a Phillips screwdriver.
-
-
-
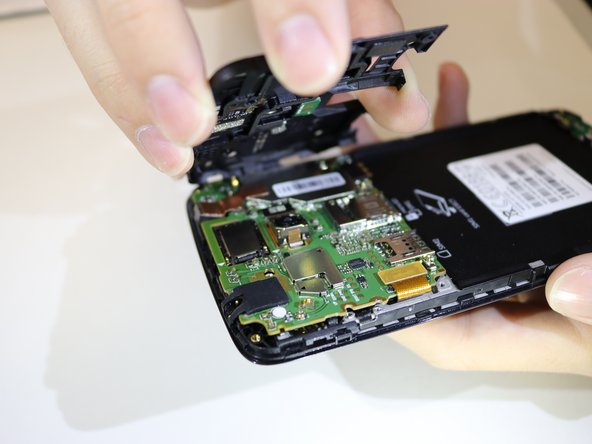
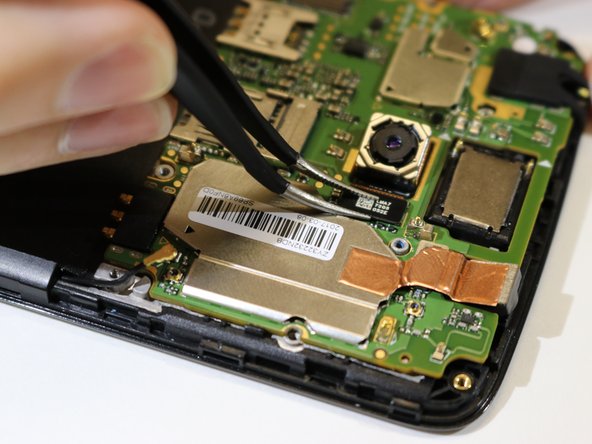
Disconnect the marked connector with a pair of tweezers and remove the camera piece.
-
-
-
Remove the two 4mm screws shown in the picture using a Phillips #00 screwdriver.
-
-
-
Unplug the back connector from the motherboard using tweezers.
-








To reassemble your device, follow these instructions in reverse order.
To reassemble your device, follow these instructions in reverse order.
Rückgängig: Ich habe diese Anleitung nicht absolviert.
11 weitere Personen haben diese Anleitung absolviert.



Team

Cal Poly, Team S2-G3, Livingston Winter 2018 Mitglied von Cal Poly, Team S2-G3, Livingston Winter 2018
CPSU-LIVINGSTON-W18S2G3
4 Mitglieder
16 Anleitungen geschrieben
2 Kommentare
is a xt1670 logic board compatible with a xt1671 phone?
While disassembling I accidentally broke off one of the antenna "pins" (the one under the audio jack). I'll try to solder it on again, but in case I cannot, you think it will affect its proper operation too much? I cannot test it right now as I am waiting a replacement side buttons board.
