Diese Anleitung enthält neuere Änderungen. Wechsel zur neuesten unüberprüften Version.
Einleitung
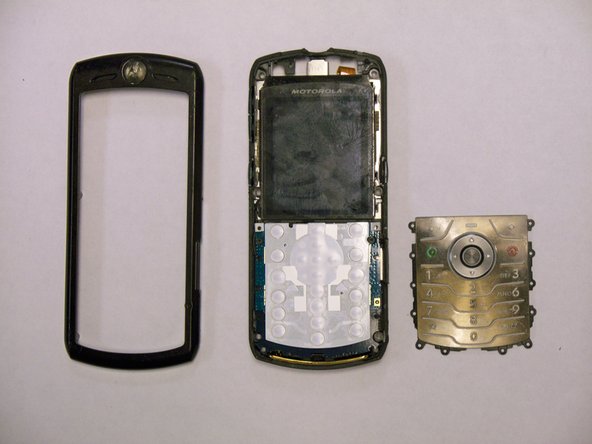
Use this guide to replace the keypad.
Was du brauchst
-
-
Push down on the black tab located at the top center of the Motorola phone
-
-
-
-
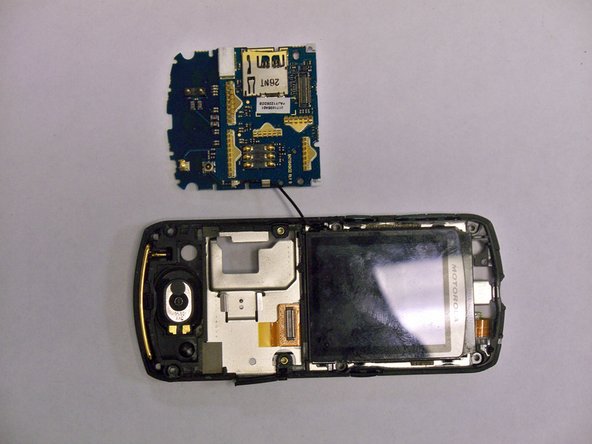
Carefully, disconnect the two connectors from their sockets on the motherboard using the flat end of a spudger.
-
-
-
Use a spudger to pry the antenna cable connectors from its respective socket on the motherboard.
-
De-route the antenna cable by pulling it out.
-
-
-
Starting at one side, use a spudger to lift and remove the black plastic screw cover at the bottom of the phone near the speaker
-
The cover is attached by several clips, so some force may be required, especially to unclip the first clip.
-
Be careful not to loose the round plastic piece that covers the microphone.
-
-
-
Starting at the top, insert the flat end of a spudger and pry the frame of the phone.
-
The frame is attached by several clips, so some force may be required to dislodge the first clip.
-
Work your tool around the entire edge of the phone, moving as soon as you hear a clip come undone, to avoid breaking the frame.
-
-
-
Carefully, Insert the flat end of a spudger and pry the keyboard up off the phone.
-


To reassemble your device, follow these instructions in reverse order.
To reassemble your device, follow these instructions in reverse order.
Rückgängig: Ich habe diese Anleitung nicht absolviert.
2 weitere Nutzer:innen haben diese Anleitung absolviert.
Team

CSU Los Angeles, Team 1-1, Nelson Spring 2011 Mitglied von CSU Los Angeles, Team 1-1, Nelson Spring 2011
CSULA-NELSON-S11S1G1
2 Mitglieder
4 Anleitungen geschrieben