Diese Version enthält möglicherweise inkorrekte Änderungen. Wechsle zur letzten geprüften Version.
Was du brauchst
-
Dieser Schritt ist noch nicht übersetzt. Hilf mit, ihn zu übersetzen!
-
At the base of the antenna, use your fingers to unscrew the stem counterclockwise.
-
The antenna will pull out with little effort.
-
-
Dieser Schritt ist noch nicht übersetzt. Hilf mit, ihn zu übersetzen!
-
On the back of the phone, locate the tab with the down arrow.
-
Using your finger, press the tab and slide the back cover down to release it from the phone.
-
-
Dieser Schritt ist noch nicht übersetzt. Hilf mit, ihn zu übersetzen!
-
Inserting your finger in the recess at the top edge of the battery, pull the battery away from the housing to remove it.
-
-
-
Dieser Schritt ist noch nicht übersetzt. Hilf mit, ihn zu übersetzen!
-
Locate the three screws that secure the back battery housing to the phone.
-
Use a Torx T6 screwdriver to unscrew the screws and then remove them with your fingers.
-
-
Dieser Schritt ist noch nicht übersetzt. Hilf mit, ihn zu übersetzen!
-
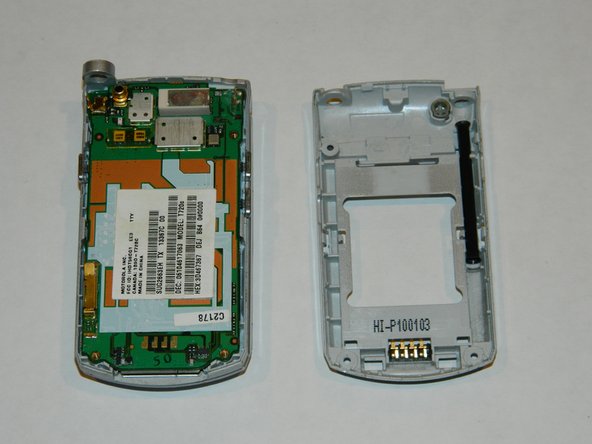
Using a spudger (not shown), separate by gently prying the front from the back of the phone housing.
-
Remove the back.
-
-
Dieser Schritt ist noch nicht übersetzt. Hilf mit, ihn zu übersetzen!
-
In the same direction you would flip open the phone, use your finger to gently lift the circuit board from the plastic keypad.
-
-
Dieser Schritt ist noch nicht übersetzt. Hilf mit, ihn zu übersetzen!
-
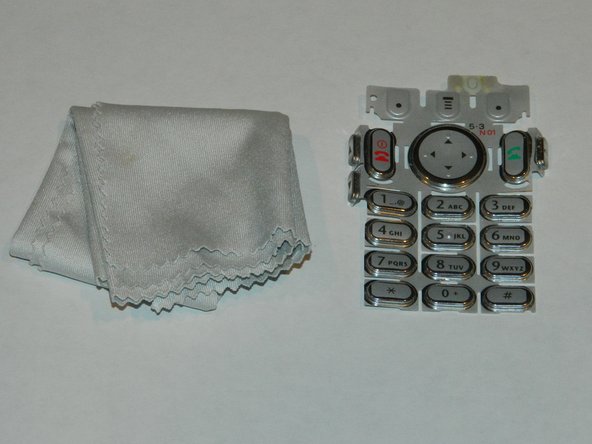
While avoiding contact with the inner electronics, use the spudger to lift the plastic keypad from the phone.
-
-
Dieser Schritt ist noch nicht übersetzt. Hilf mit, ihn zu übersetzen!
-
Using a lens cloth, wipe away any build-up on or between the keys.
-
Wait for the keypad to dry before reassembling.
-


Team

University of Maine, Team 1-4, Diaz Fall 2012 Mitglied von University of Maine, Team 1-4, Diaz Fall 2012
UMAINE-DIAZ-F12S1G4
5 Mitglieder
6 Anleitungen geschrieben