Einleitung
Common problems with the screen may include (and are not limited to): dead pixels, images not properly displaying, device isn’t turning on, nothing is showing on the display, etc. When your device isn’t properly displaying images or if there are ‘dead pixels’ in your device, your screen may need to be replaced.
If your Motorola Xoom 2's (MZ615-16) screen is damaged and in need of a replacement this guide can help. Use caution when working on this part because the screen is very fragile.
Was du brauchst
-
-
Pry off the silver top back cover (the panel around the camera) with iFixit opening picks or a similar implement.
-
-
-
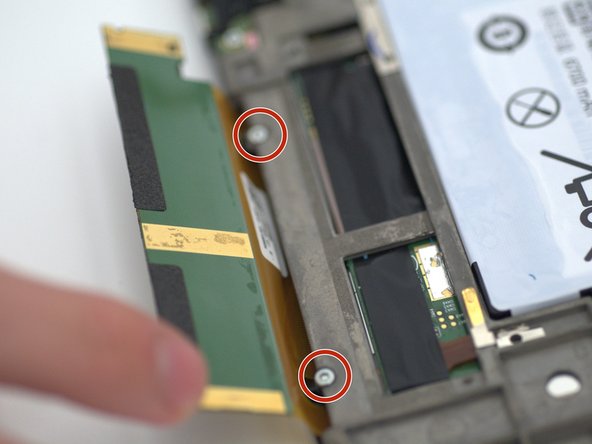
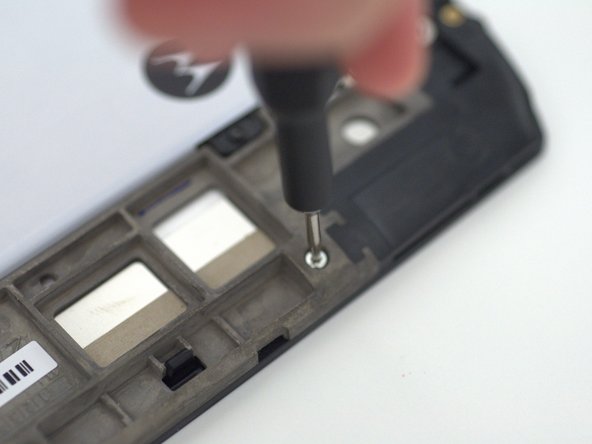
Using a T5 screwdriver, unscrew the four 1.5mm screws holding the main back cover. These screws are arranged in a line across the top of the back of the device.
-
-
-
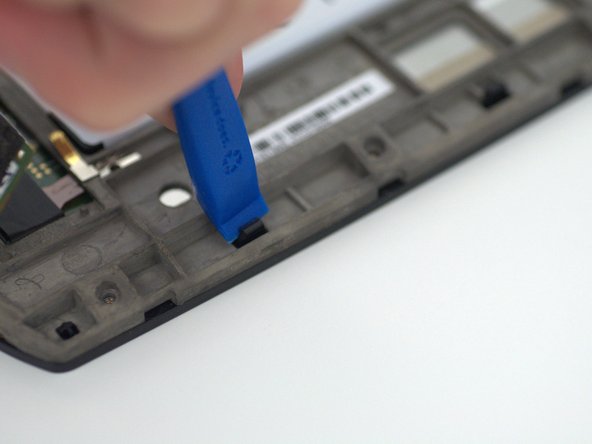
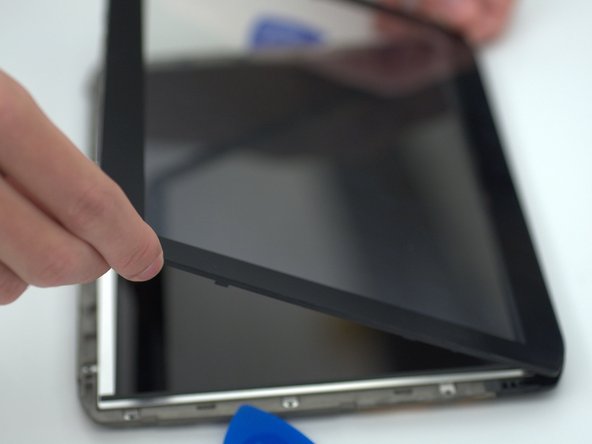
Turn the device over and using a pry tool and the opening picks, gently apply pressure between the outside edge of the seal marked with the arrow. Slowly move around the edges of the device, applying even pressure, and separate the back plate from the display.
-
-
-
-
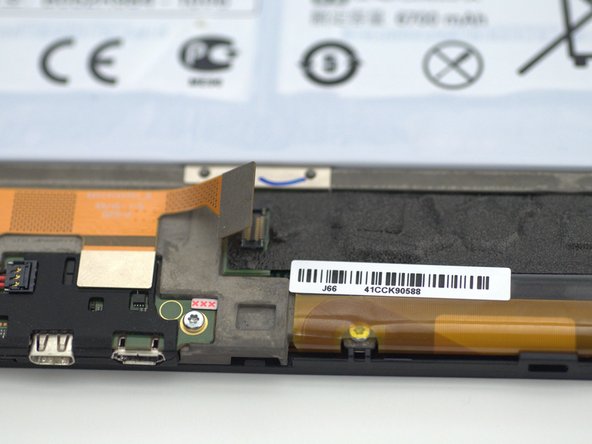
Using a pry tool, gently un-clip the orange ribbon cable attached to the left of the digitizer connector and fold the digitizer connector away from the device.
-
-
-
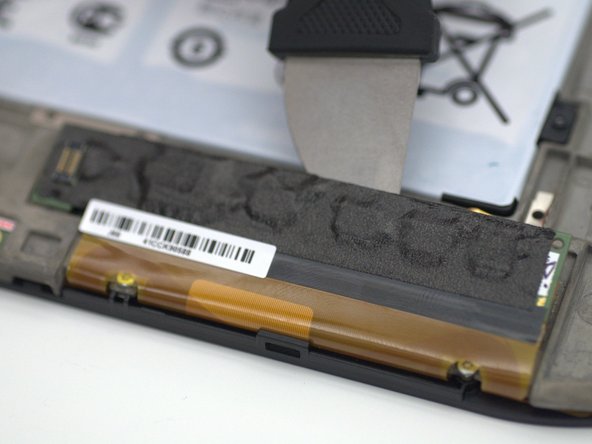
Using a pry tool, gently apply force along the crevice between the digitizer board and the chassis.
-
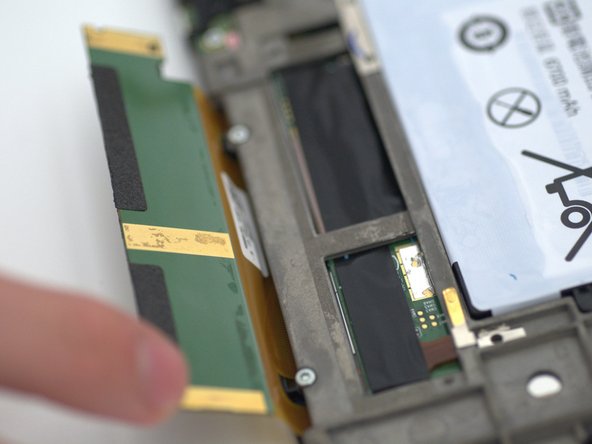
Using your fingers, gently bend the digitizer board to the position.
-
-
-
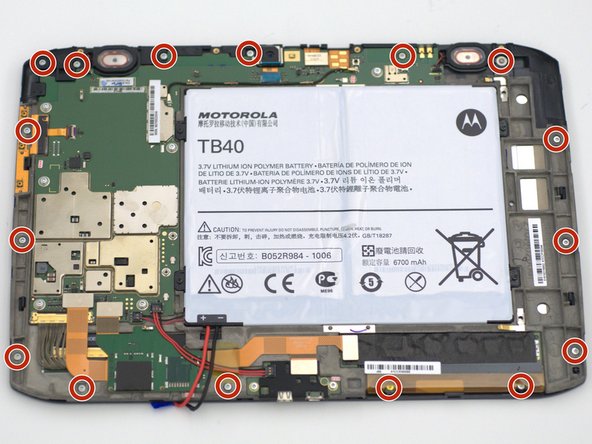
Using a prying tool, unclip the four black plastic tabs on the shorter edges of the device.
-
-
-
Carefully flip the device over and unfold the digitizer connector out from under the device.
-
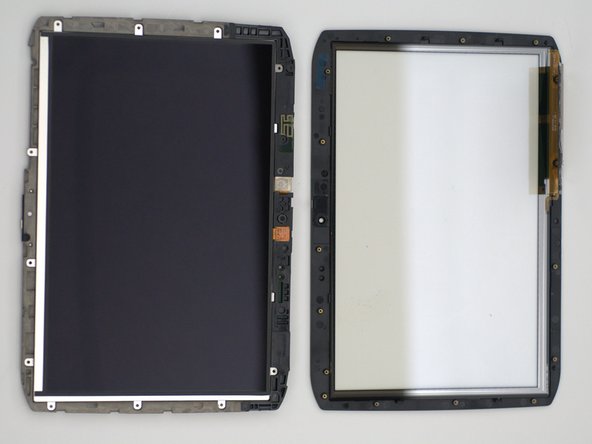
Gently lift up on the bottom edge of the digitizer to remove it from the device.
-
-
-
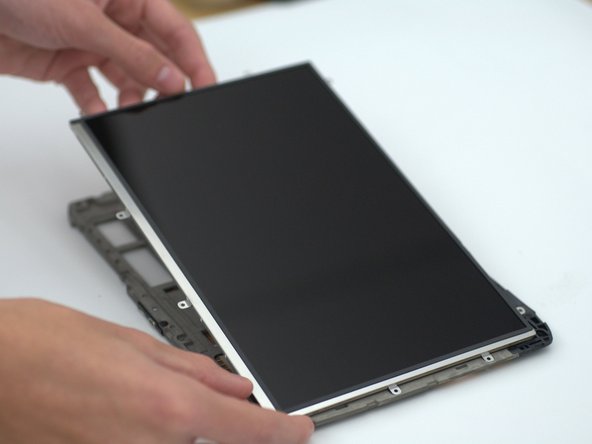
Using an opening pick, gently lift the LCD from the casing.
-
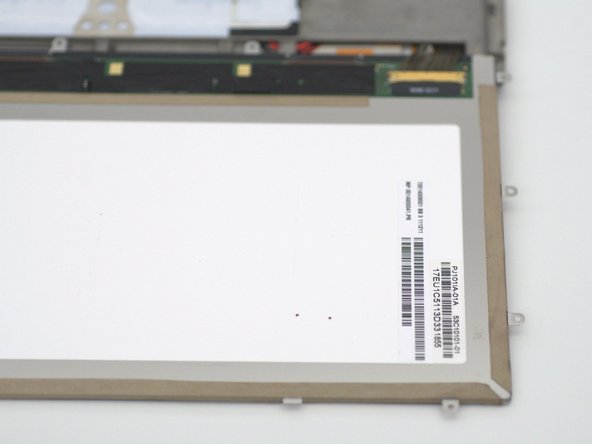
Holding the screw tabs with your hands, fold the LCD gently down to reveal the LCD connector located at the bottom right of the device.
-
-
-
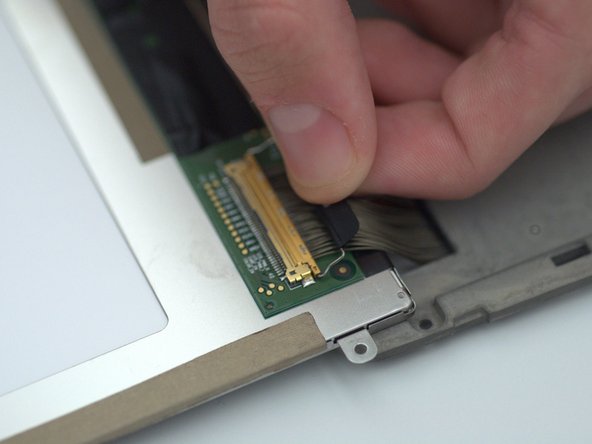
Gently lift up the tab and carefully pull it straight back, parallel to the cable, until the LCD cable is removed.
-


To reassemble your device, follow these instructions in reverse order.
To reassemble your device, follow these instructions in reverse order.
Rückgängig: Ich habe diese Anleitung nicht absolviert.
Ein:e weitere:r Nutzer:in hat diese Anleitung absolviert.

Team

Embry-Riddle Aeronautical University, Team S13-G6, Lamothe Fall 2019 Mitglied von Embry-Riddle Aeronautical University, Team S13-G6, Lamothe Fall 2019
ERAU-LAMOTHE-F19S13G6
4 Mitglieder
7 Anleitungen geschrieben