Was du brauchst
-
-
Slide the wide plastic opening tool across the seem, separating it if you can't pry the device open using just the spudger.
-
-
-
Use the slim plastic opening tool to pry the camera from its initial position.
-
-
In diesem Schritt verwendetes Werkzeug:Tweezers$4.99
-
Use the precision tweezers to gently disconnect the camera ribbon that is connected to the motherboard.
-
-
-
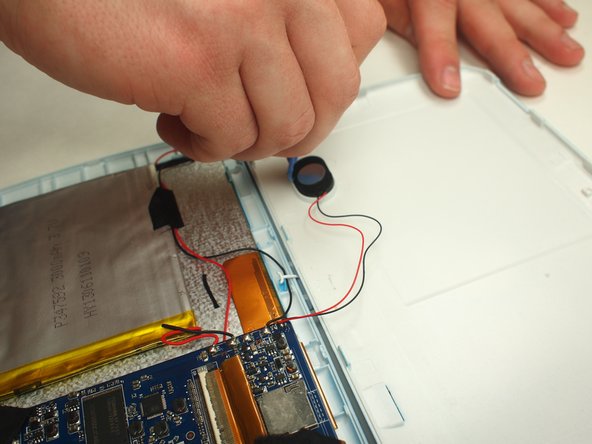
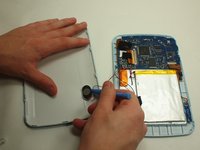
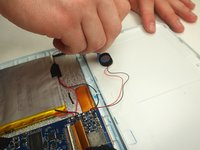
Use the slim plastic opening tool to remove the speaker from its position on the case.
-
-
-
-
Locate the red and black wires that connect the speaker to the motherboard.
-
-
-
Un-solder the red and black speaker wires that are connected to the motherboard
-
-
-
Remove the two screws that hold the volume button assembly in place.
-
-
-
Un-solder the yellow, red, and black wires that connect the volume module to the motherboard.
-
-
-
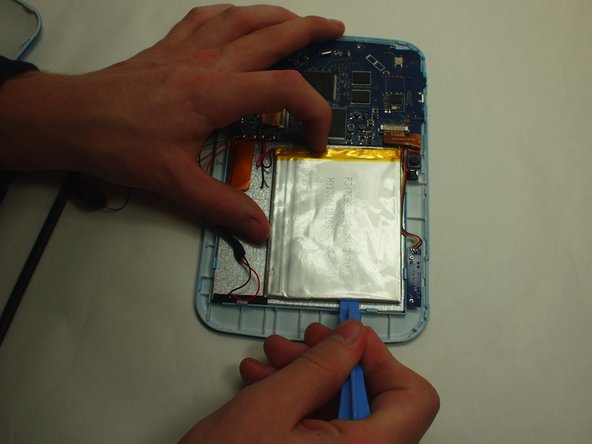
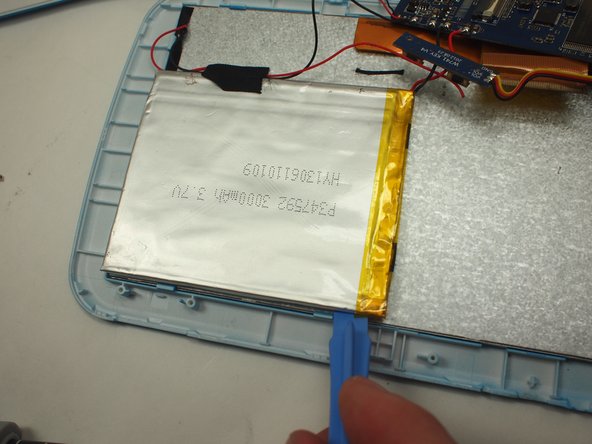
Use the wide plastic opening tool to slowly pry each side of the battery up.
-
-
-
Use the Soldering Iron to disconnect the each cable.
-
-
-
After removing the camera, remove the hidden screw.
-
-
-
Carefully lift up the motherboard. Your accessory parts such as battery, speaker, volume button assembly, and camera wires will be disconnected, not connected, like in this picture.
-
To reassemble your device, follow these instructions in reverse order.
To reassemble your device, follow these instructions in reverse order.


