Einleitung
Some users of the tablet have faced problems with their speakers not working at all or have sound that keeps cutting in and out. If this is the case, this repair guide can be used to remove and replace the internal speakers of the Nabi 2. It is important to note that this guide will involve soldering and desoldering. When soldering, make sure that you do not touch any metal parts of the soldering iron. It gets very hot, very quickly.
Was du brauchst
-
-
With a PH00 screwdriver, remove the four outermost screws from the back of the tablet.
-
-
-
-
Carefully, insert a plastic opening tool into the seam of the device and begin gently prying the two plastic pieces apart.
-
Work the tool all the way around the device. Small plastic clips should release. If they do not, gently apply outwards pressure until the clips give.
-
-
-
Using the soldering iron, detach the speaker's wires from the circuit board.
-
-
-
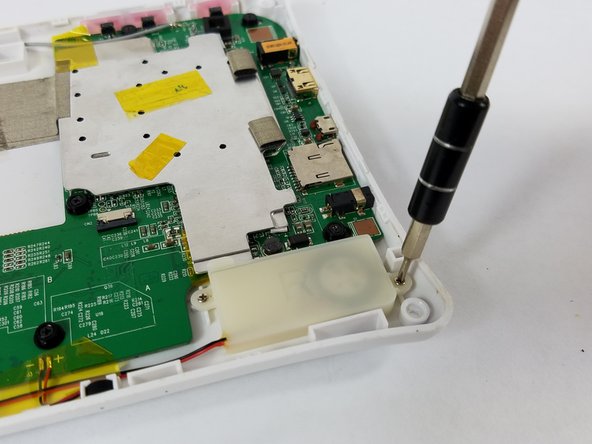
Using a Phillips PH 000 screwdriver, unscrew the two 3 mm Phillips #000 screws on each side of the speakers that hold the speakers in place.
-



To reassemble your device, follow these instructions in reverse order.
To reassemble your device, follow these instructions in reverse order.


Team

USF Tampa, Team 4-3, Lacy Spring 2016 Mitglied von USF Tampa, Team 4-3, Lacy Spring 2016
USFT-LACY-S16S4G3
4 Mitglieder
14 Anleitungen geschrieben
