Zum Hauptinhalt wechseln

Nest Cam Outdoor S Motherboard Replacement

Was du brauchst

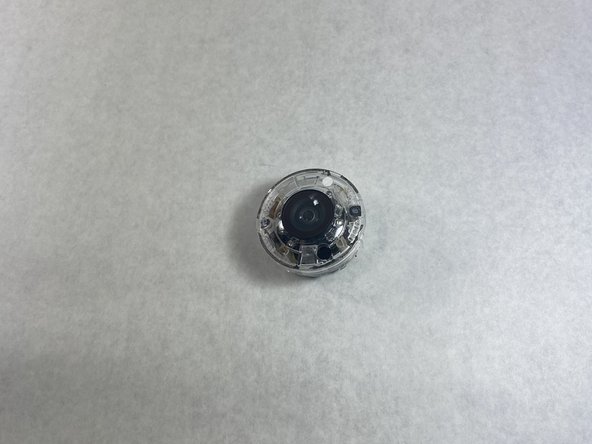
  1. Nest Cam Outdoor S Motherboard Replacement, Plastic Camera Cover: Schritt 1, Bild 1 von 2 Nest Cam Outdoor S Motherboard Replacement, Plastic Camera Cover: Schritt 1, Bild 2 von 2
    • Wedge a spudger between the black front panel and the white outer shell.

    • Slide the spudger around the edge of the panel to pop it off.

  2. Nest Cam Outdoor S Motherboard Replacement: Schritt 2, Bild 1 von 1
    • Remove the four small screws from the plastic camera cover.

  3. Nest Cam Outdoor S Motherboard Replacement: Schritt 3, Bild 1 von 1
    • Disconnect the microphone cable to separate the motherboard from the main camera unit.

  4. Nest Cam Outdoor S Motherboard Replacement: Schritt 4, Bild 1 von 2 Nest Cam Outdoor S Motherboard Replacement: Schritt 4, Bild 2 von 2
    • Remove the plastic camera cover from the device.

  5. Nest Cam Outdoor S Motherboard Replacement, Motherboard: Schritt 5, Bild 1 von 1
    • Pry the plastic cover away from the motherboard at the plastic clips using a spudger.

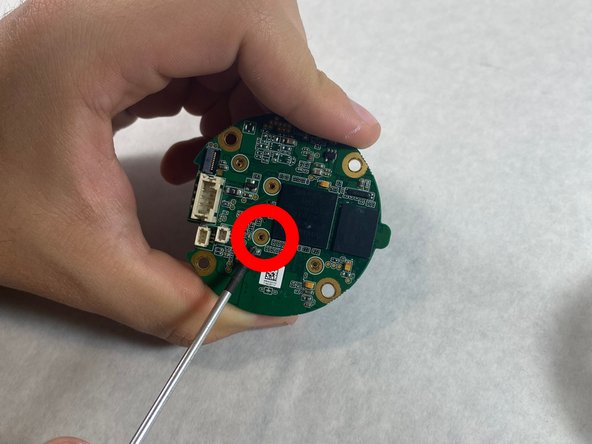
  6. Nest Cam Outdoor S Motherboard Replacement: Schritt 6, Bild 1 von 1
    • Remove the four mounting screws from the motherboard.

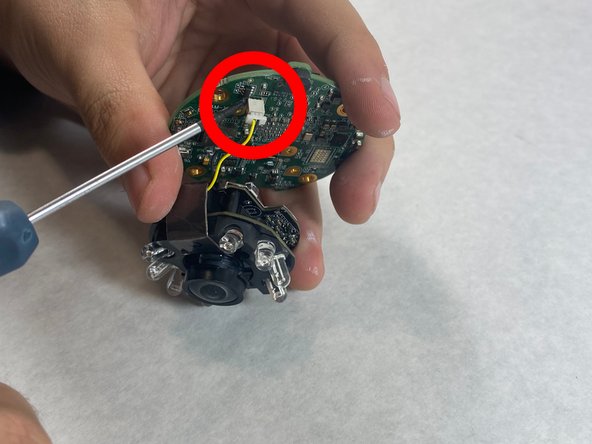
  7. Nest Cam Outdoor S Motherboard Replacement: Schritt 7, Bild 1 von 1
    • Disconnect the yellow camera cable from the motherboard.

    • Remove the motherboard from the device.

Abschluss

To reassemble your device, follow these instructions in reverse order.

Skylar DeVoe

Mitglied seit: 10/28/21

235 Reputation

2 Anleitungen geschrieben

Team

UMass Dartmouth, Team 4-6, Gulbrandsen Fall 2021 Mitglied von UMass Dartmouth, Team 4-6, Gulbrandsen Fall 2021

UMASSD-GULBRANDSEN-F21S4G6

2 Mitglieder

4 Anleitungen geschrieben

0 Kommentare

Kommentar hinzufügen

Seitenaufrufe:

Letzte 24 Stunden: 1

Letzte 7 Tage: 2

Letzte 30 Tage: 7

Insgesamt: 365