Einleitung
The Nest Cam needs to be mounted on a stand for optimal posistioning. If your Nest Cam refuses to secure itself to the stand or falls off often, the side snap locks may have weakened or broken and need to be replaced.
Was du brauchst
-
-
Remove the four 6 mm screws from the back panel with the J000 Phillips head screwdriver.
-
-
-
Open the back panel completely to expose the inside of the Nest Cam.
-
Using the tweezers, disconnect the red and black mic cable from the motherboard.
-
-
-
-
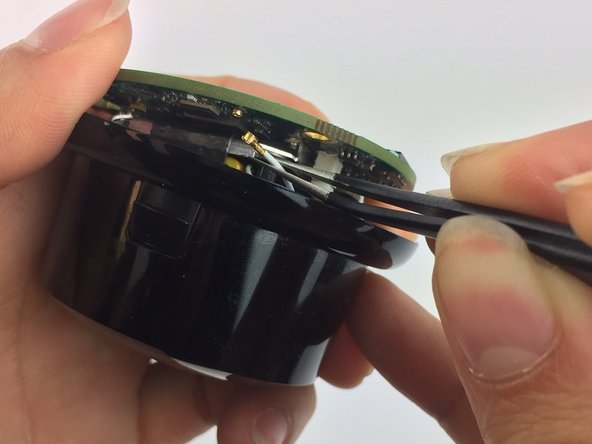
Disconnect the black Wi-Fi cable from the top of the motherboard with tweezers.
-
Use a plastic spudger to lift the motherboard and camera up enough to expose and disconnect the white cable with the tweezers.
-
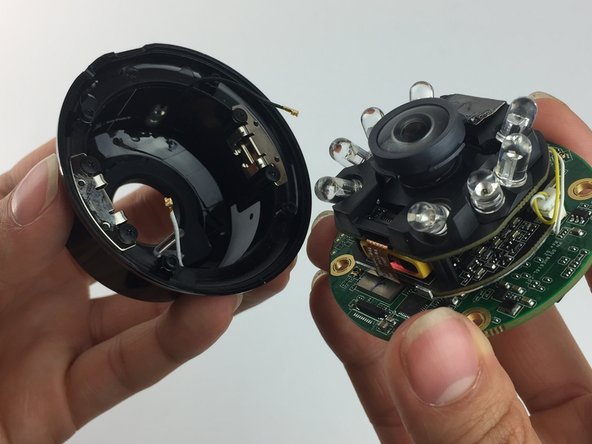
Remove motherboard and camera completely from the housing.
-
-
-
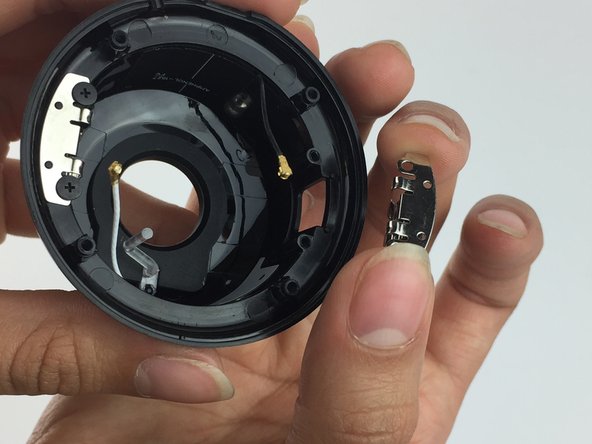
Remove the four 3 mm Phillips #J000 screws from the side snap locks. Remove the old side snap locks and place the new side snap locks.
-


To reassemble your device, follow these instructions in reverse order.
To reassemble your device, follow these instructions in reverse order.
Team

USF Tampa, Team 1-1, Leahy Spring 2016 Mitglied von USF Tampa, Team 1-1, Leahy Spring 2016
USFT-LEAHY-S16S1G1
7 Mitglieder
10 Anleitungen geschrieben