Einleitung
How to remove the plastic housing of the camera to either replace it, or remove it to get to the internals of the camera.
Was du brauchst
-
-
Locate unlock switch on underside of camera and unlock it by sliding it.
-
Once unlocked, slide the cover out and up to open the battery housing.
-
-
-
Inspect prongs at the bottom of the battery housing to ensure that they are not bent or broken before replacing the batteries.
-
-
-
-
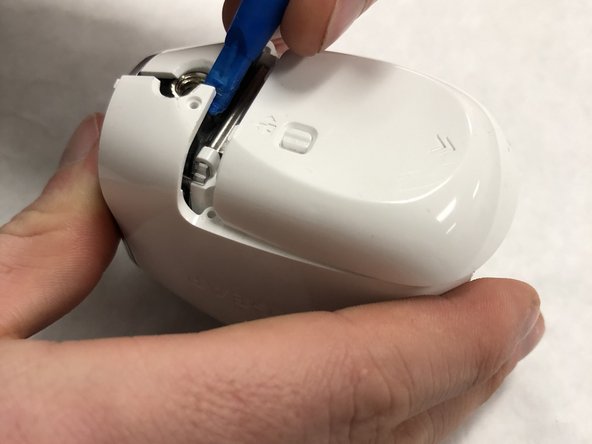
Slide the unlocked battery cover forward to remove 2 (3.5mm) screws, that are behind the cover.
-
-
-
Use a plastic opening tool to start separating the plastic housing from the front side of the battery cover.
-
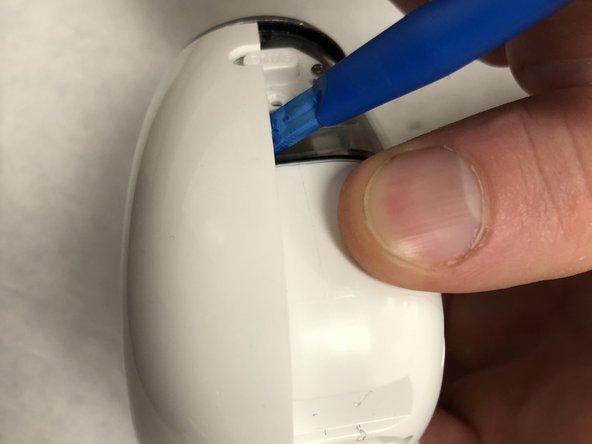
Next, start separating the plastic cover from the rear of the plastic housing, and work your way down the seam line.
-
-
-
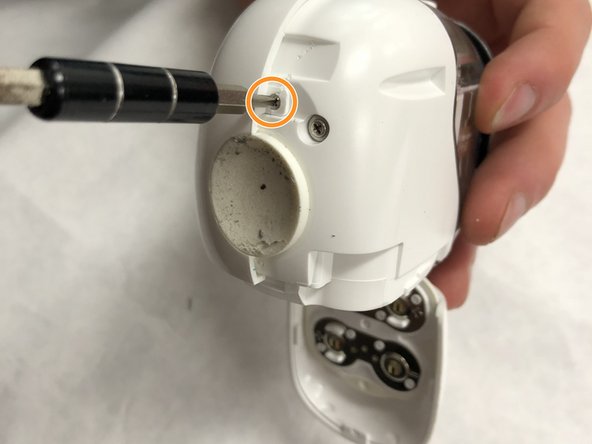
Remove the screw (3.5mm) near the sync button holding the opposite side of the camera on.
-
Remove the second screw (3.5mm) on the back of the camera to remove the second housing.
-
Once the screws are removed use an opening tool to pry back the second plastic mount.
-


To reassemble your device, follow these instructions in reverse order.
To reassemble your device, follow these instructions in reverse order.
Rückgängig: Ich habe diese Anleitung nicht absolviert.
Ein:e weitere:r Nutzer:in hat diese Anleitung absolviert.
Team

IUPUI, Team S1-G1, Freund Spring 2018 Mitglied von IUPUI, Team S1-G1, Freund Spring 2018
IUPUI-FREUND-S18S1G1
2 Mitglieder
6 Anleitungen geschrieben
2 Kommentare
Note that under the rubber cover shown in step 6 there is a USB-B port.
You can run the Arlo on a USB adapter as well.
You only need to make a hole in the battery lid or 3D print a new cover.