Einleitung
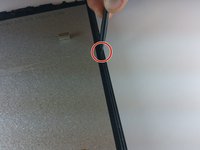
You need a thin tool to get the back cover off. If a plastic opening tool is not available, a guitar pick works just fine. Use caution when removing the back cover and inside parts.
Was du brauchst
-
-
Use the plastic opening tool to remove the back cover. Carefully slide the tool between the front glass and back cover.
-
Slide the tool along the edge to work the back cover off.
-
-
-
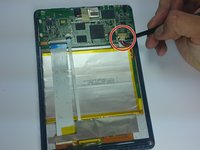
Remove the tape covering the motherboard.
-
Remove the silver tape holding the white ribbon cables to the battery.
-
-
-
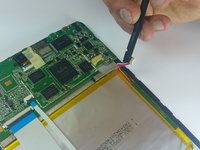
Use a spudger to carefully disconnect the battery connector from the motherboard.
-
-
In diesem Schritt verwendetes Werkzeug:Tweezers$4.99
-
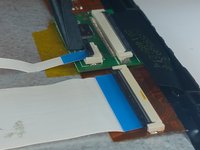
Use a spudger to lift up the black bar on the two ZIF connectors located above the battery.
-
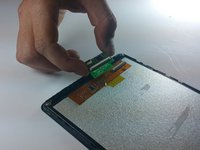
Pull the ribbon cables out of the connectors with tweezers or two fingers.
-
-
-
-
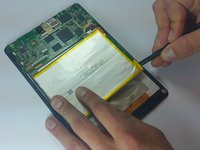
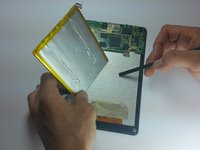
Using the flat end of a spudger, carefully work the spudger under the battery, lifting it off of the device.
-
-
In diesem Schritt verwendetes Werkzeug:Tweezers$4.99
-
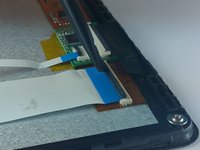
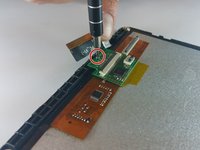
Use a spudger to lift up the black tabs on the three ZIF connectors.
-
Use ESD safe tweezers to pull the ribbon cables out of the three connectors.
-
-
-
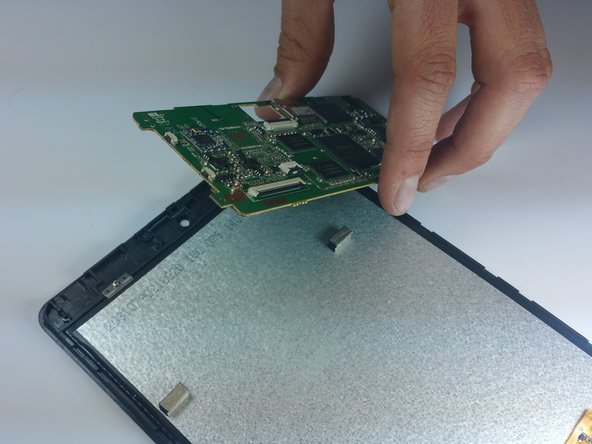
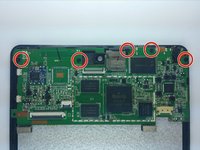
Remove the 5 black screws on the motherboard.
-
Carefully lift the motherboard off of the device and remove.
-
-
-
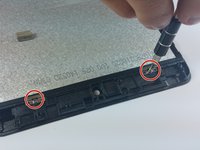
Remove the two screws that hold the brackets in place.
-
Remove the two silver brackets that hold the screen in place.
-
-
-
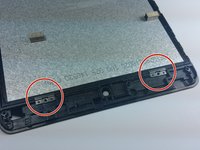
Remove the one silver screw on the small green circuit board at the bottom of the device.
-
Set aside the small circuit board for now.
-
-
-
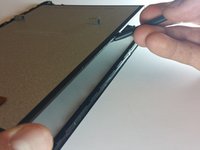
With the device face down, use a spudger to lift the screen off of the glass from the right side.
-


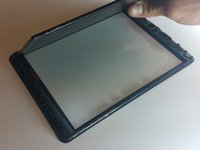
To reassemble your device, follow these instructions in reverse order.
To reassemble your device, follow these instructions in reverse order.
Rückgängig: Ich habe diese Anleitung nicht absolviert.
21 weitere Personen haben diese Anleitung absolviert.

Team

Colorado Springs, Team 5-1, Panko Spring 2015 Mitglied von Colorado Springs, Team 5-1, Panko Spring 2015
UCCS-PANKO-S15S5G1
3 Mitglieder
10 Anleitungen geschrieben