Einleitung
This guide details the steps required to access and replace the camera's flash.
Was du brauchst
-
-
Press the flash button on the side of the camera to allow the flash to spring upward.
-
-
-
Unscrew the two black, 4mm screws with a Philips 000. (There should be one screw on each side of the camera).
-
-
-
-
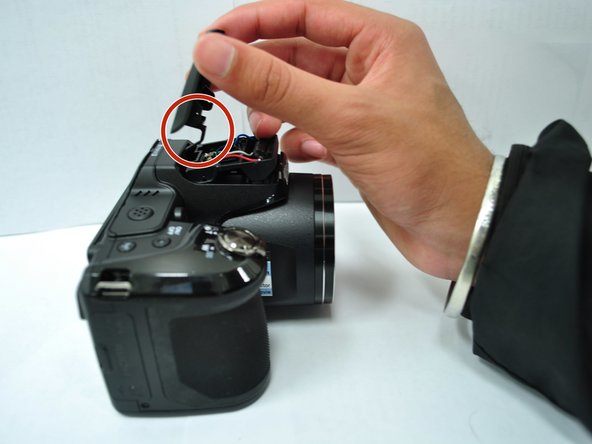
Remove the back case of the flash by lifting it off of the flash.
-
The back half cover has a little tail that keeps it locked in place. Wiggling the back cover around may help unhook the tail.
-
-
-
Push the flash inward to pop the flash out of its front case. Since the back case is removed, the flash should pop out from the back.
-
-
-
The see-through protective flash covering is stuck on to the flash with thin, double-sided tape. Pull apart the two components to access the flash.
-




To reassemble your device, follow these instructions in reverse order.
To reassemble your device, follow these instructions in reverse order.



Team

Cal Poly, Team 1-11, Maness Spring 2016 Mitglied von Cal Poly, Team 1-11, Maness Spring 2016
CPSU-MANESS-S16S1G11
4 Mitglieder
10 Anleitungen geschrieben
