Einleitung
In this guide, you will find instructions on how to properly remove the entire external casing of the camera. This guide will reveal the inner components of the camera. From here, you can replace the casing if it is broken, or access other internal parts of the camera.
Was du brauchst
-
-
Using a Philips #000 head screwdriver, remove the 8 screws (3.30 mm) visible on the external part of the camera.
-
There are 2 on each side, and 4 on the bottom.
-
-
-
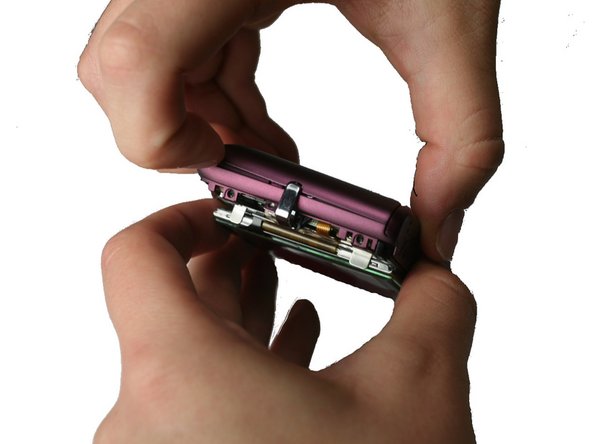
Remove the black casing on the back of the camera that runs around the LCD screen.
-
-
-
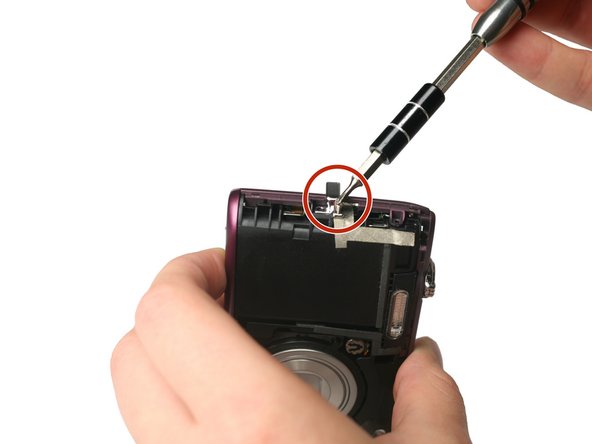
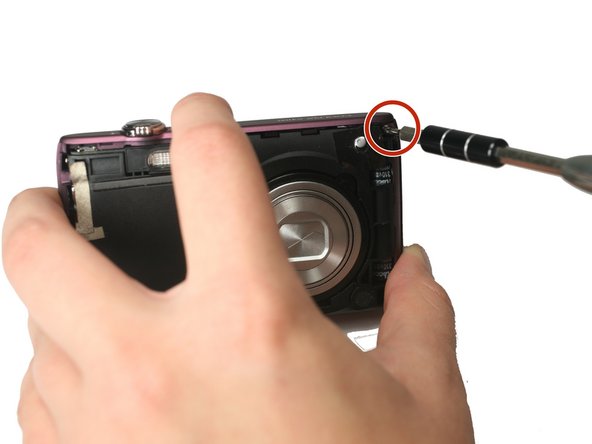
Using the Philips #000 head screwdriver, remove the 1.90 mm internal screw located just above the lanyard mount.
-
-
-
-
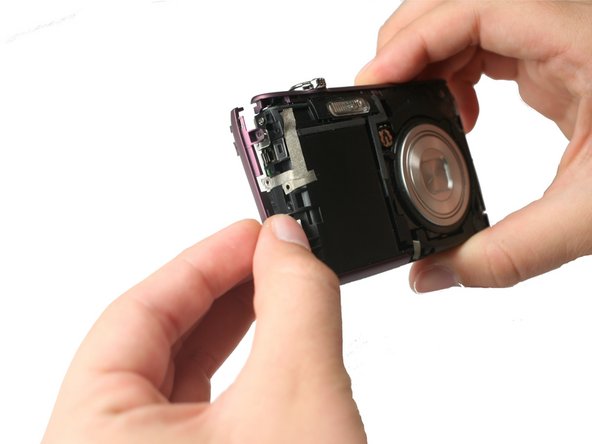
Using the Philips #000 head screwdriver, remove the 3.30 mm screw located on the side of the camera near the lanyard mount.
-
-
-
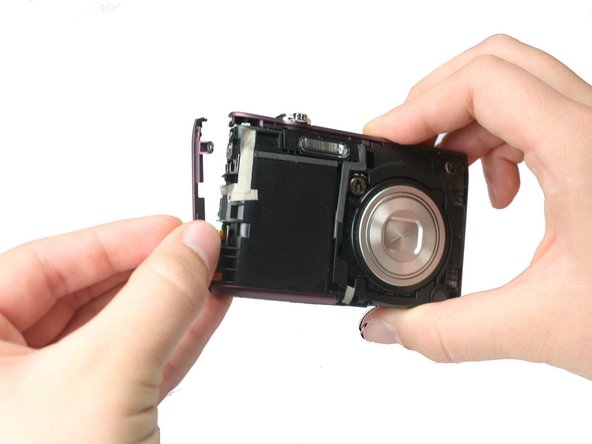
Using the Philips #000 head screwdriver, remove 2 additional 3.30 mm screws holding the lanyard mount in place.
-
-
-
Using the Philips #000 head screwdriver, remove the 3.30 mm screw securing the top shell casing.
-
-
-
Using the Philips #000 head screwdriver, remove the 3.40 mm screw located on the front of the camera in the upper corner by the LED light.
-


To reassemble your device, follow these instructions in reverse order.
To reassemble your device, follow these instructions in reverse order.
Rückgängig: Ich habe diese Anleitung nicht absolviert.
2 weitere Nutzer:innen haben diese Anleitung absolviert.
Team

Baylor, Team 4-2, Williams Fall 2015 Mitglied von Baylor, Team 4-2, Williams Fall 2015
BU-WILLIAMS-F15S4G2
4 Mitglieder
8 Anleitungen geschrieben