Diese Version enthält möglicherweise inkorrekte Änderungen. Wechsle zur letzten geprüften Version.
Was du brauchst
-
Dieser Schritt ist noch nicht übersetzt. Hilf mit, ihn zu übersetzen!
-
Turn the camera upside down and locate the two, black screws.
-
Using the Philips #00 Screwdriver, remove each screw.
-
-
Dieser Schritt ist noch nicht übersetzt. Hilf mit, ihn zu übersetzen!
-
Rotate the camera to the left side and remove the two, black, #00 Philips screws.
-
-
Dieser Schritt ist noch nicht übersetzt. Hilf mit, ihn zu übersetzen!
-
Rotate the camera to the right side and remove the two, black, #00 Philips screws.
-
-
-
Dieser Schritt ist noch nicht übersetzt. Hilf mit, ihn zu übersetzen!
-
Carefully remove the back plate from the body of the camera.
-
-
Dieser Schritt ist noch nicht übersetzt. Hilf mit, ihn zu übersetzen!
-
Using the Philips #00 Screwdriver, remove the two screws that are holding the keypad.
-
-
Dieser Schritt ist noch nicht übersetzt. Hilf mit, ihn zu übersetzen!
-
Flip the keypad away from the camera
-
-
Dieser Schritt ist noch nicht übersetzt. Hilf mit, ihn zu übersetzen!
-
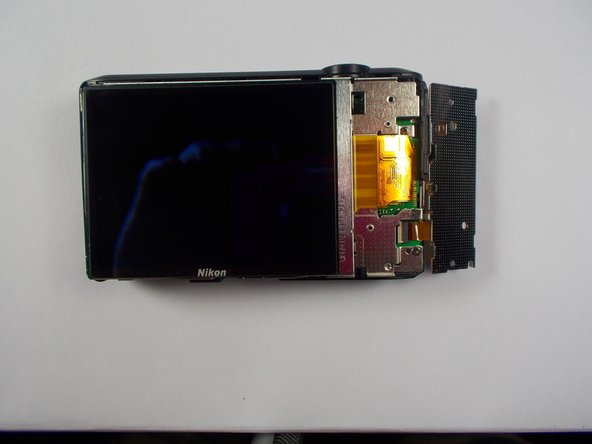
Gently pull the display away from the camera body.
-
Fold the display away from the camera
-
-
Dieser Schritt ist noch nicht übersetzt. Hilf mit, ihn zu übersetzen!
-
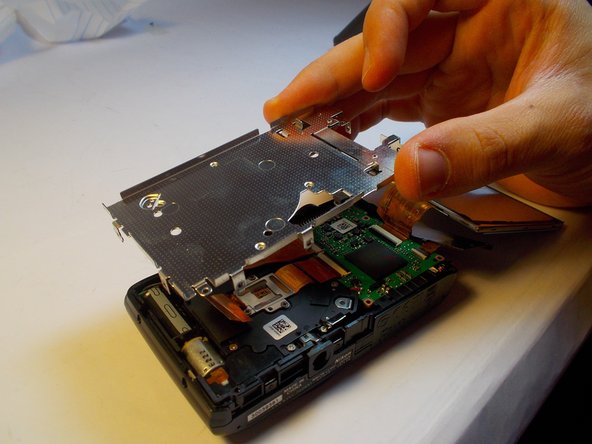
Remove the visible midframe screws.
-
There is a screw beneath the foam square that must be removed as well.
-
The screw holding the silver wrist-strap loop on the side of the camera must also be removed.
-
Gently lift the midframe up and out of the device.
-


Rückgängig: Ich habe diese Anleitung nicht absolviert.
2 weitere Nutzer:innen haben diese Anleitung absolviert.
Team

UMass Dartmouth, Team 1-2, Shastany Spring 2015 Mitglied von UMass Dartmouth, Team 1-2, Shastany Spring 2015
UMASSD-SHASTANY-S15S1G2
4 Mitglieder
8 Anleitungen geschrieben