Diese Version enthält möglicherweise inkorrekte Änderungen. Wechsle zur letzten geprüften Version.
Was du brauchst
-
Dieser Schritt ist noch nicht übersetzt. Hilf mit, ihn zu übersetzen!
-
Turn off the camera and remove the battery.
-
-
Dieser Schritt ist noch nicht übersetzt. Hilf mit, ihn zu übersetzen!
-
Pry the flash open using the plastic opening tool.
-
-
-
Dieser Schritt ist noch nicht übersetzt. Hilf mit, ihn zu übersetzen!
-
Remove the two Phillips #0 3.0 mm screws from the front of the flash compartment using the small Phillips Head screwdriver.
-
-
Dieser Schritt ist noch nicht übersetzt. Hilf mit, ihn zu übersetzen!
-
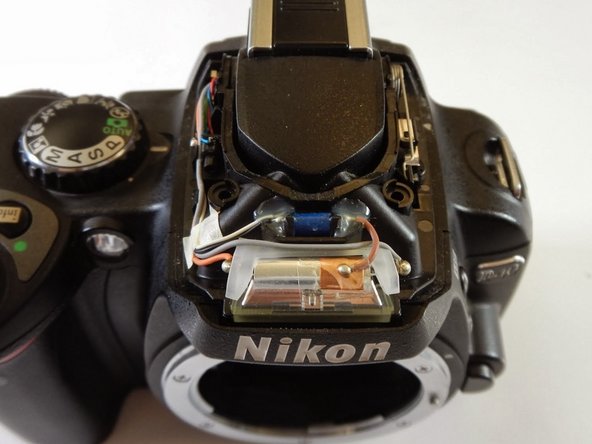
Pry off the back plastic of the flash compartment using the plastic opening tool.
-
-
Dieser Schritt ist noch nicht übersetzt. Hilf mit, ihn zu übersetzen!
-
On the left of the camera you will see a metal spring.
-
Unscrew the Phillips #0 3.0 mm screw holding the spring in place, using the small Phillips Head screwdriver.
-
-
Dieser Schritt ist noch nicht übersetzt. Hilf mit, ihn zu übersetzen!
-
Remove metal spring and replace with new spring.
-


Rückgängig: Ich habe diese Anleitung nicht absolviert.
4 weitere Nutzer:innen haben diese Anleitung absolviert.
Team

Cal Poly, Team 6-19, Maness Winter 2014 Mitglied von Cal Poly, Team 6-19, Maness Winter 2014
CPSU-MANESS-W14S6G19
4 Mitglieder
7 Anleitungen geschrieben