Einleitung
Make sure to have your soldering iron ready prior to replacing the screen. This will make the process go faster as the time it takes to heat the soldering iron varies.
Was du brauchst
-
-
Fully open the LCD panel so that its screws are easily accessible.
-
Remove the two 2.5 mm screws from the outside edge of the screen casing, and the two 3.5 mm screws from the inside edge.
-
-
-
-
Use the plastic opening tool to pop up the latch holding the ribbon cable on the right side of the circuit board, and remove it.
-
Use the plastic opening tool to pry the ribbon cable on the left side of the circuit board up and off of its socket.
-
-
-
Desolder the three small wires on the left side of the circuit board.
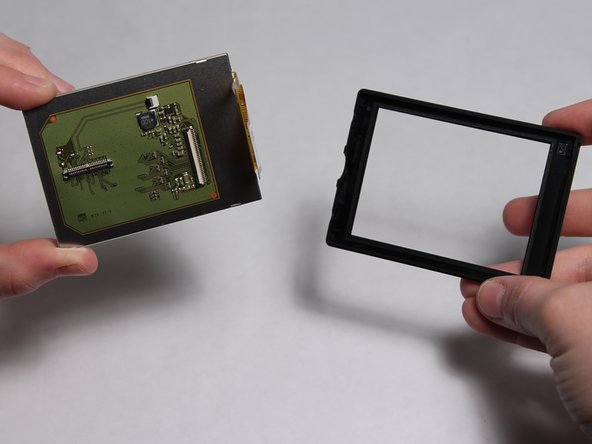
If you just need to replace the LCD itself, the soldering isn't needed. The board is attached to the LCD with two small adhesive stripes. So you can remove the board, switch out the LCD and attach the board back again onto the new LCD. Worked like a charm.
-
-
-
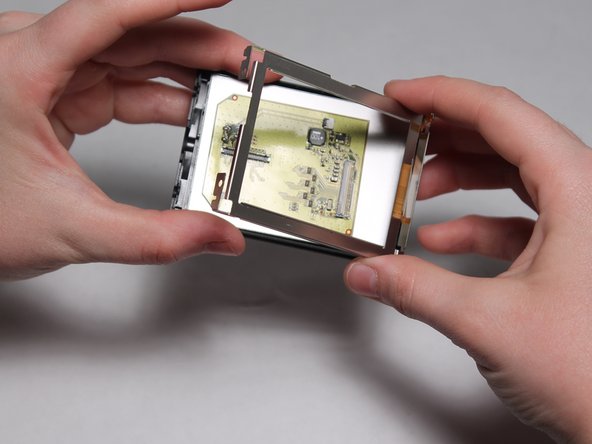
Using a spudger, remove the display from its casing.
This helped me a great deal determining if it was my actual lcd or connection problem!
-


To reassemble your device, follow these instructions in reverse order.
To reassemble your device, follow these instructions in reverse order.
Rückgängig: Ich habe diese Anleitung nicht absolviert.
15 weitere Nutzer:innen haben diese Anleitung absolviert.

Team

USF Tampa, Team 3-1, Eyestone Fall 2015 Mitglied von USF Tampa, Team 3-1, Eyestone Fall 2015
USFT-EYESTONE-F15S3G1
4 Mitglieder
5 Anleitungen geschrieben
8 Kommentare
To isaac: no. The exterior glass is separate from the LCD.
Where did you find the replacement screen? The one I ordered that says it's for the d5200 is not the same as the one in it or in your pictures.
How do you disconnect the multi-plug that is shown connected in image 4 and disconnected in image five? Does it unclip or slide out?
The white latch on the right side for that ribbon won’t close. What should I do?
Does anyone know if the D5200 and D3300 share the same LCD screen? Ebay, Aliexpress, DHCamera show screens described as D3300/D5200 . I’d rather not pay $200 for a screen replacement I can do myself for <$25
Does anyone know if the LCD for the D5200 and D3300 are the same? I find screens listed as D5200/D3300