Diese Version enthält möglicherweise inkorrekte Änderungen. Wechsle zur letzten geprüften Version.
Was du brauchst
-
-
Benutze einen 00-Phillips-Schraubendreher (Kreuzschlitz) und entferne die vier Schrauben der Objektiveinfassung.
-
-
Dieser Schritt ist noch nicht übersetzt. Hilf mit, ihn zu übersetzen!
-
Remove the three loose parts (spring, small rod, and metal ring) that were under the lens mount and put them aside.
-
-
-
Dieser Schritt ist noch nicht übersetzt. Hilf mit, ihn zu übersetzen!
-
Use 00 Phillips head screwdriver to remove the screw from the bottom of the front black case.
-
-
Dieser Schritt ist noch nicht übersetzt. Hilf mit, ihn zu übersetzen!
-
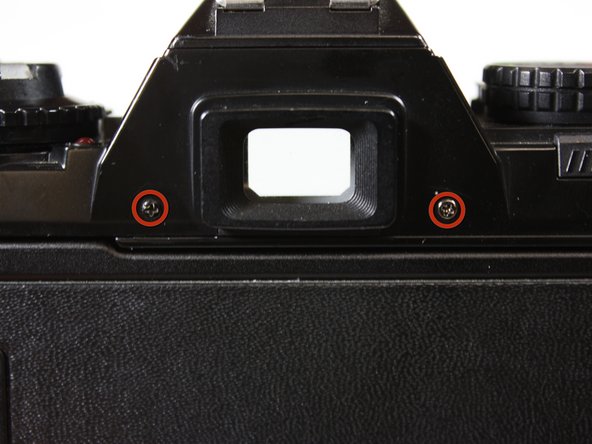
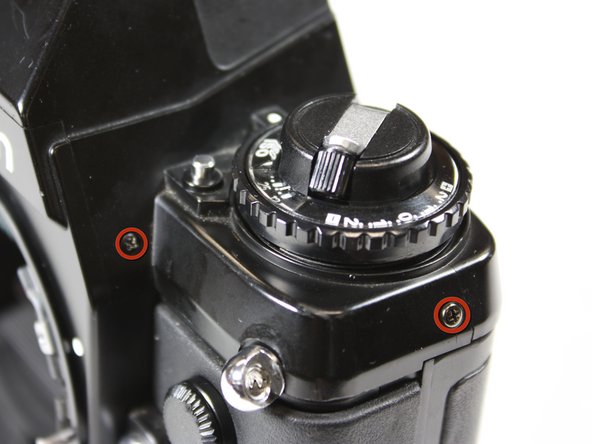
Use 00 Phillips head screwdriver to remove the screws from the top case (6 in all).
-
-
Dieser Schritt ist noch nicht übersetzt. Hilf mit, ihn zu übersetzen!
-
Remove the front case from the camera.
-
-
Dieser Schritt ist noch nicht übersetzt. Hilf mit, ihn zu übersetzen!
-
Use a 00 Phillips head screwdriver to remove the screws from either side of the communication board.
-
-
Dieser Schritt ist noch nicht übersetzt. Hilf mit, ihn zu übersetzen!
-
Desolder the wires and remove them from the communication board.
-


Rückgängig: Ich habe diese Anleitung nicht absolviert.
5 weitere Nutzer:innen haben diese Anleitung absolviert.
Team

Cal Poly, Team 25-26, Garner Spring 2011 Mitglied von Cal Poly, Team 25-26, Garner Spring 2011
CPSU-GARNER-S11S25G26
3 Mitglieder
12 Anleitungen geschrieben
3 Kommentare
Doesn't work for the 301, although it looks similar I can't find any way to remove the top or the front case
The F301 and N2000 are identical, so the guide should work. In this guide the top case isn't removed, as the film rewind knob is preventing it from coming off completely, and instead just lifted with the bit of leeway the popped up rewind knob provides.