Zum Hauptinhalt wechseln

Ninja Foodi SP101 Motor Replacement

Was du brauchst

  1. Ninja Foodi SP101 Motor Replacement, Feet: Schritt 1, Bild 1 von 2 Ninja Foodi SP101 Motor Replacement, Feet: Schritt 1, Bild 2 von 2
    • Use a TR10 screwdriver to remove the four 11mm screws holding the black lever bar in place.

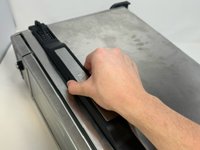
  2. Ninja Foodi SP101 Motor Replacement: Schritt 2, Bild 1 von 1
    • Remove the black lever bar.

  3. Ninja Foodi SP101 Motor Replacement, Side Panels: Schritt 3, Bild 1 von 1
    • Use a Phillips #1 screwdriver to remove the three 8mm screws on each side of the back panel.

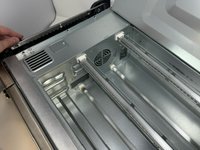
  4. Ninja Foodi SP101 Motor Replacement: Schritt 4, Bild 1 von 2 Ninja Foodi SP101 Motor Replacement: Schritt 4, Bild 2 von 2
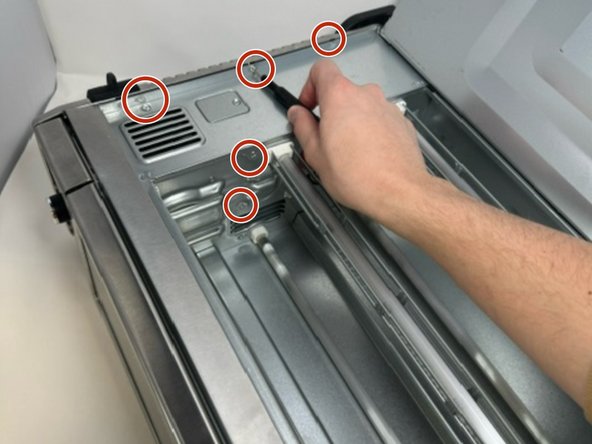
    • Flip the device upside down and open the bottom panel.

    • Remove the 3 x philips #1 screws along the top edge of the interior using a screwdriver. The Bottom 2 do not have to be removed.

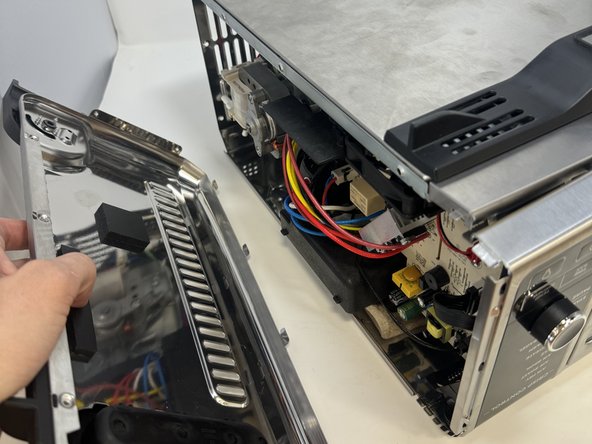
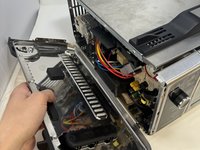
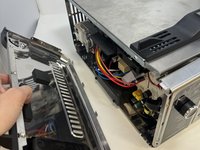
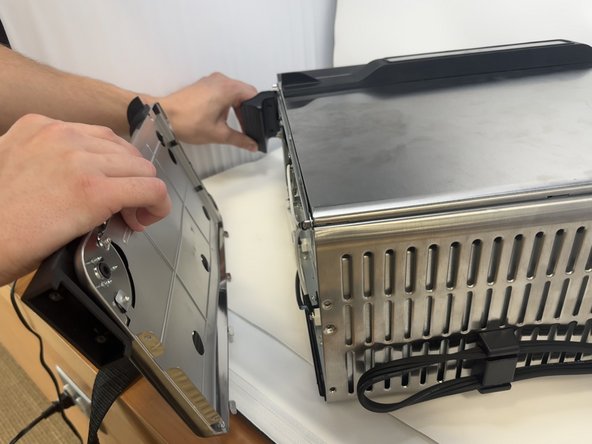
  5. Ninja Foodi SP101 Motor Replacement: Schritt 5, Bild 1 von 3 Ninja Foodi SP101 Motor Replacement: Schritt 5, Bild 2 von 3 Ninja Foodi SP101 Motor Replacement: Schritt 5, Bild 3 von 3
    • Remove the control side panel. To remove it, push forward towards then front control panel to release the tabs out of the main body. Fold away the side panel when the tabs have visually released from their slots in the main body.

  6. Ninja Foodi SP101 Motor Replacement: Schritt 6, Bild 1 von 2 Ninja Foodi SP101 Motor Replacement: Schritt 6, Bild 2 von 2
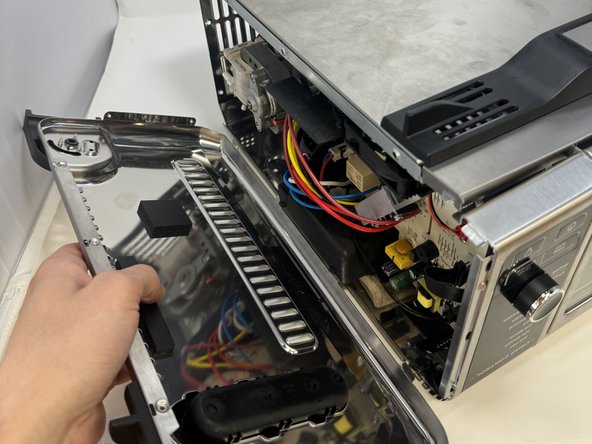
    • Lift the handle and pull the side panel out.

    • Remove the handle side panel.

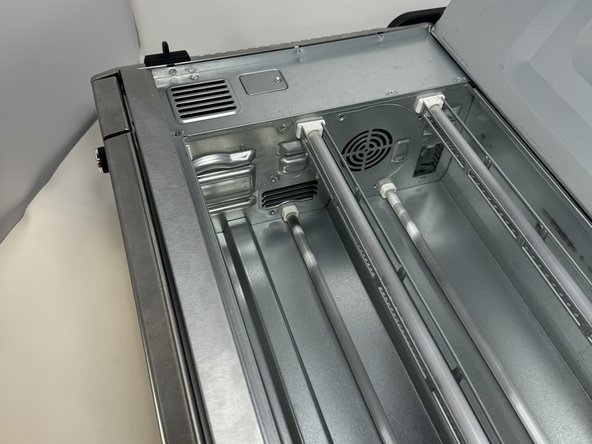
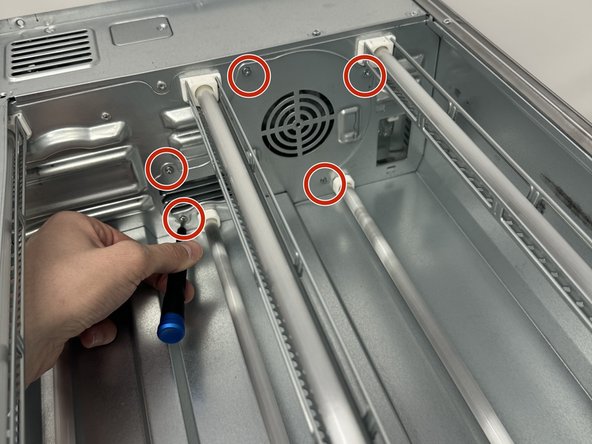
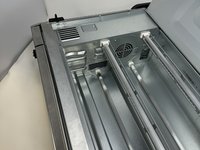
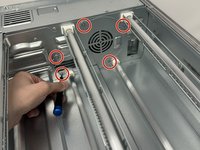
  7. Ninja Foodi SP101 Motor Replacement, Motor: Schritt 7, Bild 1 von 3 Ninja Foodi SP101 Motor Replacement, Motor: Schritt 7, Bild 2 von 3 Ninja Foodi SP101 Motor Replacement, Motor: Schritt 7, Bild 3 von 3
    • Open the bottom door.

    • Remove the five 8 mm screws located on the control panel side using a Phillips #1 screwdriver.

  8. Ninja Foodi SP101 Motor Replacement: Schritt 8, Bild 1 von 1
    • Remove the four 1 mm screws with a Phillips #1 screwdriver.

    • Remove the motor from the device.

Abschluss

To reassemble your device, follow these instructions in reverse order.

ben

Mitglied seit: 01/30/24

422 Reputation

3 Anleitungen geschrieben

Team

Utah Tech University, Team 1-4, McMurrin Spring 2024 Mitglied von Utah Tech University, Team 1-4, McMurrin Spring 2024

UTAHTECH-MCMURRIN-S24S1G4

2 Mitglieder

9 Anleitungen geschrieben

0 Kommentare zur Anleitung

Kommentar hinzufügen

Seitenaufrufe:

Letzte 24 Stunden: 0

Letzte 7 Tage: 7

Letzte 30 Tage: 46

Insgesamt: 581