Diese Version enthält möglicherweise inkorrekte Änderungen. Wechsle zur letzten geprüften Version.
Was du brauchst
-
Dieser Schritt ist noch nicht übersetzt. Hilf mit, ihn zu übersetzen!
-
Grasp the clear cover and the white housing and twist the cover counter-clockwise.
-
-
-
Dieser Schritt ist noch nicht übersetzt. Hilf mit, ihn zu übersetzen!
-
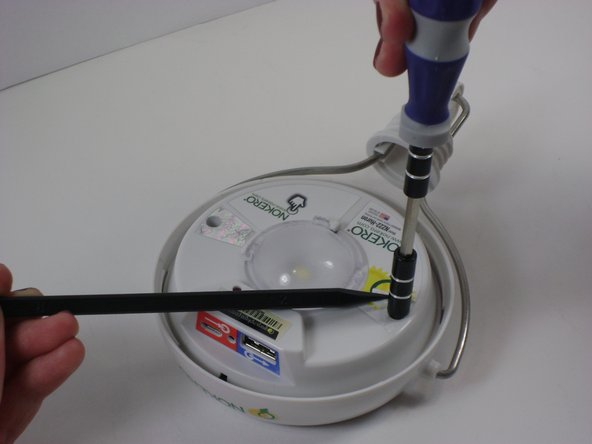
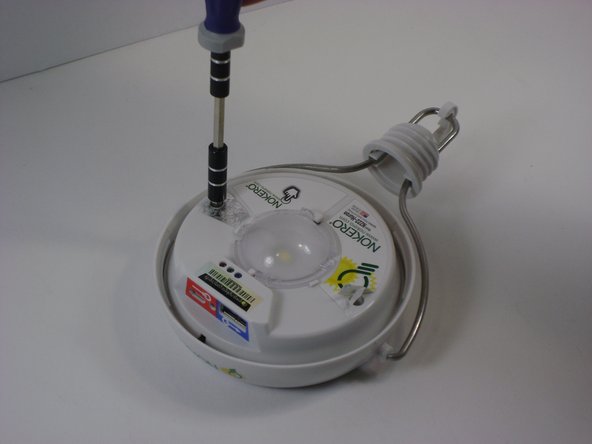
Remove the two #1 Phillips screws hidden underneath stickers on the face of the device. Use a plastic spudger to carefully peel back the metallic sticker that reads, “Warranty Void if Removed” and the Nokero sticker as shown in the picture.
-
-
Dieser Schritt ist noch nicht übersetzt. Hilf mit, ihn zu übersetzen!
-
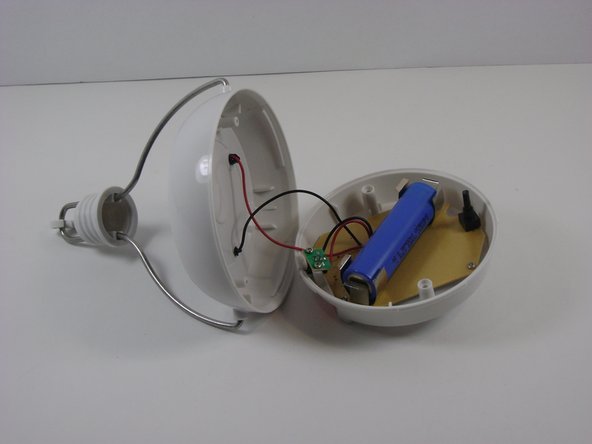
Carefully separate the two halves of the device. You will notice a red and a black wire connecting the solar panel to the circuit board. Set the device as shown to keep the wires relaxed.
-
-
Dieser Schritt ist noch nicht übersetzt. Hilf mit, ihn zu übersetzen!
-
Remove the battery from the clips and set aside
-
-
Dieser Schritt ist noch nicht übersetzt. Hilf mit, ihn zu übersetzen!
-
Be careful assembling the device to ensure that the wires do not get caught. Make sure that the switch is lined up with the rubber button and that the screws are lined up with the stand-offs.
-


Rückgängig: Ich habe diese Anleitung nicht absolviert.
Ein:e weitere:r Nutzer:in hat diese Anleitung absolviert.
Team

UMass Dartmouth, Team 2-4, Gulbrandsen Fall 2013 Mitglied von UMass Dartmouth, Team 2-4, Gulbrandsen Fall 2013
UMASSD-GULBRANDSEN-F13S2G4
3 Mitglieder
5 Anleitungen geschrieben
Ein Kommentar
Good instructions, thanks. I dropped mine on the floor and was afraid it was broken but upon opening it, turns out the battery just jolted loose from its contacts. I put it back with a big wad of masking tape to pad out the extra space so hopefully it won’t fall out so easily next time.