Einleitung
Use this guide on your quest to becoming a "selfie master" by replacing a damaged or non-functioning front facing camera on your Nokia XL Dual Sim.
Was du brauchst
-
-
You will first need to separate the back cover from the device.
-
Gently pry open each side of the device at the indicated locations. It is best to use a plastic opening tool or similar tool.
 Frag FixBot
-
-
-
Remove the back cover.
-
Use a plastic opening tool to lift the battery. Then, remove it.
-
-
-
-
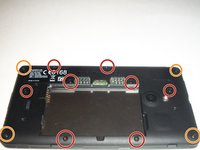
To access the inner components of the device, remove the various screws. Keep them separate, and organize them by size.
-
The locations of the T5x3.4mm screws are indicated in the picture.
-
The locations of the T5x4.1mm screws are indicated in the picture.
-
-
-
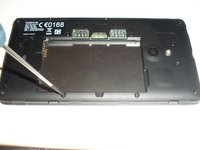
Use the plastic opening tool to gently pry the device apart.
-
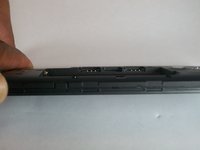
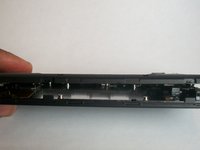
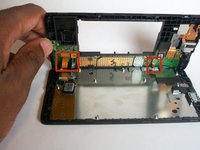
There are flaps on both sides of the phone as indicated in the picture. This is what you will need to pry apart.
-
-
-
Once the device is open, take note of all the components.
-
-
In diesem Schritt verwendetes Werkzeug:Tweezers$4.99
-
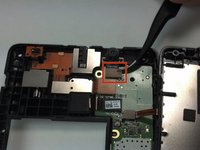
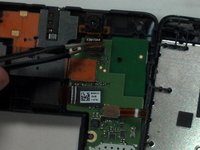
With Tweezers, gently unsnap the front camera motherboard connector.
-
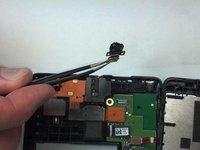
The front camera component can now be gently removed.
-






To reassemble your device, follow these instructions in reverse order.
Rückgängig: Ich habe diese Anleitung nicht absolviert.
6 weitere Personen haben diese Anleitung absolviert.

Team

USF Tampa, Team 1-4, Brown Fall 2014 Mitglied von USF Tampa, Team 1-4, Brown Fall 2014
USFT-BROWN-F14S1G4
3 Mitglieder
7 Anleitungen geschrieben
