Einleitung
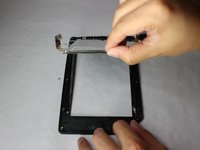
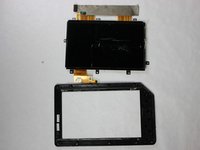
Use this guide to replace a cracked or malfunctioning display on your Nook Color tablet (identified by model number BNRV200).
The Nook Color uses an LG display made of two glass layers separated by a thin crystal layer. Your display may need to be replaced if it becomes cracked or the touchscreen no longer responds. The display could also experience "screen burn-in" which is when some of the pixels powering the display malfunction and cause uneven lighting and colors.
Before replacing the display, be sure to remove the device from any external power source and to completely shut down the device.
Was du brauchst
-
-
Remove the two 3.8 mm screws located in the back right corner of the device using the T5 Torx screwdriver.
-
-
-
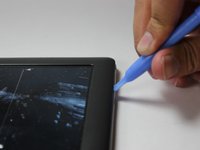
Pry off the back cover with the plastic opening tool. Go around the device with the tool to ensure complete detachment.
-
-
-
Remove the ten 4.0 mm screws from the device's perimeter using the T5 Torx screwdriver.
-
-
-
-
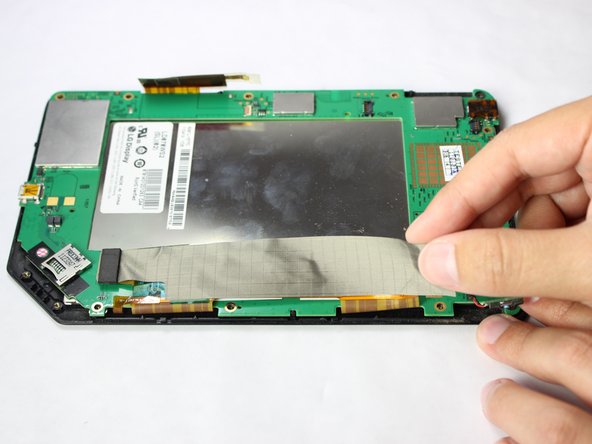
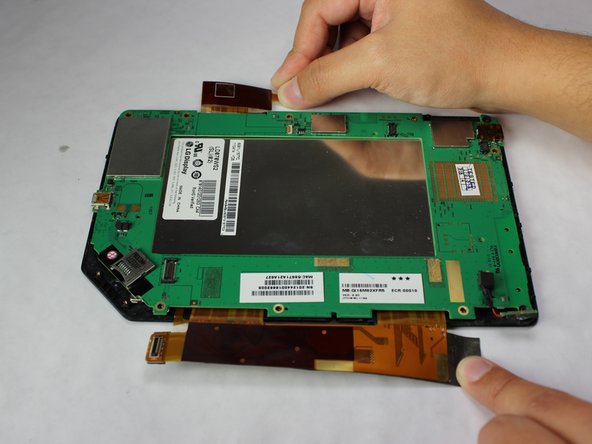
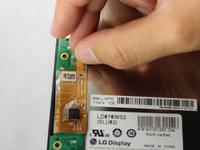
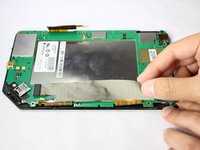
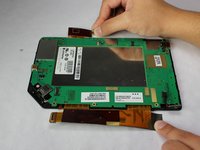
Gently lift and peel the orange and grey ribbon connectors to disconnect the screen and motherboard.
-
-
-
Remove the easy-to-miss T5 Torx 3.8 mm screw located in the tabbed corner of the device.
-
-
-
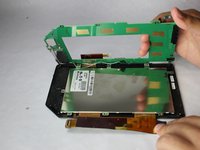
Lift the motherboard gently from the side with the larger connector ribbon.
-
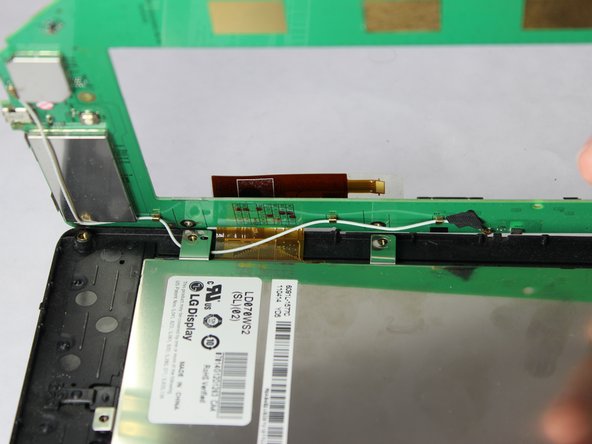
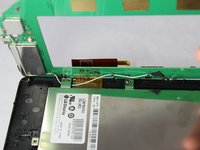
Slide the white cable gently from underneath its holding place to free the motherboard completely.
-
Remove the motherboard carefully from the device.
-
-
-
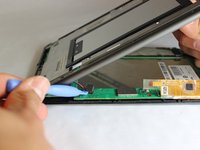
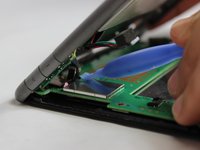
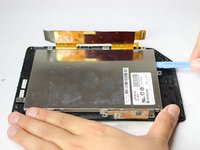
Use a plastic opening tool to gently pry the display upwards.
-
Lift the display out with your hands until the display has separated from the frame.
-
To reassemble your device, follow these instructions in reverse order.
Rückgängig: Ich habe diese Anleitung nicht absolviert.
7 weitere Personen haben diese Anleitung absolviert.
1 Kommentar zur Anleitung
this site doesn't sell the Nook Color display. Where did you get yours?


