Einleitung
How to access and replace the camera. Make sure to be careful and patient when removing the back of the device.
Was du brauchst
-
-
Turn the device screen side down.
-
Carefully remove the back piece with the iFixit opening tool.
-
-
-
-
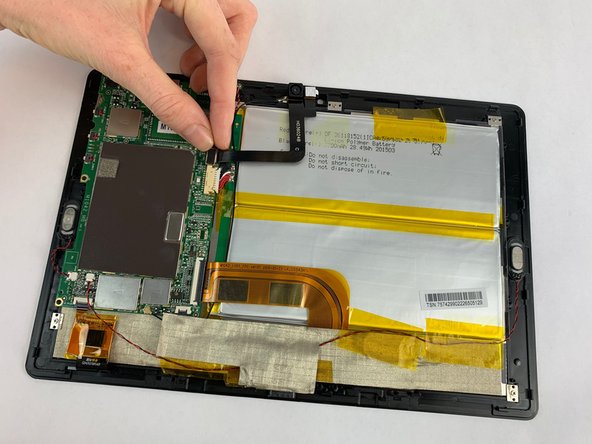
Pull the camera plug upward and away from the motherboard with your fingers.
-
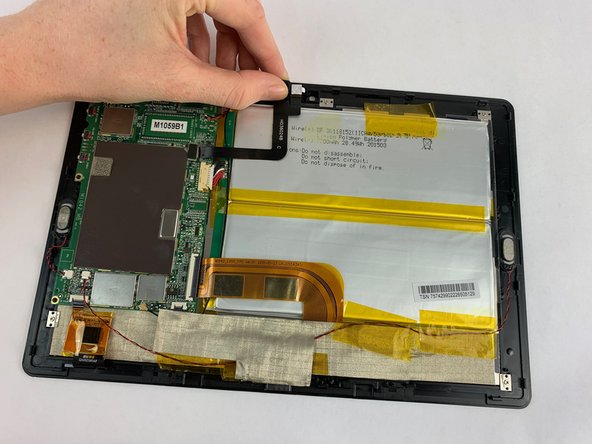
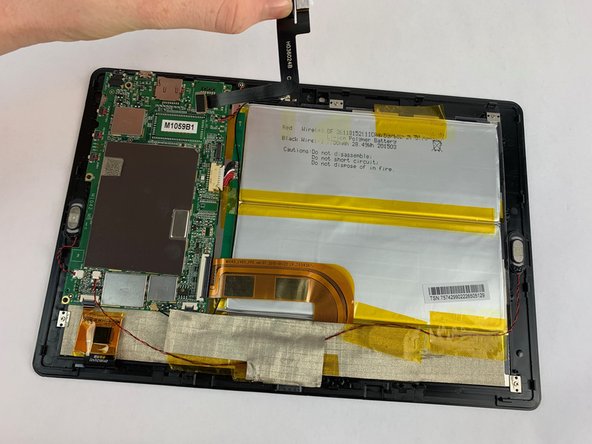
Gently pull the camera from the device. The camera is held by tension.
-


Fast fertig!
To reassemble your device, follow these instructions in reverse order.
Abschluss
To reassemble your device, follow these instructions in reverse order.
Team

USF Tampa, Team S1-G5, Leahy Spring 2019 Mitglied von USF Tampa, Team S1-G5, Leahy Spring 2019
USFT-LEAHY-S19S1G5
5 Mitglieder
6 Anleitungen geschrieben