Einleitung
Most of your time will be getting the back off of the device. The cameras are held down with a little adhesive but are relatively easy to remove.
Was du brauchst
-
-
Use a Heat Gun to heat the sides of the device one at a time. The Heat Gun will loosen the adhesive.
-
Use thin tools to pry the back of the device off.
-
-
-
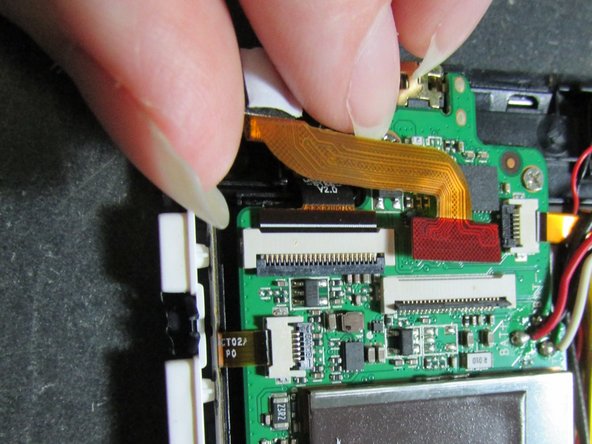
There are two different cameras and each have different ribbons.
-
Unlock both ribbons by flipping the black bar up.
-
-
-
-
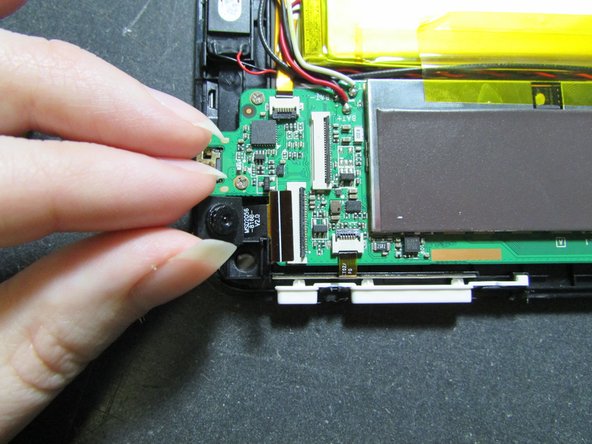
The camera facing towards the table lifts out easily, so go ahead and take that one out.
-


To reassemble your device, follow these instructions in reverse order.
Be advised that you will need to replace the adhesive.
To reassemble your device, follow these instructions in reverse order.
Be advised that you will need to replace the adhesive.
Rückgängig: Ich habe diese Anleitung nicht absolviert.
Ein:e weitere:r Nutzer:in hat diese Anleitung absolviert.
Team

University of Illinois Urbana-Champaign, Team 1-1, Scrogum Spring 2017 Mitglied von University of Illinois Urbana-Champaign, Team 1-1, Scrogum Spring 2017
UICU-SCROGUM-S17S1G1
3 Mitglieder
19 Anleitungen geschrieben