Zum Hauptinhalt wechseln

Oculus Rift Development Kit 2 Camera Motherboard Replacement

Was du brauchst

  1. Oculus Rift Development Kit 2 Camera Motherboard Replacement, Camera Motherboard: Schritt 1, Bild 1 von 2 Oculus Rift Development Kit 2 Camera Motherboard Replacement, Camera Motherboard: Schritt 1, Bild 2 von 2
    • Remove the filter from the camera as shown.

  2. Oculus Rift Development Kit 2 Camera Motherboard Replacement: Schritt 2, Bild 1 von 2 Oculus Rift Development Kit 2 Camera Motherboard Replacement: Schritt 2, Bild 2 von 2
    • Remove the cover plate from the front face of the camera using the iFixit Opening Pick.

  3. Oculus Rift Development Kit 2 Camera Motherboard Replacement: Schritt 3, Bild 1 von 2 Oculus Rift Development Kit 2 Camera Motherboard Replacement: Schritt 3, Bild 2 von 2
    • Remove the two 3/16" J #000 screws.

    • Lift the back plate off.

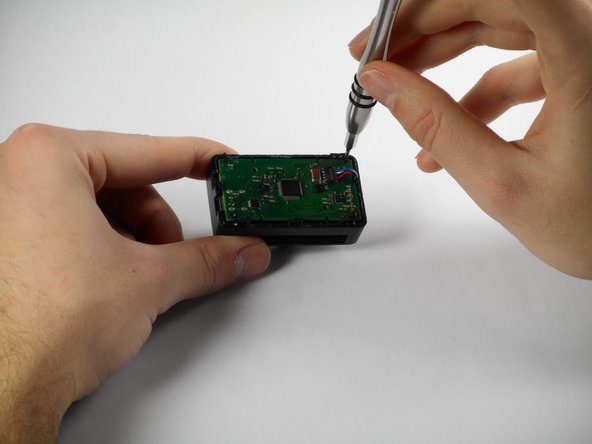
  4. Oculus Rift Development Kit 2 Camera Motherboard Replacement: Schritt 4, Bild 1 von 1
    • Gently tug on the wires to free them from the motherboard.

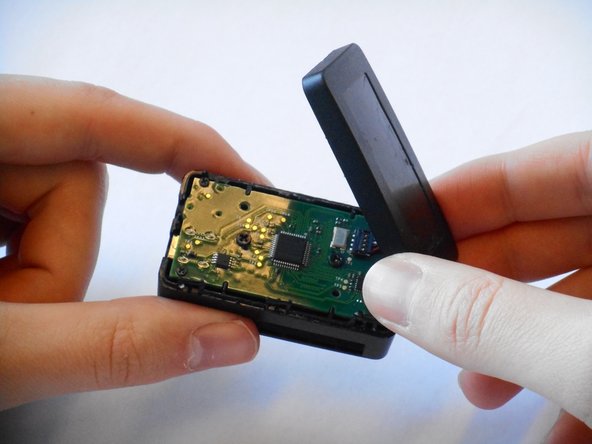
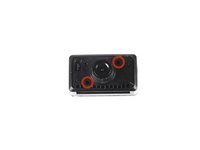
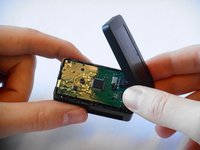
  5. Oculus Rift Development Kit 2 Camera Motherboard Replacement: Schritt 5, Bild 1 von 3 Oculus Rift Development Kit 2 Camera Motherboard Replacement: Schritt 5, Bild 2 von 3 Oculus Rift Development Kit 2 Camera Motherboard Replacement: Schritt 5, Bild 3 von 3
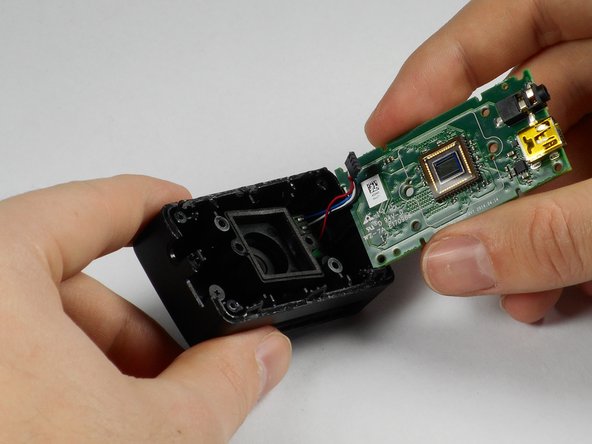
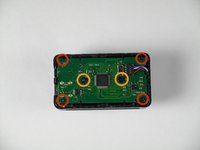
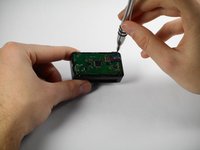
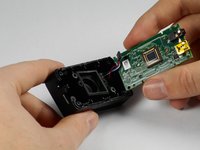
    • Remove the four 3/16" Phillips #000 from the four corners of the motherboard.

    • Remove the two 1/4" Phillips #0 screws shown to release the motherboard from the enclosure.

Abschluss

To reassemble your device, follow these instructions in reverse order.

Ein:e weitere:r Nutzer:in hat diese Anleitung absolviert.

Team

Cal Poly, Team 18-5, Maness Winter 2015 Mitglied von Cal Poly, Team 18-5, Maness Winter 2015

CPSU-MANESS-W15S18G5

4 Mitglieder

6 Anleitungen geschrieben

0 Kommentare

Kommentar hinzufügen

Seitenaufrufe:

Letzte 24 Stunden: 0

Letzte 7 Tage: 4

Letzte 30 Tage: 13

Insgesamt: 669