Einleitung
Are the seals on your locking mechanism wearing down? This guide will provide assistance in replacing and improving the water capability of your camera.
Was du brauchst
-
-
Locate the two latches on the battery compartment.
-
First, move the "lock" switch left to reveal red indicator.
-
Next, move the "cover latch" switch downward to reveal red indicator.
-
-
-
-
Allow the battery compartment latch to completely open.
-
Insert battery with the writing face up.
-
-
-
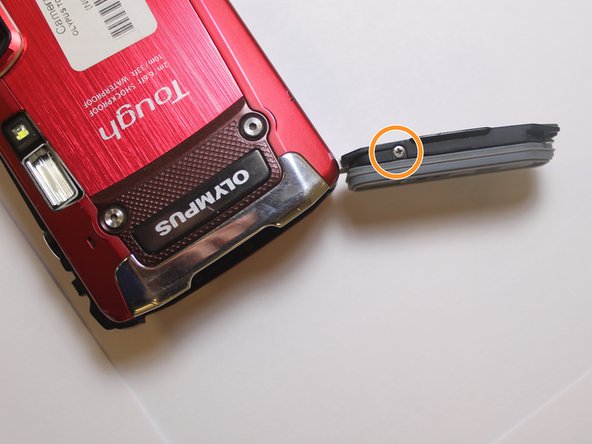
Locate and remove the 4.7mm Phillips #000 screw on the back side of the battery compartment locking mechanism.
-
Locate and remove the 4.7mm Phillips #000 screw on the front side of the battery compartment locking mechanism.
-
-
-
Locate the two screws on the side of the battery compartment.
-
Remove the two 4.85mm Phillips #000 screws.
-
-
-
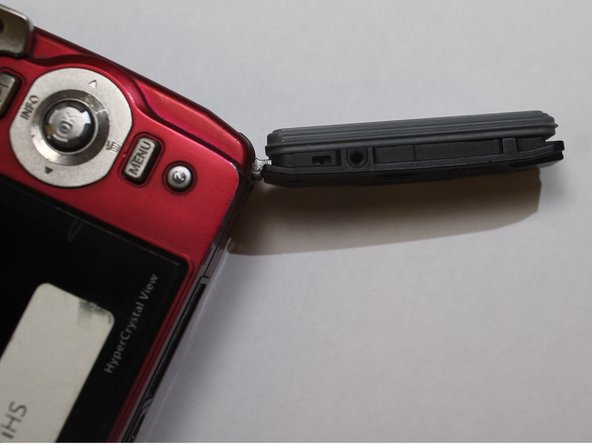
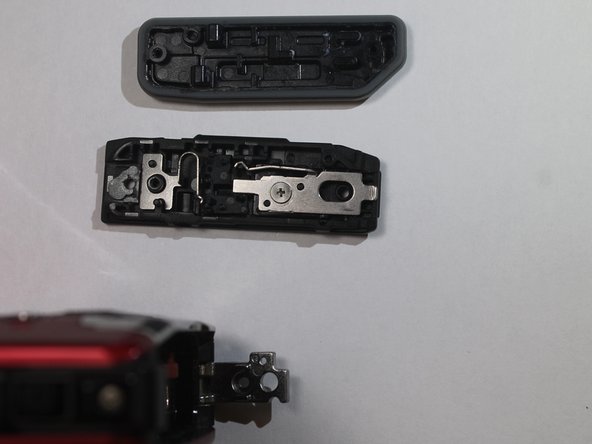
Once all 4 screws are out, the back panel of the battery compartment will come off.
-
The entire battery compartment cover will also detach from the camera.
-


To reassemble your device, follow these instructions in reverse order.
To reassemble your device, follow these instructions in reverse order.
Team

Clemson, Team 7-2, Benson Spring 2016 Mitglied von Clemson, Team 7-2, Benson Spring 2016
CLEM-BENSON-S16S7G2
4 Mitglieder
16 Anleitungen geschrieben