Diese Version enthält möglicherweise inkorrekte Änderungen. Wechsle zur letzten geprüften Version.
Was du brauchst
-
Dieser Schritt ist noch nicht übersetzt. Hilf mit, ihn zu übersetzen!
-
Remove the 4 rubber screw plugs using a spudger.
-
-
Dieser Schritt ist noch nicht übersetzt. Hilf mit, ihn zu übersetzen!
-
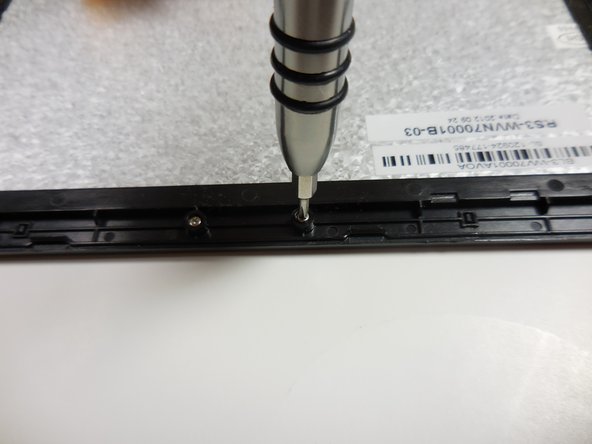
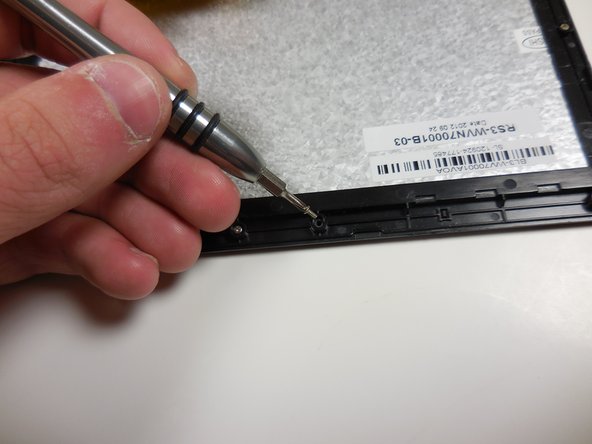
Remove the four 4.8mm mounting screws using a PH00 screwdriver.
-
-
Dieser Schritt ist noch nicht übersetzt. Hilf mit, ihn zu übersetzen!
-
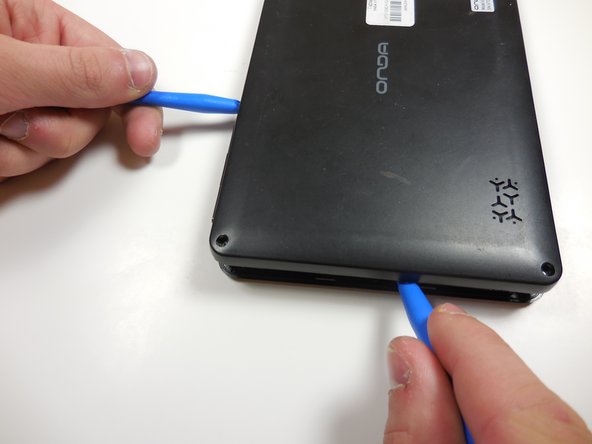
Starting at one corner, gently pry the back panel assembly from the screen assembly using two plastic opening tools.
-
Slide the opening tools around the perimeter of the device to separate the back panel assembly from the screen assembly.
-
-
-
Dieser Schritt ist noch nicht übersetzt. Hilf mit, ihn zu übersetzen!
-
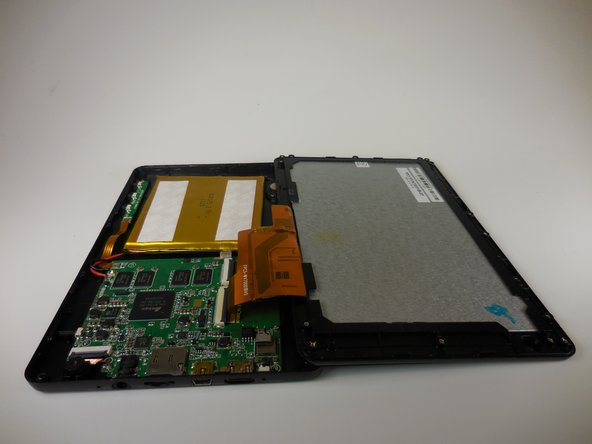
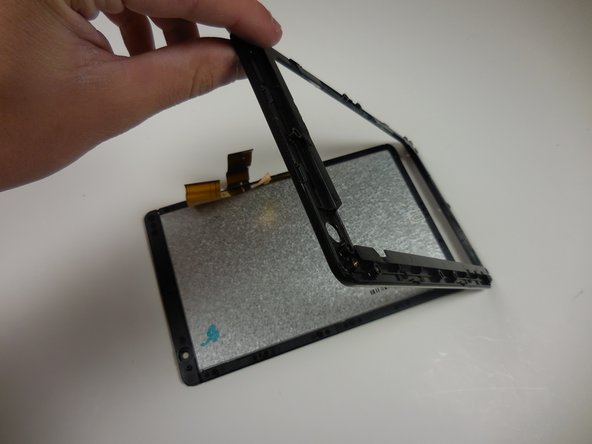
Gently lift the screen assembly away from the back cover assembly.
-
-
Dieser Schritt ist noch nicht übersetzt. Hilf mit, ihn zu übersetzen!
-
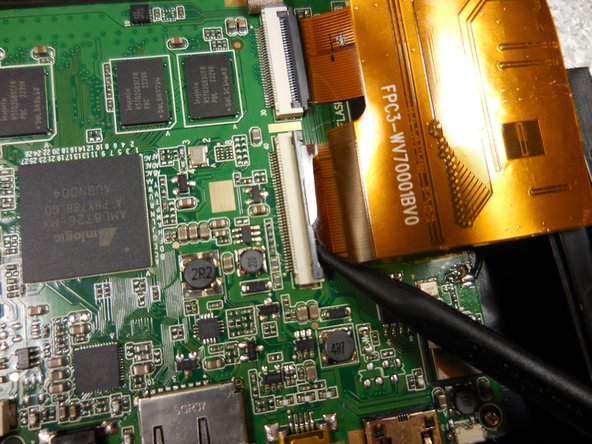
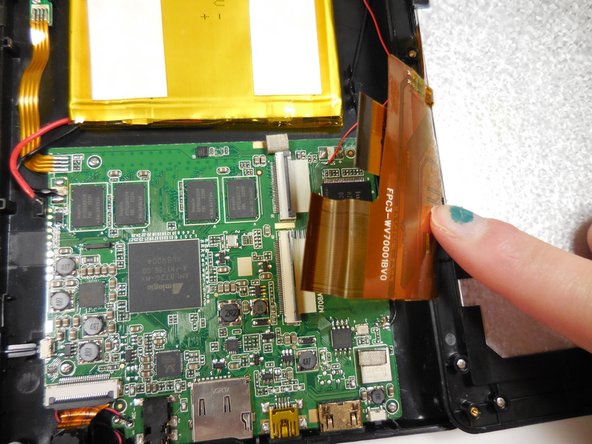
Disconnect the two ribbon connectors by flipping the gray tabs up with a fingernail or a spudger.
-
Remove the ribbon cables.
-
-
Dieser Schritt ist noch nicht übersetzt. Hilf mit, ihn zu übersetzen!
-
Remove all 14 of the 3.6mm screws using a PH00 screwdriver.
-
-
Dieser Schritt ist noch nicht übersetzt. Hilf mit, ihn zu übersetzen!
-
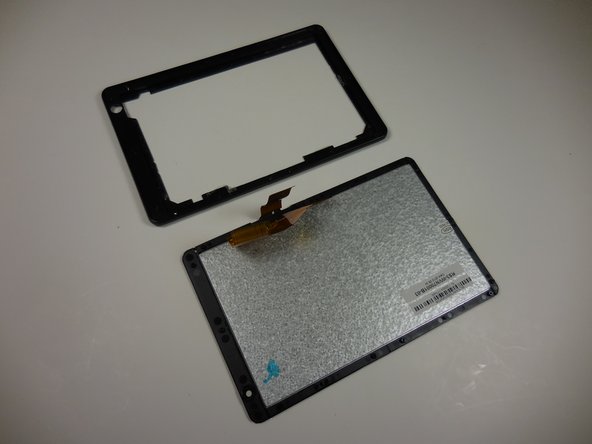
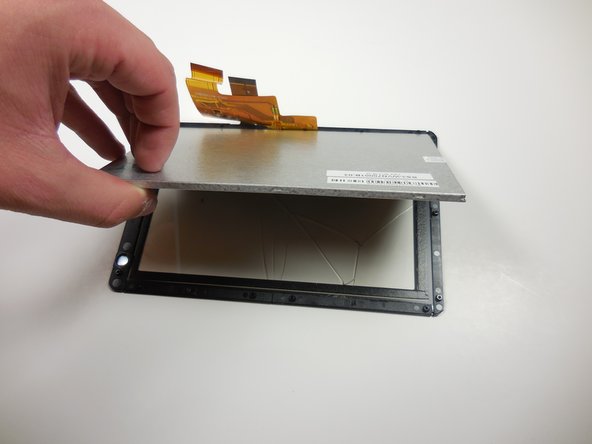
Gently separate the screen from the plastic border/screen holder by pulling it off with your hands.
-
-
Dieser Schritt ist noch nicht übersetzt. Hilf mit, ihn zu übersetzen!
-
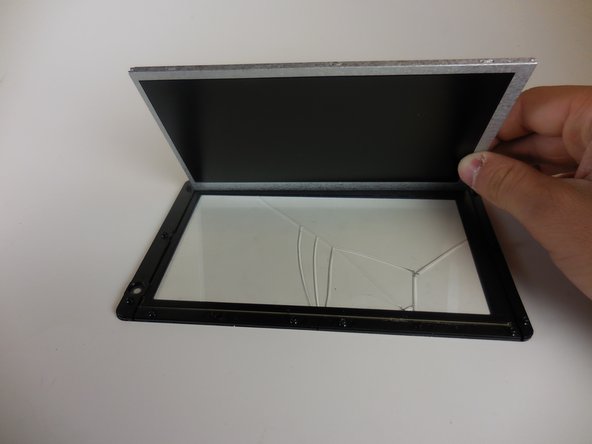
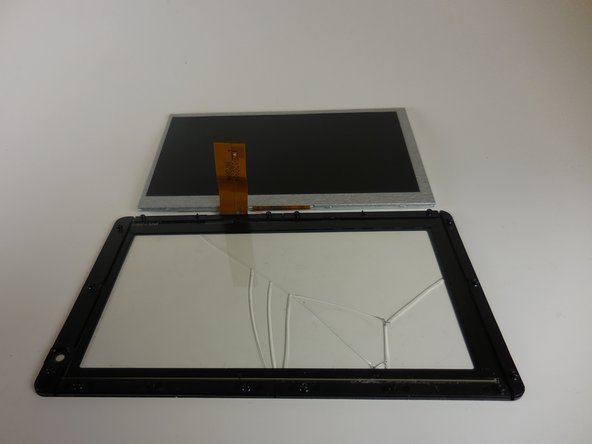
Remove the grey monitor from the glass screen cover by gently lifting it up.
-


Rückgängig: Ich habe diese Anleitung nicht absolviert.
Ein:e weitere:r Nutzer:in hat diese Anleitung absolviert.
Team

Colorado Springs, Team 4-6, Panko Spring 2015 Mitglied von Colorado Springs, Team 4-6, Panko Spring 2015
UCCS-PANKO-S15S4G6
3 Mitglieder
10 Anleitungen geschrieben