Zum Hauptinhalt wechseln

One Education Infinity:One Dock Contact Assembly Replacement

Was du brauchst

  1. One Education Infinity:One Dock Contact Assembly Replacement, Battery: Schritt 1, Bild 1 von 2 One Education Infinity:One Dock Contact Assembly Replacement, Battery: Schritt 1, Bild 2 von 2
    • Use a spudger to disconnect the black bundled cable connector from the motherboard.

  2. One Education Infinity:One Dock Contact Assembly Replacement: Schritt 2, Bild 1 von 3 One Education Infinity:One Dock Contact Assembly Replacement: Schritt 2, Bild 2 von 3 One Education Infinity:One Dock Contact Assembly Replacement: Schritt 2, Bild 3 von 3
    • Use a spudger to lift the black tab on top of the ZIF connector.

    • Slide the ribbon cable out of the connector.

  3. One Education Infinity:One Dock Contact Assembly Replacement: Schritt 3, Bild 1 von 3 One Education Infinity:One Dock Contact Assembly Replacement: Schritt 3, Bild 2 von 3 One Education Infinity:One Dock Contact Assembly Replacement: Schritt 3, Bild 3 von 3
    • Use a spudger to flip up the black retaining flap on the ZIF connector.

    • Pull the folded ribbon cable straight out of the connector.

    • This ribbon cable must be disconnected before removing the battery because it is attached to the battery with adhesive.

  4. One Education Infinity:One Dock Contact Assembly Replacement: Schritt 4, Bild 1 von 1
    • Use a spudger to pry the battery away from the device.

    • Always use ESD safe tools when working with delicate electrical components.

  5. One Education Infinity:One Dock Contact Assembly Replacement, Dock Contact Assembly: Schritt 5, Bild 1 von 1
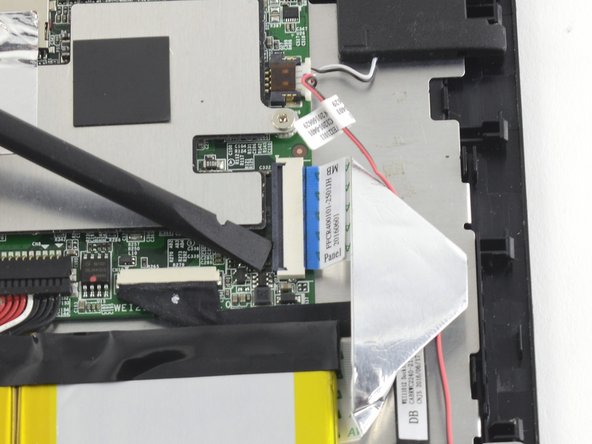
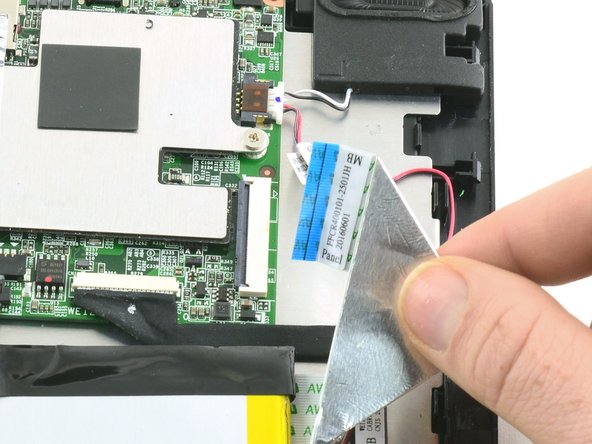
    • Use tweezers to pull the dock contact display cable away from the connector on the motherboard.

  6. One Education Infinity:One Dock Contact Assembly Replacement: Schritt 6, Bild 1 von 1
    • Use a Phillips #000 screwdriver to unscrew the two 4.2mm screws from the circuit board containing the dock contact.

  7. One Education Infinity:One Dock Contact Assembly Replacement: Schritt 7, Bild 1 von 1
    • Lift the dock contact assembly away from the device.

Abschluss

To reassemble your device, follow these instructions in reverse order.

Taylor Bratsch

Mitglied seit: 09/06/16

5.742 Reputation

14 Anleitungen geschrieben

0 Kommentare

Kommentar hinzufügen

Seitenaufrufe:

Letzte 24 Stunden: 0

Letzte 7 Tage: 0

Letzte 30 Tage: 1

Insgesamt: 150