Einleitung
This guide will give a step by step instruction on how to safely remove the components leading up to the front facing camera.
Was du brauchst
-
-
Use a heat gun to gently heat the back edges of the phone to loosen the adhesive.
-
Use a plastic opening tool to pry the back cover up.
-
Carefully lift the back cover off.
-
-
-
Use tweezers to disconnect the red pull-away tab up from the motherboard.
-
Detach the orange camera ribbon cable, below the red tab, using the tweezers.
-
Grip the green tab and lift the battery up and out of the chassis.
-
-
-
-
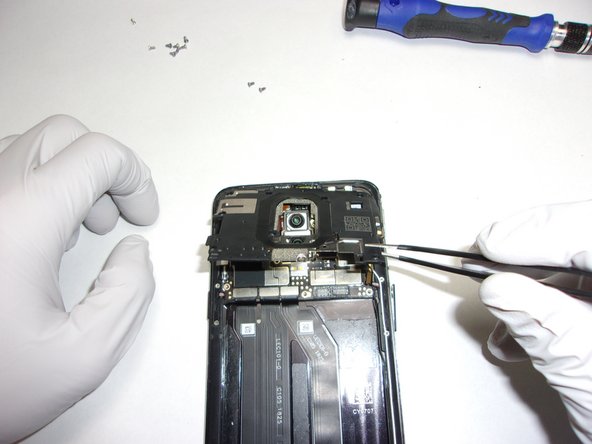
Use a Phillips #000 screwdriver to remove the ten screws from the motherboard harness.
-
Pull the motherboard harness up using the tweezers
-
-
-
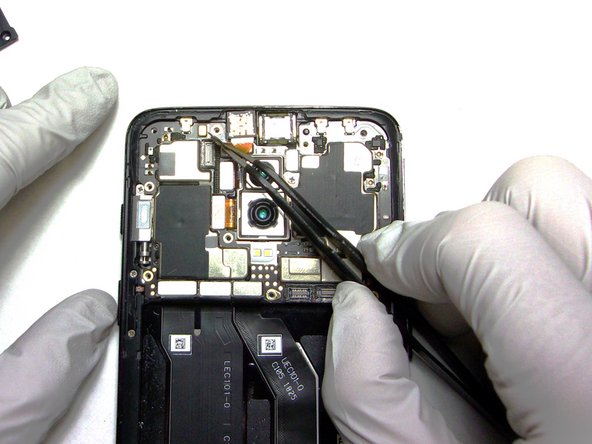
Use the pointed tip of a spudger to lift the front-facing camera's pin connection, gently prying on the plug vertically until it completely releases.
-
Lift the front-facing camera up and out using tweezers.
-


To reassemble your device, follow these instructions in reverse order.
To reassemble your device, follow these instructions in reverse order.
Rückgängig: Ich habe diese Anleitung nicht absolviert.
2 weitere Nutzer:innen haben diese Anleitung absolviert.
Team

The Citadel Military College of South Carolina, Team 7-8, Eggleston Spring 2022 Mitglied von The Citadel Military College of South Carolina, Team 7-8, Eggleston Spring 2022
CMCSC-EGGLESTON-S22S7G8
3 Mitglieder
3 Anleitungen geschrieben