Einleitung
Problem: The amplifier doesnt switch on.
The reason can be a broken fuse which can be easily replaced.
Was du brauchst
-
-
Before opening you can check if the Power button in the back of the amplifier is in correct position. I think it is not obvious to see, so it may be the problem that the device is not switching on.
-
-
-
Switch of the device and UNPLUG THE CABLE
-
Unscrew the 4 screws on the sides and 1 screw at the back to remove the cover.
-
-
-
-
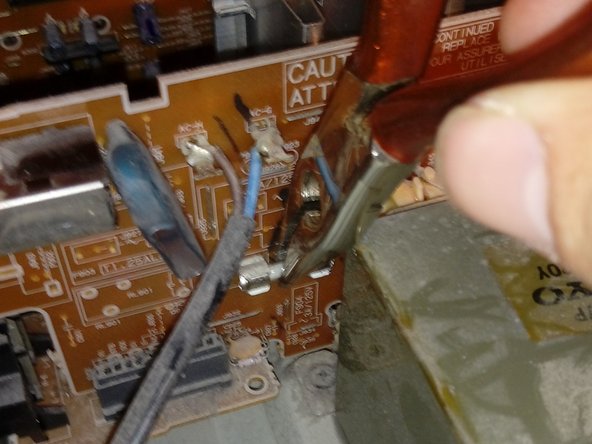
The fuse is placed near the power supply cable. You can remove it by gently pulling with thin pliers. If it is broken, you should see that there is no connection inside the fuse.
-
-
-
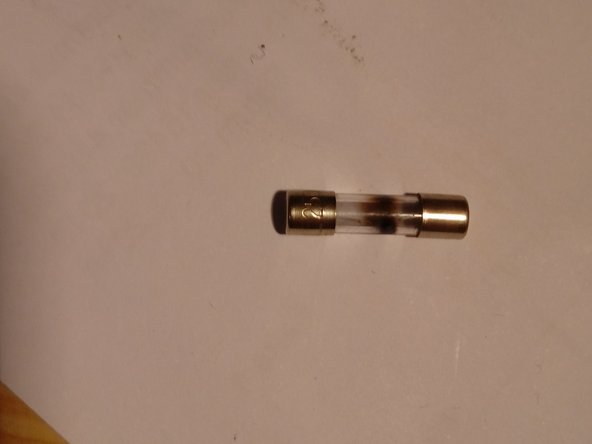
Check the code on the Fuse: it is "T1A L250V". Explanation can be found on this page: https://www.swe-check.com.au/pages/learn...
-
The new fuse must have similar properties to ensure a safe operation. Otherwise the risk of fire occurs due to high currents.
-
The new fuse can be easily put into the holding metals with the pliers
-
Put on the cover again and fix the screws
-


To reassemble your device, follow these instructions in reverse order.
To reassemble your device, follow these instructions in reverse order.