Einleitung
The heating coils may get dirty or in operable with use. This guide will show how to remove the heating coils in order to properly replace or clean them. Prior to replacing the heating coils, ensure that the heating problem is not caused by electrical errors as discussed in the troubleshooting page.
Was du brauchst
-
-
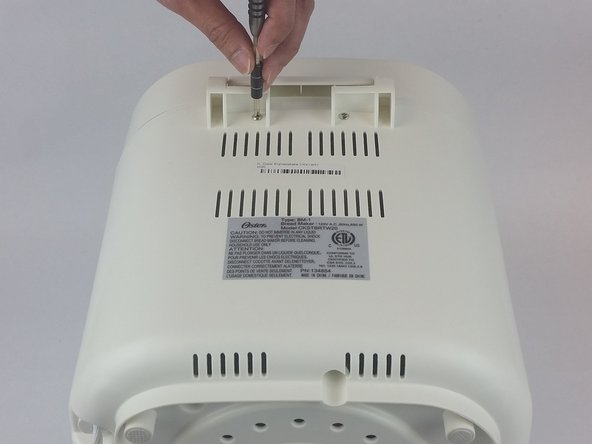
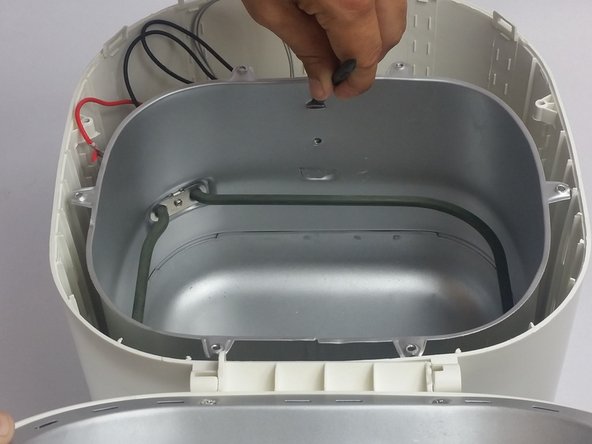
Remove the eight 22mm Phillips #1 screws from the grey lining.
-
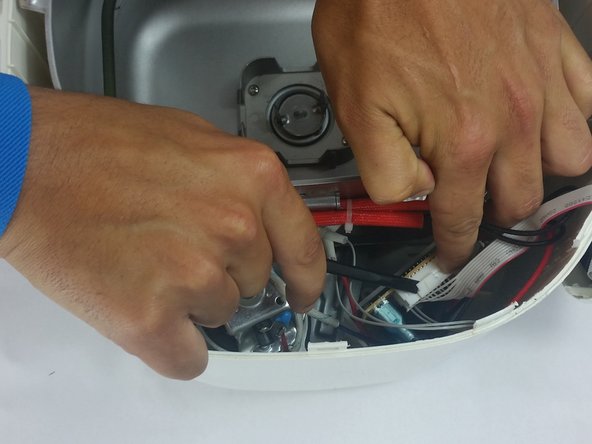
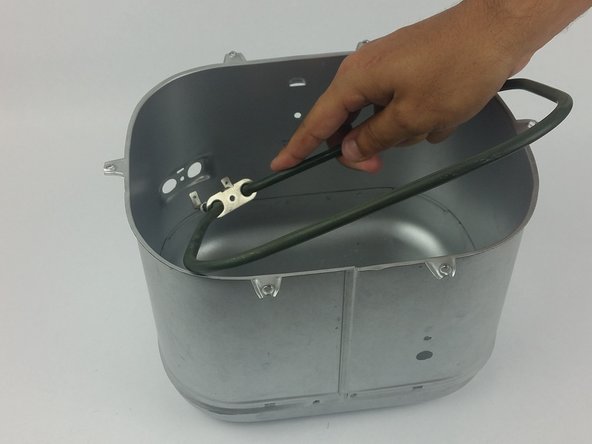
Remove the grey liner.
-
-
-
-
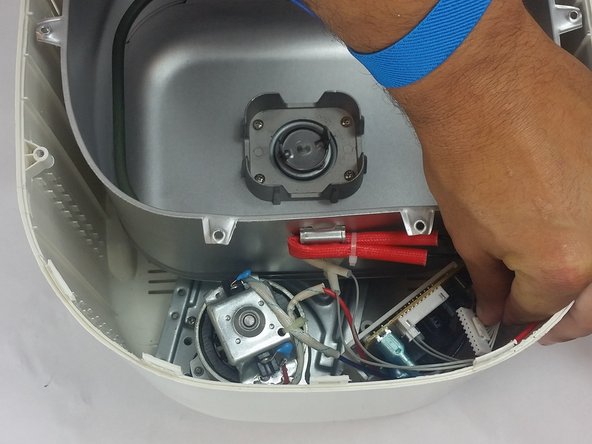
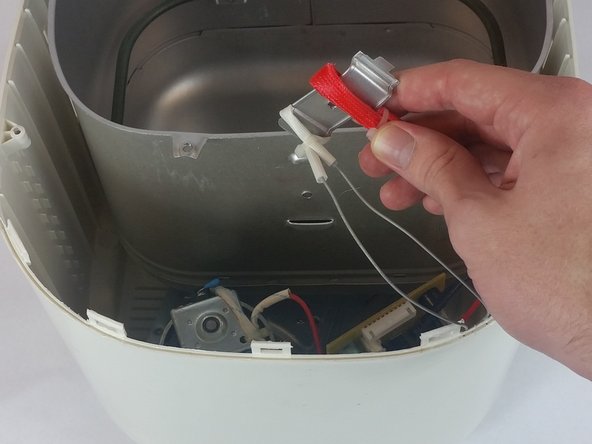
Remove the four 11mm Phillips #1 screws holding from the guard and inner lining.
-
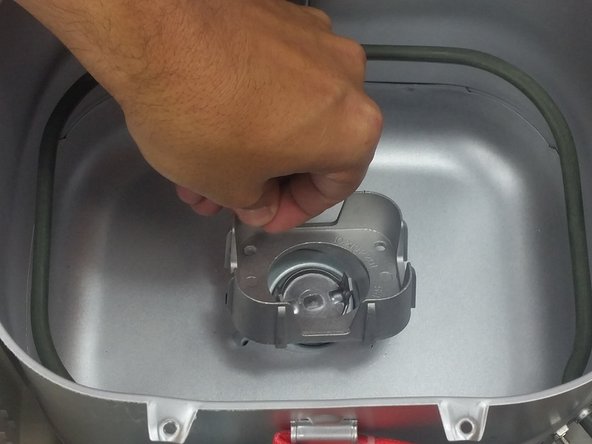
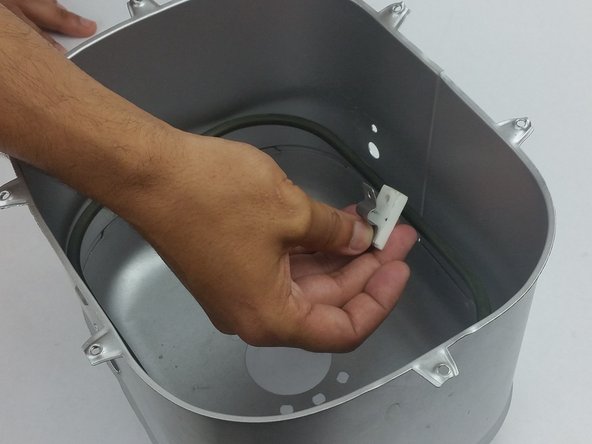
Remove small rectangular guard from bottom of liner
-
-
-
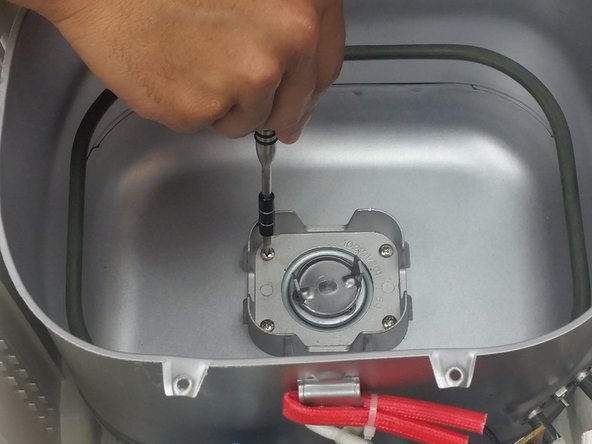
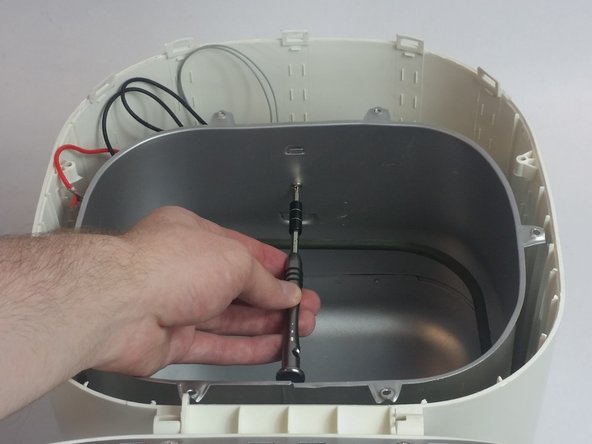
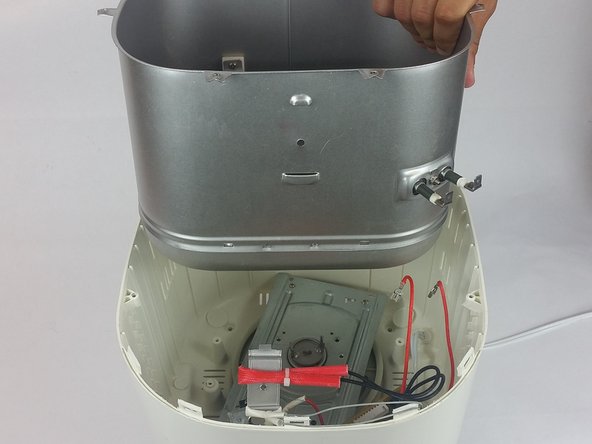
Remove the single 11mm Phillips #1 screw thats holding and inner lining in place.
-
-
-
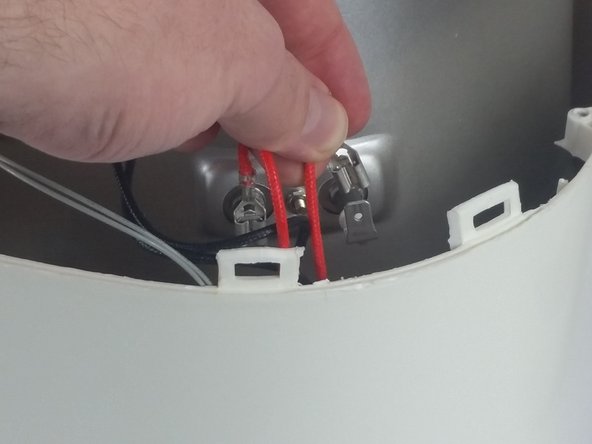
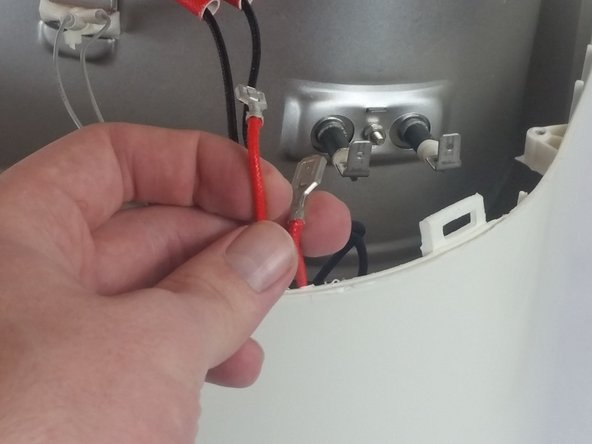
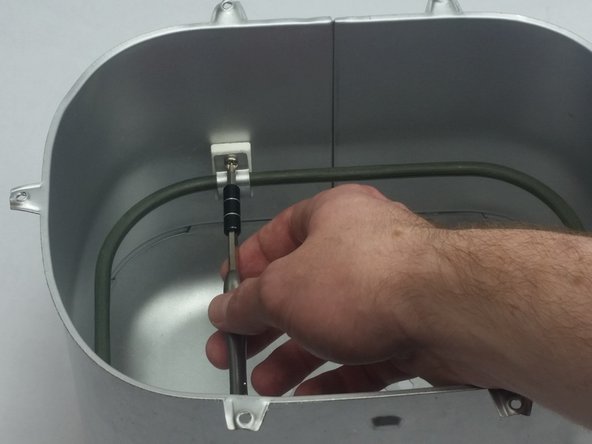
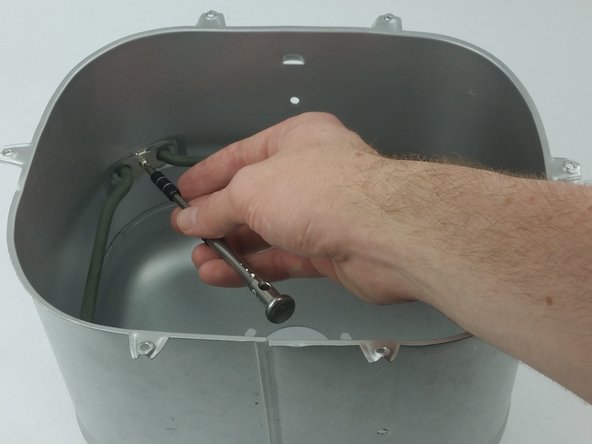
Remove the two 11mm Phillips #1 screws from the inside of the chamber.
-


To reassemble your device, follow these instructions in reverse order.
To reassemble your device, follow these instructions in reverse order.
Rückgängig: Ich habe diese Anleitung nicht absolviert.
Ein:e weitere:r Nutzer:in hat diese Anleitung absolviert.
Team

USF Tampa, Team S7-G5, Passmore Spring 2018 Mitglied von USF Tampa, Team S7-G5, Passmore Spring 2018
USFT-PASSMORE-S18S7G5
4 Mitglieder
5 Anleitungen geschrieben
Ein Kommentar
We odered a new element but when we took the maker apart one of the leads was not attached. The maker had “walked” off our slick countertop and we think that is when the lead came off. We cleaned the felt pads and put silicone pads on top of those and now it stays stationary. Thank you for this tutorial. Love being able to fix things instead of tossing them. We have repaired our dishwasher twice and even the microwave. Freedom to repair is vital.