Zum Hauptinhalt wechseln

Palm Pre 2 Motherboard Replacement

Was du brauchst

  1. Palm Pre 2 Motherboard Replacement, Motherboard: Schritt 1, Bild 1 von 2 Palm Pre 2 Motherboard Replacement, Motherboard: Schritt 1, Bild 2 von 2
    • Make sure your Palm Pre 2 is turned off before taking apart the phone.

    • Snap off the back panel to reveal the battery using the opening tool.

  2. Palm Pre 2 Motherboard Replacement: Schritt 2, Bild 1 von 3 Palm Pre 2 Motherboard Replacement: Schritt 2, Bild 2 von 3 Palm Pre 2 Motherboard Replacement: Schritt 2, Bild 3 von 3
    • Pull on the tab to remove the battery.

  3. Palm Pre 2 Motherboard Replacement: Schritt 3, Bild 1 von 2 Palm Pre 2 Motherboard Replacement: Schritt 3, Bild 2 von 2
    • Use the T5 Torx Screwdriver to remove the six screws that hold the back of the frame in place.

  4. Palm Pre 2 Motherboard Replacement: Schritt 4, Bild 1 von 2 Palm Pre 2 Motherboard Replacement: Schritt 4, Bild 2 von 2
    • Use a spudger to open the hinge that covers the black and white GPS and DIV antennas (Reference the red box in the image).

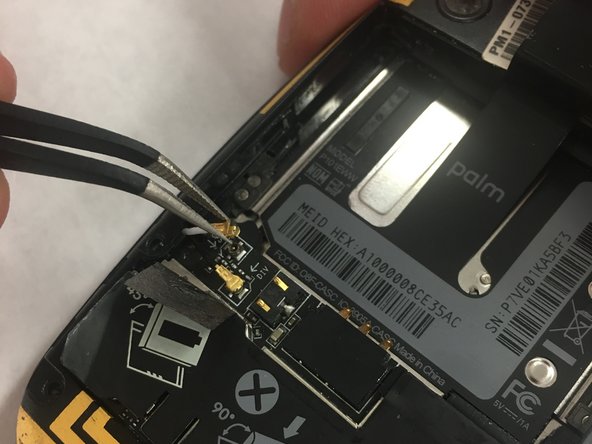
    • Use tweezers to remove the two antennas from the keypad control board.

  5. Palm Pre 2 Motherboard Replacement: Schritt 5, Bild 1 von 2 Palm Pre 2 Motherboard Replacement: Schritt 5, Bild 2 von 2
    • Use the opening tool to pry off the (black and yellow) back frame.

  6. Palm Pre 2 Motherboard Replacement: Schritt 6, Bild 1 von 3 Palm Pre 2 Motherboard Replacement: Schritt 6, Bild 2 von 3 Palm Pre 2 Motherboard Replacement: Schritt 6, Bild 3 von 3
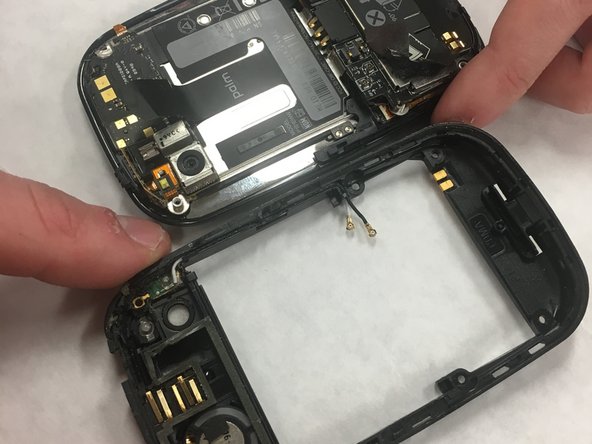
    • Use the opening tool to remove the panel on the main part of the phone.

    • Use the tweezers to get access to remove the panel giving access to the cable connectors.

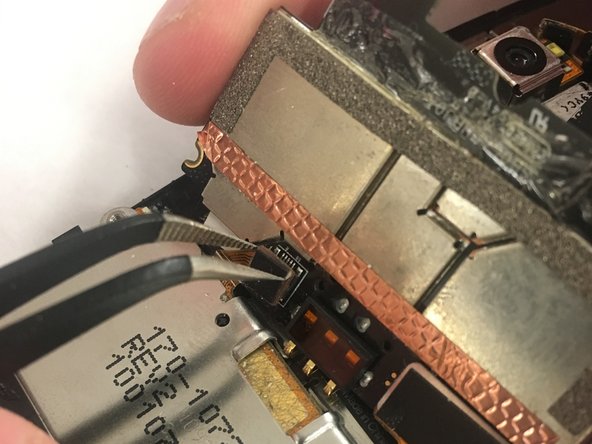
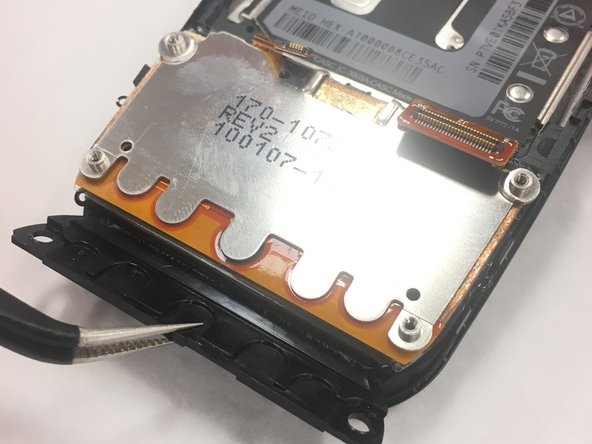
    • Remove the two ribbon cable connectors using the tweezers.

  7. Palm Pre 2 Motherboard Replacement: Schritt 7, Bild 1 von 1
    • Use tweezers to separate the keyboard from the phone.

  8. Palm Pre 2 Motherboard Replacement: Schritt 8, Bild 1 von 2 Palm Pre 2 Motherboard Replacement: Schritt 8, Bild 2 von 2
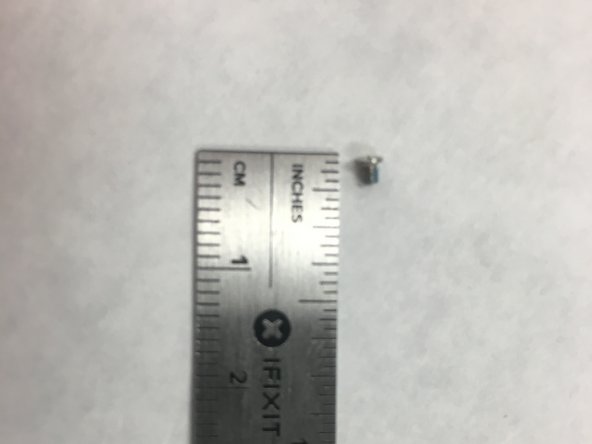
    • Use a Phillips #0 screwdriver to remove the remaining 4 screws from the main portion of the phone.

    • Use an opening tool to remove the motherboard.

Abschluss

To reassemble your device, follow these instructions in reverse order.

Cole Simmerman

Mitglied seit: 01/08/18

160 Reputation

1 Anleitung geschrieben

Team

IUPUI, Team S1-G6, Freund Spring 2018 Mitglied von IUPUI, Team S1-G6, Freund Spring 2018

IUPUI-FREUND-S18S1G6

2 Mitglieder

4 Anleitungen geschrieben

0 Kommentare

Kommentar hinzufügen

Seitenaufrufe:

Letzte 24 Stunden: 0

Letzte 7 Tage: 2

Letzte 30 Tage: 4

Insgesamt: 257