Diese Version enthält möglicherweise inkorrekte Änderungen. Wechsle zur letzten geprüften Version.
Was du brauchst
-
Dieser Schritt ist noch nicht übersetzt. Hilf mit, ihn zu übersetzen!
-
On the back of the device, locate the 3 rubber plugs, and use a plastic spudger to remove them.
-
-
Dieser Schritt ist noch nicht übersetzt. Hilf mit, ihn zu übersetzen!
-
Use the T6 Torx Screwdriver to remove all 4 screws.
-
-
-
Dieser Schritt ist noch nicht übersetzt. Hilf mit, ihn zu übersetzen!
-
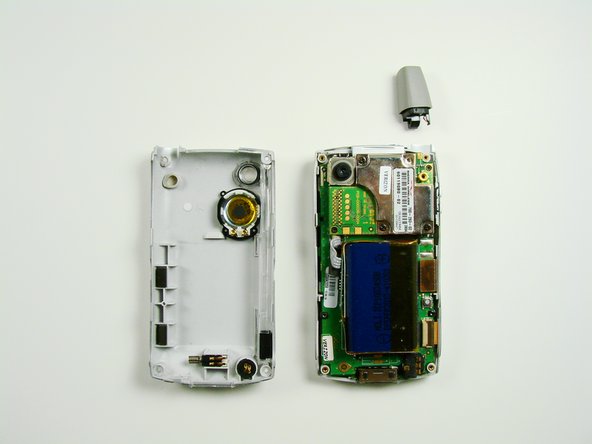
Using a plastic opening tool, carefully separate the front and back cases.
-
-
Dieser Schritt ist noch nicht übersetzt. Hilf mit, ihn zu übersetzen!
-
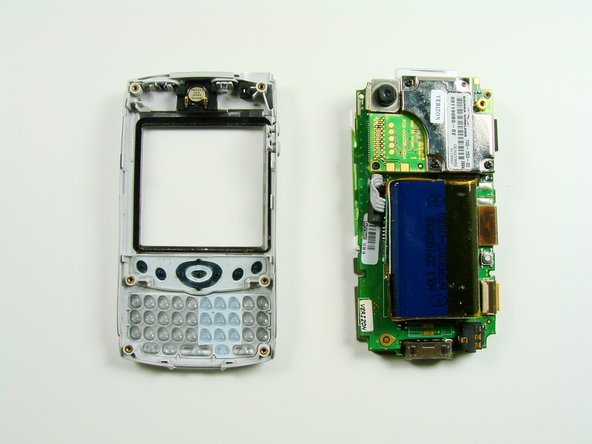
Using a T6 Torx Screwdriver, remove the two screws.
-
-
Dieser Schritt ist noch nicht übersetzt. Hilf mit, ihn zu übersetzen!
-
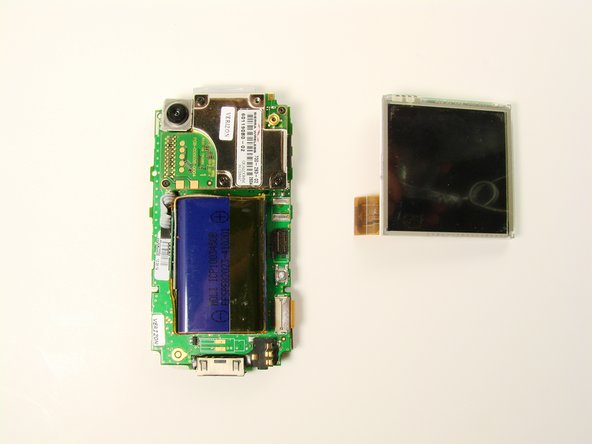
The screen is connected to the phone with an orange data cable.
-
Slide the spudger as close to the connection as possible.
-
Gently pull the spudger up and the cable should come out of the socket.
-
-
Dieser Schritt ist noch nicht übersetzt. Hilf mit, ihn zu übersetzen!
-
Once the cable is unplugged, you can remove the screen from the body.
-


Team

Cal Poly, Team 13-23, Maness Winter 2010 Mitglied von Cal Poly, Team 13-23, Maness Winter 2010
CPSU-MANESS-W10S13G23
4 Mitglieder
16 Anleitungen geschrieben