Einleitung
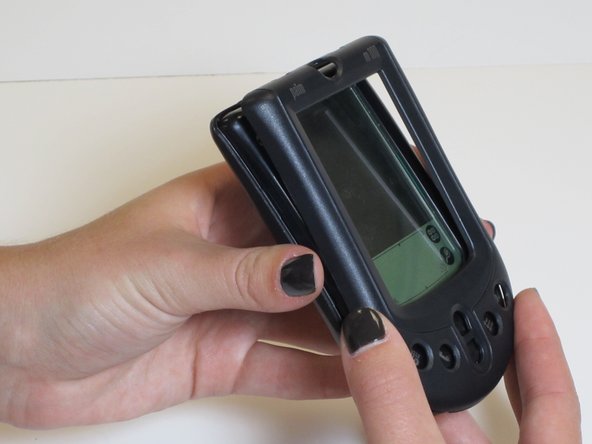
If the front and/or rear cover is cracked, this guide will teach the user to remove the damaged cover and replace with a new one.
Was du brauchst
-
-
Using a Torx 5 screwdriver, remove the four screws located on the rear cover of the device by turning counterclockwise. Set aside screws.
-
-
-
-
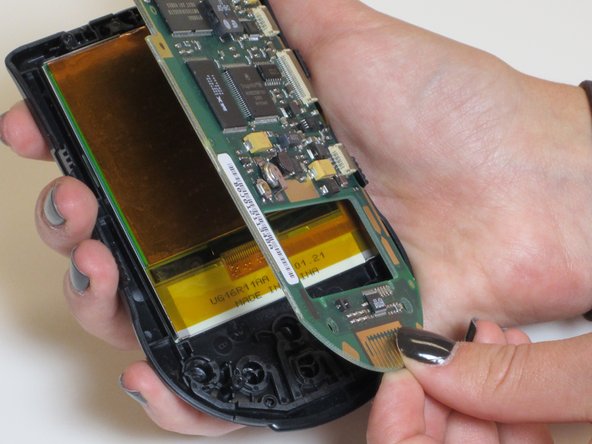
Remove rear cover by gently lifting it up from the bottom. To remove the front cover, flip the device over, and then separate the screen/circuit board from the cover.
-
-
-
Close again like a book, and lay it gently into the front panel. Make sure the screen is facing outwards of the front panel.
-
-
-
Put the back cover on the device and screw the four screws, screwing in a clockwise direction. Take caution not to over-tighten the screws.
-


To reassemble your device, follow these instructions in reverse order.
To reassemble your device, follow these instructions in reverse order.
Team

James Madison, Team 1-3, Allen Fall 2011 Mitglied von James Madison, Team 1-3, Allen Fall 2011
JMU-ALLEN-F11S1G3
5 Mitglieder
5 Anleitungen geschrieben