Einleitung
Panasonic Lumix DMC-G5 Back panel replacement is required if the back panel of the camera is damaged. Examples of back panel damage are button problems and LCD cracking. Removal of back panel requires removal of several small screws.
Was du brauchst
-
-
-
Remove the viewfinder lid.
-
Then, remove the two JIS #000 screws on the viewfinder.
-
-
-
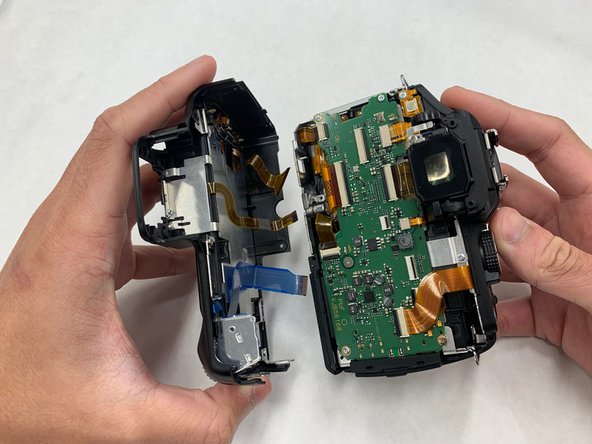
Gently remove the back panel from the camera.
-
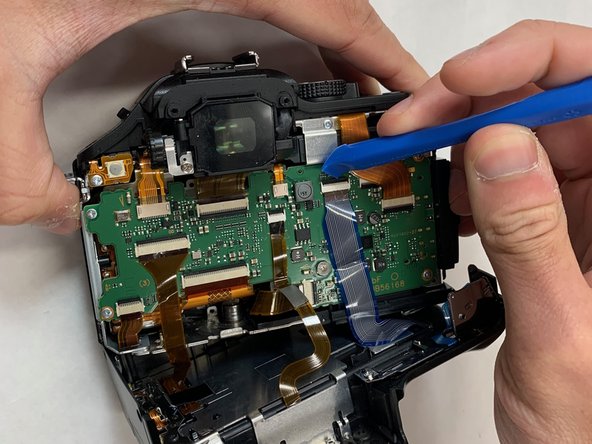
Unclip the ribbon cable from the motherboard using Wide Plastic Opening Tools and pull the cable gently.
-


To reassemble your device, follow these instructions in reverse order.
To reassemble your device, follow these instructions in reverse order.
Rückgängig: Ich habe diese Anleitung nicht absolviert.
Ein:e weitere:r Nutzer:in hat diese Anleitung absolviert.
Team

IUPUI, Team S1-G4, Harley Summer 2019 Mitglied von IUPUI, Team S1-G4, Harley Summer 2019
IUPUI-HARLEY-SU19S1G4
3 Mitglieder
8 Anleitungen geschrieben