Einleitung
Camera lens' play a huge role in making cameras effective. Replacing a lens is easy as 1-2-3 and only takes 10-13 minutes.
Was du brauchst
-
-
Take a Phillips Head screwdriver and remove the 2mm screws on the left and right side of the camera.
-
-
-
Remove the 3 Phillips 4mm screws located on the aluminum plating inside the camera.
-
Then remove the 3 Phillips 2mm screws located in the middle of the aluminum plating.
-
-
-
-
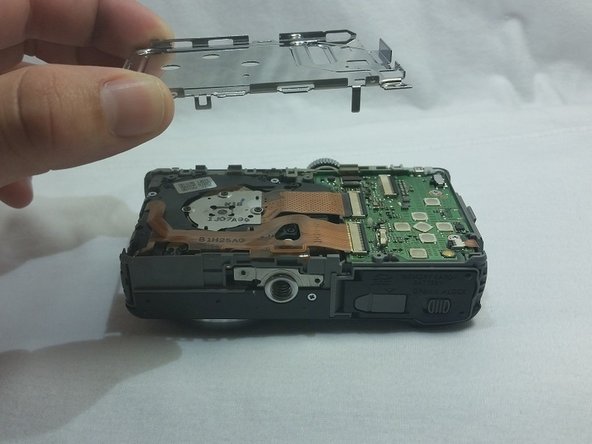
Lay the camera on the front side where the aluminum panel is facing up.
-
Once the camera is in the right position, lift up the aluminum plating.
-
-
-
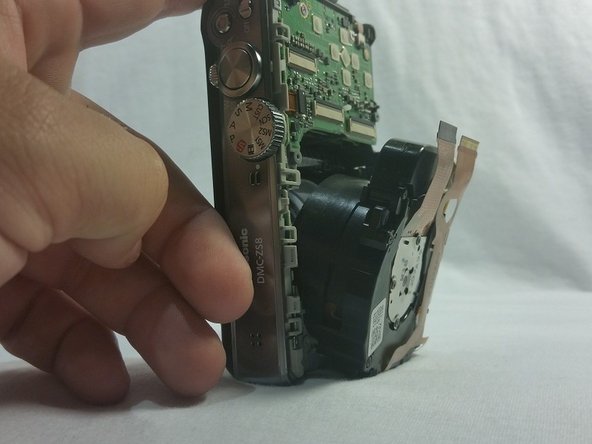
Stand the camera up in the upright position.
-
Unplug both copper wiring plugs from the motherboard.
-
-
-
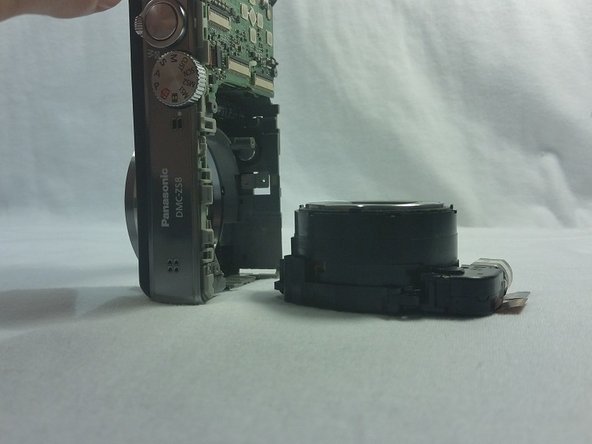
Lift your camera into the upright position
-
The camera lens should slide out. (Pry it out with a spudger or a plastic opening tool if needed)
-


To reassemble your device, follow these instructions in reverse order.
To reassemble your device, follow these instructions in reverse order.
Rückgängig: Ich habe diese Anleitung nicht absolviert.
Ein:e weitere:r Nutzer:in hat diese Anleitung absolviert.
Team

Sam Houston State, Team 13-13, Blackburne Spring 2015 Mitglied von Sam Houston State, Team 13-13, Blackburne Spring 2015
SHSU-BLACKBURNE-S15S13G13
4 Mitglieder
10 Anleitungen geschrieben