Diese Version enthält möglicherweise inkorrekte Änderungen. Wechsle zur letzten geprüften Version.
Was du brauchst
-
Dieser Schritt ist noch nicht übersetzt. Hilf mit, ihn zu übersetzen!
-
First you have to empty the fridge, because when you move it the things inside could fall over. Move it away from the wall. Take care of the waterhose.
-
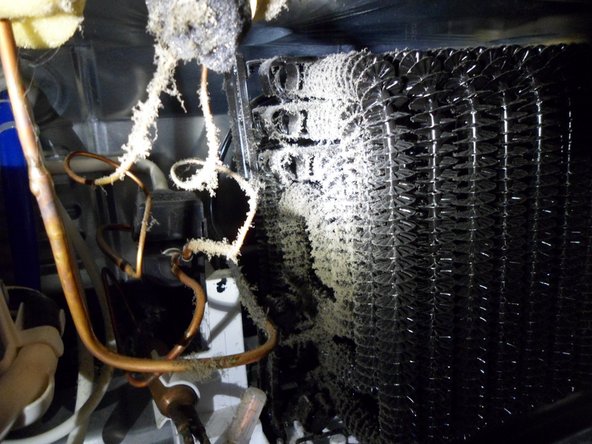
On the picture yoou see the bad clogged air louvers on the backside of my fridge. This is the filth from only THREE YEARS ! The air cant flow unhindered, thats very bad for the fridge.
-
When you open it, Be VERY careful, in the pipes is a flammable gas.
-
-
Dieser Schritt ist noch nicht übersetzt. Hilf mit, ihn zu übersetzen!
-
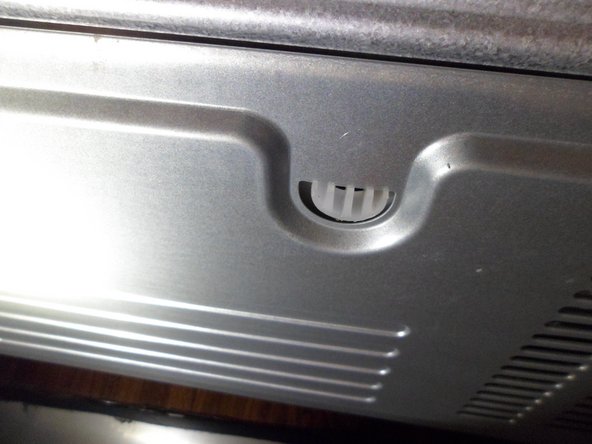
There are PH2 screws on the backplate. One is hidden behind the waterhose.
-
All screws have the same length
-
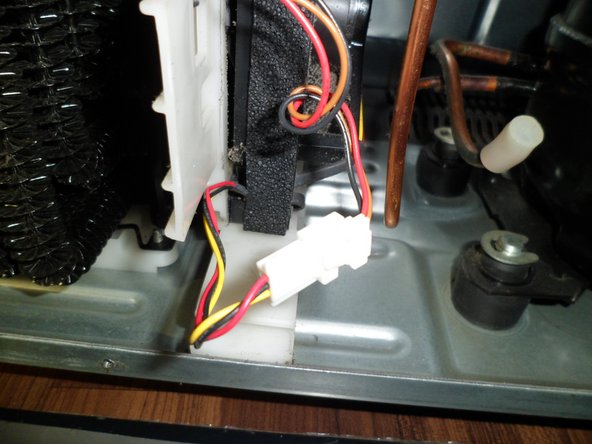
In the green circle, there is the water outlet from the reservoir of the defrosting automatic. there is water in it ! So open the plate slowly.
-
I had to cut the waterhose, when you do this too dont forget to close the faucet. I put some aluminiumfoil on the hose, so there cant get any dust in the hose, because there is lots of dust and its not good when dust gets into the waterhose of the fridge. You must have a 1/4" coupler to reassmble the waterhose when you are done !!!
-
-
Dieser Schritt ist noch nicht übersetzt. Hilf mit, ihn zu übersetzen!
-
No words necessary. So that are pictures from the inside, behind the backplate. ... Thats the pollution from ONLY 3 years, and you would not believe me but we have a "clean" household...
-
-
Dieser Schritt ist noch nicht übersetzt. Hilf mit, ihn zu übersetzen!
-
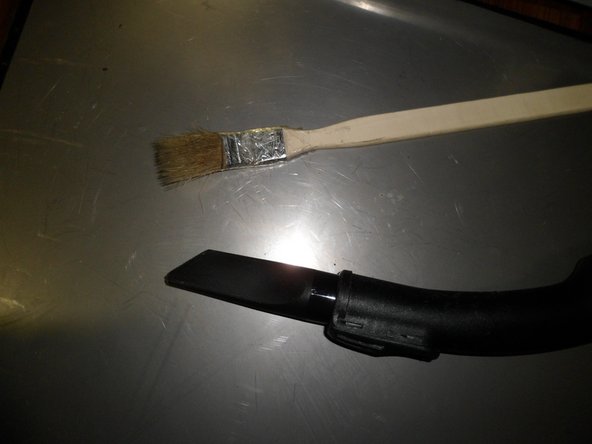
So take a new, clean & long paintbrush and the vacuum-cleaner and do the best you can to remove all the dirt. Ja, much better now.
-
-
-
Dieser Schritt ist noch nicht übersetzt. Hilf mit, ihn zu übersetzen!
-
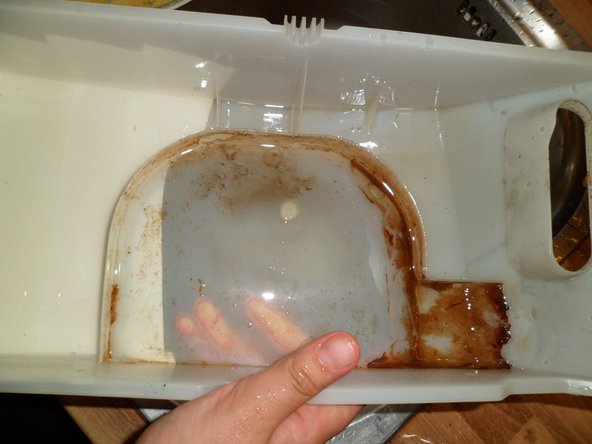
Also clean the waterreservoir, It can easy pulled out, but slowly, there is water in it. Looks like Bratensosse zu my Schnitzel.
-
-
Dieser Schritt ist noch nicht übersetzt. Hilf mit, ihn zu übersetzen!
-
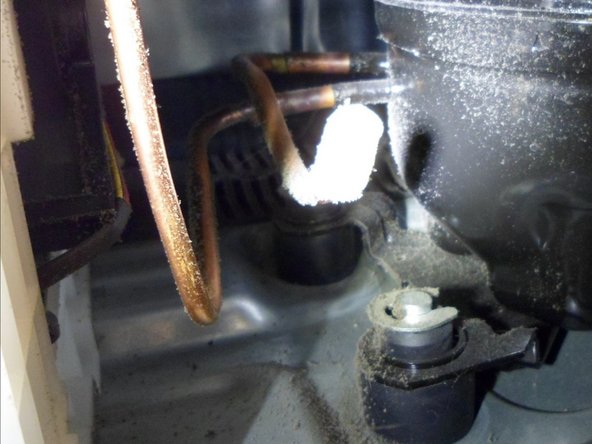
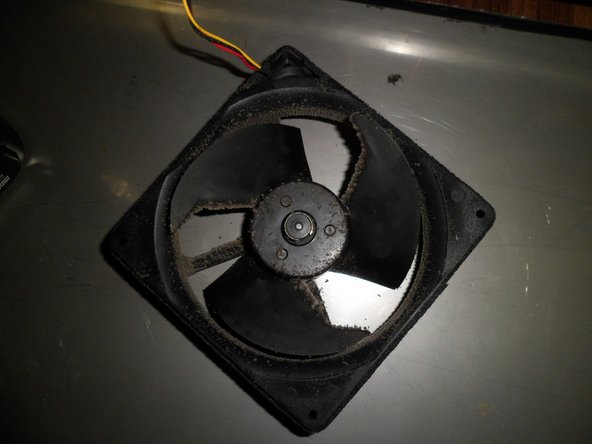
The fan has a white Bracket with some foam at a gaspipe. I have no Photo of that part, but you can see it in Step #9. Goto to #9, Ja. ...carefully remove it. There is a plug with a clip. The fan has no screws and no clipse. Just pull it carefully. Very easy !
-
-
Dieser Schritt ist noch nicht übersetzt. Hilf mit, ihn zu übersetzen!
-
Here you can read the Print on that Fan.
-
It says: NMB MAT - 1L12A79 - g51 - Model 4715JL-09W-S29 - DC 11.5V - 0,19A - Minebea Motor China ...
-
-
Dieser Schritt ist noch nicht übersetzt. Hilf mit, ihn zu übersetzen!
-
Here you can see how to put back the water reservoir. There are no screws, no clipse and no tricks.
-
That big black thing is the compressor. It could be HOT, be careful - and it contains flammable gas, be VERY careful. The pipes are filled with flammable gas too !
-
-
Dieser Schritt ist noch nicht übersetzt. Hilf mit, ihn zu übersetzen!
-
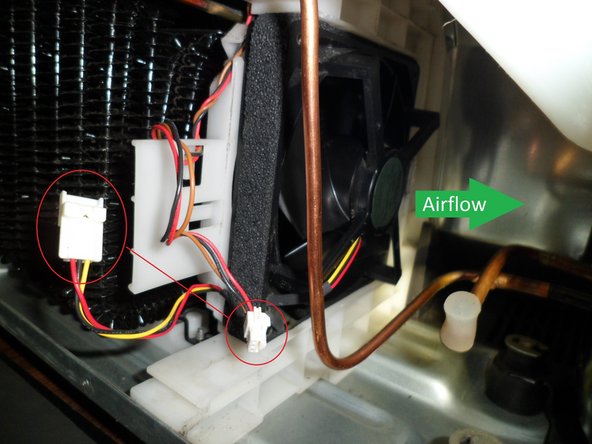
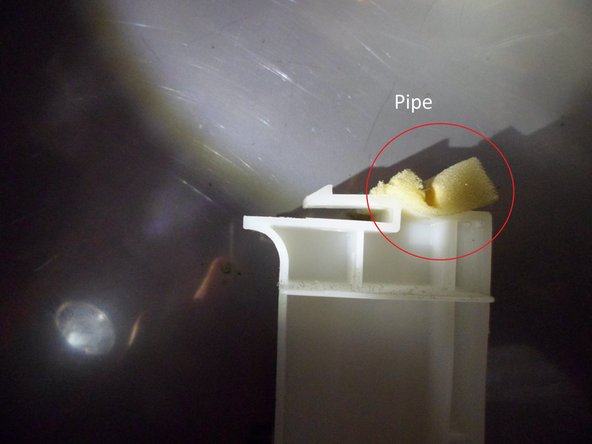
The direction of the fan, just slide it in, watch the wires and the gaspipe. Then put in the white part as shown on the second picture, the pipe lays in that foam. ja.
-
-
Dieser Schritt ist noch nicht übersetzt. Hilf mit, ihn zu übersetzen!
-
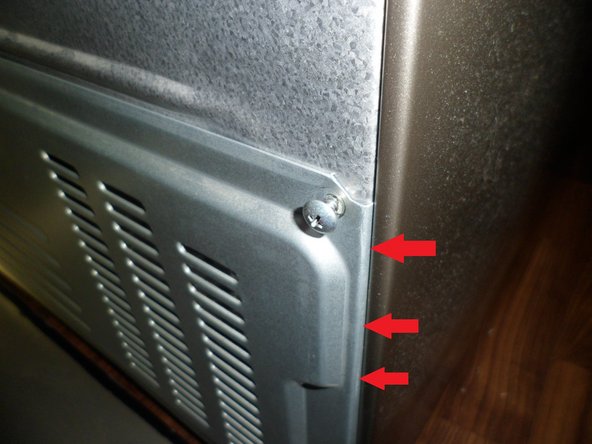
So you can close the plate, look where I made the red arrows, that has to fit in the crack on the side, also take care at the waterhose.
-
So revolve the scrtews like shown in Step#2
-


Rückgängig: Ich habe diese Anleitung nicht absolviert.
4 weitere Nutzer:innen haben diese Anleitung absolviert.
