Einleitung
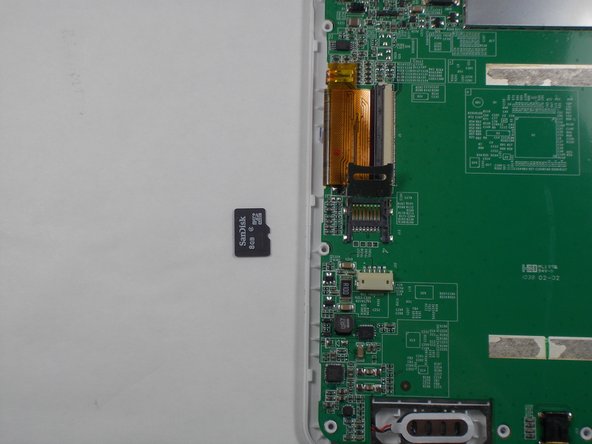
You should try to replace the SD card if you want to get more memory. Also, you should try this if you are experiencing any problems with things not being saved correctly, as it could be the result of a faulty SD card.
Was du brauchst
-
-
Remove the two white panels on the back of the device, starting with the bottom one by pushing in and down.
-
Then, to remove the top white piece, use the plastic opening tool to start in the middle and remove the clips, working your way around.
-
-
-
-
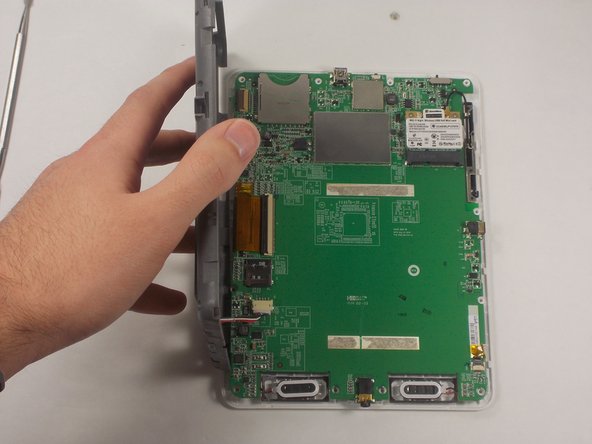
Pry the gray piece off of the motherboard.
-
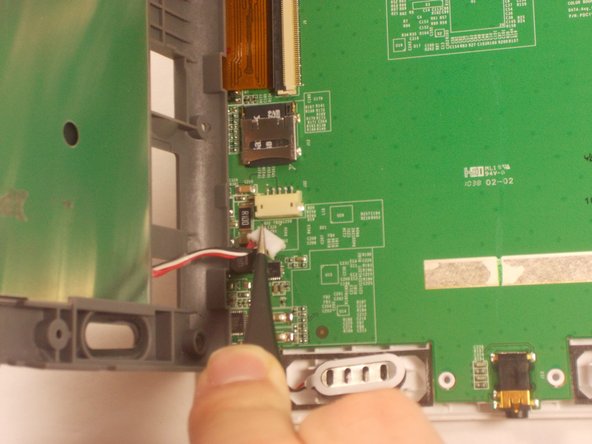
Make sure the unplug the battery before you fully separate the gray piece.
-


To reassemble your device, follow these instructions in reverse order.
To reassemble your device, follow these instructions in reverse order.
Rückgängig: Ich habe diese Anleitung nicht absolviert.
Eine weitere Person hat diese Anleitung absolviert.
Team

UMass Dartmouth, Team 3-7, Isaacson Fall 2016 Mitglied von UMass Dartmouth, Team 3-7, Isaacson Fall 2016
UMASSD-ISAACSON-F16S3G7
3 Mitglieder
10 Anleitungen geschrieben