Einleitung
This guide will show you how to replace buttons on the front of a Parrot Flypad if they have stopped working. Follow the instructions carefully to successfully replace the front buttons.
Was du brauchst
-
-
Position the controller so the back is facing up.
-
Use a T6 screwdriver to remove the six screws on the back of the controller: four 0.9 mm screws and two 0.1 mm screws.
-
-
-
-
Remove the foam adhesive that connects the front plate to the motherboard
-
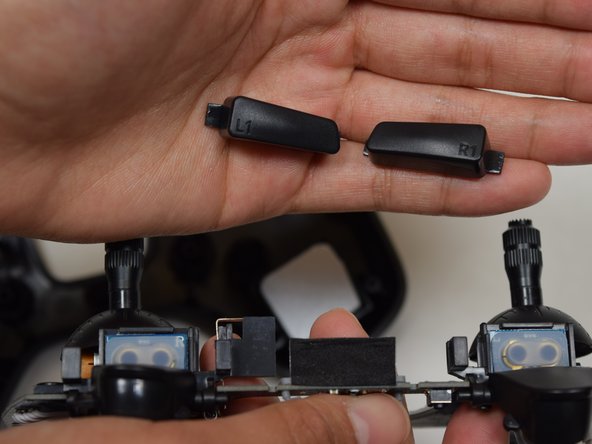
Use a Phillips #0 screwdriver to remove the two 0.7 mm screws.
-
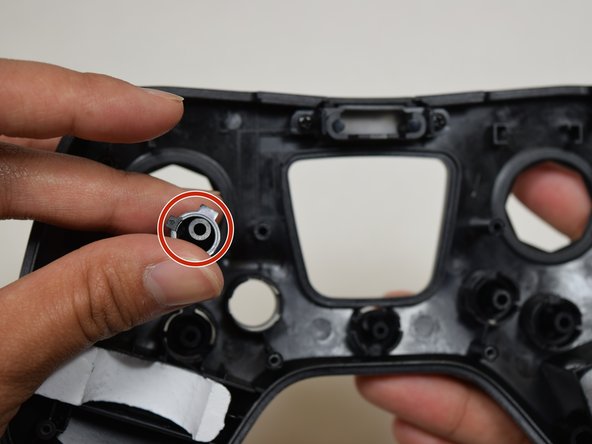
Remove the motherboard from the front plate.
-


To reassemble your device, follow these instructions in reverse order.
To reassemble your device, follow these instructions in reverse order.
Rückgängig: Ich habe diese Anleitung nicht absolviert.
2 weitere Nutzer:innen haben diese Anleitung absolviert.
Team

UW Tacoma, Team S3-G5, Liner Spring 2017 Mitglied von UW Tacoma, Team S3-G5, Liner Spring 2017
UWT-LINER-S17S3G5
5 Mitglieder
3 Anleitungen geschrieben