Diese Version enthält möglicherweise inkorrekte Änderungen. Wechsle zur letzten geprüften Version.
Was du brauchst
-
Dieser Schritt ist noch nicht übersetzt. Hilf mit, ihn zu übersetzen!
-
Remove all four 1 mm JIS #00 screws from the back of the camera.
-
-
Dieser Schritt ist noch nicht übersetzt. Hilf mit, ihn zu übersetzen!
-
Use your finger to peel the grip off the top of the camera.
-
For best results, start from the right side of the camera, opposite the buttons.
-
-
Dieser Schritt ist noch nicht übersetzt. Hilf mit, ihn zu übersetzen!
-
Use the tweezers to remove the two buttons from the top of the camera.
-
-
-
Dieser Schritt ist noch nicht übersetzt. Hilf mit, ihn zu übersetzen!
-
Remove the three 1 mm JIS #000 screws from the top.
-
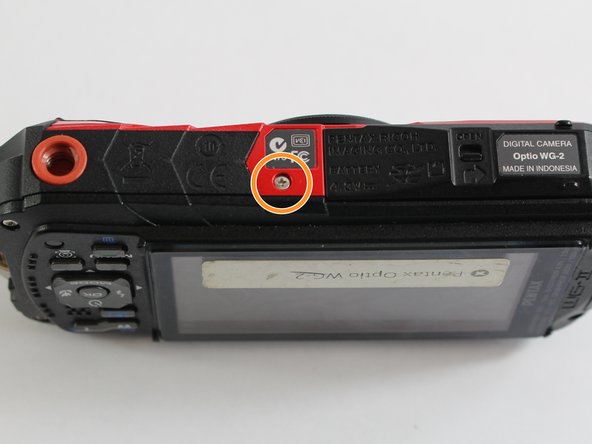
Remove the 1 mm JIS #000 screw from the bottom.
-
-
Dieser Schritt ist noch nicht übersetzt. Hilf mit, ihn zu übersetzen!
-
Carefully separate the back and the front of the camera.
-
-
Dieser Schritt ist noch nicht übersetzt. Hilf mit, ihn zu übersetzen!
-
Use the tip of a spudger to flip up the small retaining flaps on the ribbon cable ZIF connectors.
-
Carefully pull the ribbon cables out of their sockets.
-
-
Dieser Schritt ist noch nicht übersetzt. Hilf mit, ihn zu übersetzen!
-
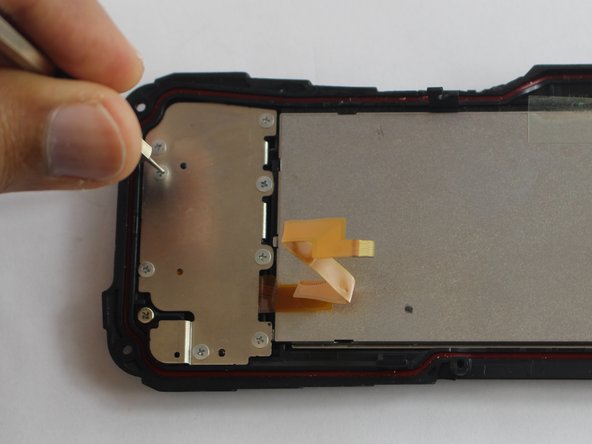
Remove the eight JS#000 screws using a screwdriver and lift panel up.
-
This screw does not need to be removed.
-
-
Dieser Schritt ist noch nicht übersetzt. Hilf mit, ihn zu übersetzen!
-
Once panel is removed the button 'sheet' can be removed.
-


