Einleitung
This guide will show you how to remove and replace the speaker inside your Philips TAS7505 Bluetooth Speaker. Please be aware that through disassembly we have determined that this speaker was most likely not designed to be repairable. Exercise patience and caution when removing exterior features.
Was du brauchst
-
-
Using the opening tool, remove the rubber padding from the bottom of the speaker.
-
-
-
Using the Philips screwdriver head #0, remove all four screws holding the plastic plate in place.
-
Use the same opening tool from the previous step to remove the plastic plate.
-
-
-
Now that you have removed this cover, there is another cover. This cover has a total of 9 screws that can be removed with the Philips 0-bit screwdriver bit.
-
Once all these screws are removed, you can take off the cover
-
-
-
-
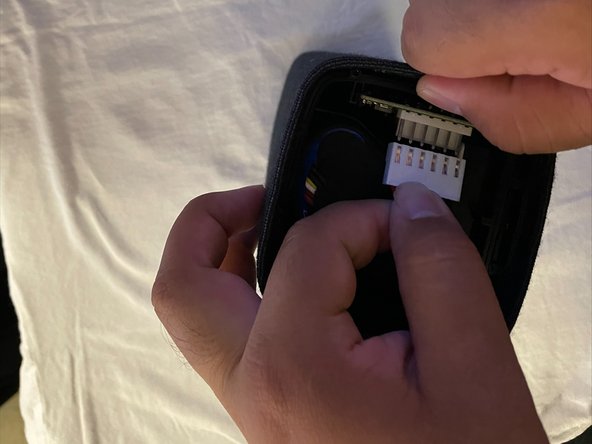
Squeeze the white connector on the bottom to release a clip that is hidden from sight. This will allow it to be wiggled free.
-
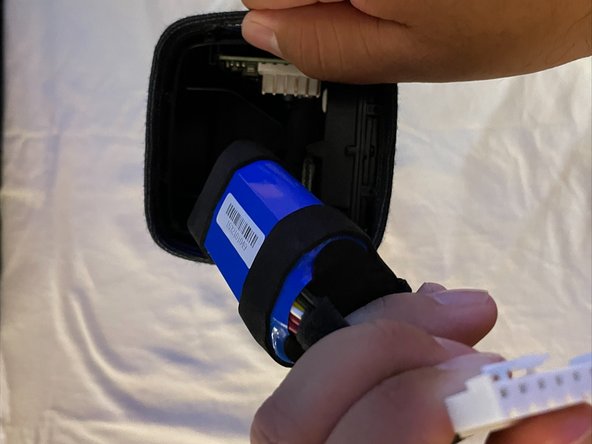
Remove the battery from the speaker by disconnecting the white connector from the motherboard.
-
-
-
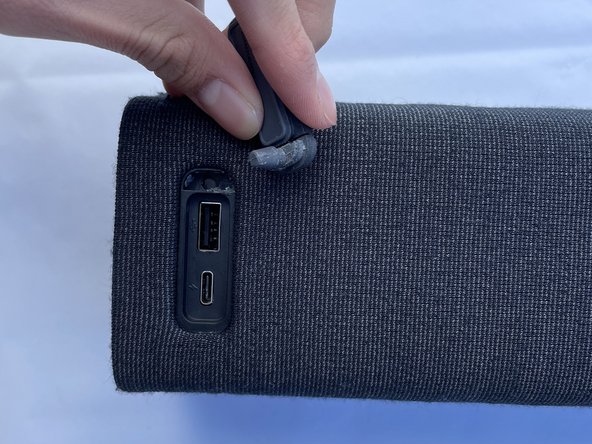
Find the rubber flap that covers the USB-A and USB-C port
-
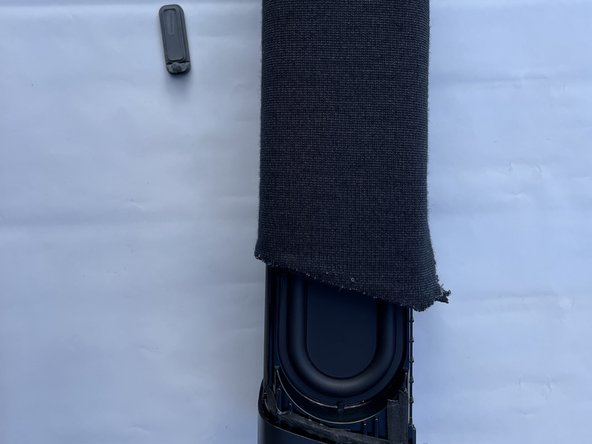
Pull on the rubber flap, it should come out whole as shown in the second image
-
Once taken out the rubber flap, pull the interior of the speaker
-
-
-
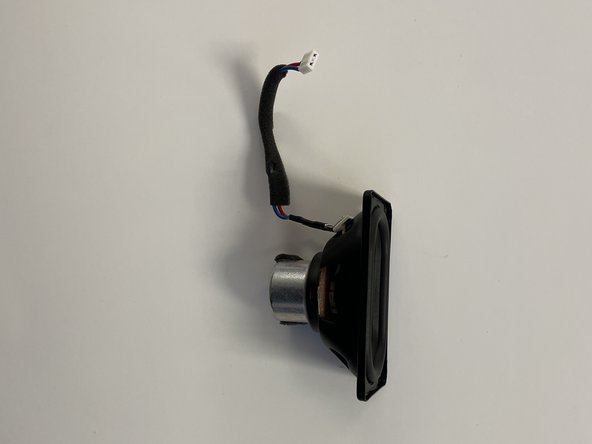
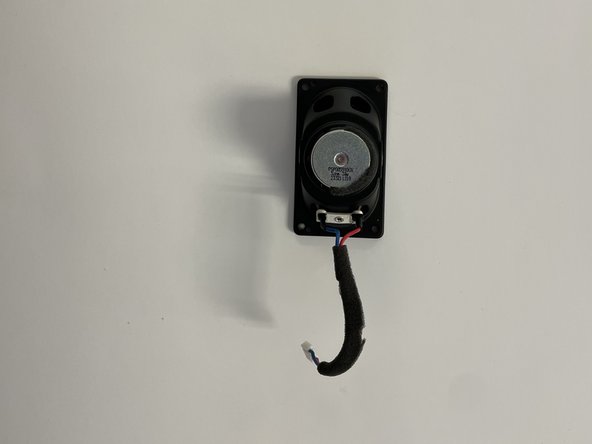
Once you have the speaker body out, unscrew the four screws holding the speaker down
-
Use Philips screwdriver head #0
-
-
-
Pull the motherboard out then disconnect the white connector of the speaker by wiggling it back and forth.
-
See the motherboard repair guide for more in-depth instructions on this part
-


To reassemble your device, follow these instructions in reverse order.
To reassemble your device, follow these instructions in reverse order.

Team

CSU Los Angeles, Team 5-2, Adachi Fall 2022 Mitglied von CSU Los Angeles, Team 5-2, Adachi Fall 2022
CSULA-ADACHI-F22S5G2
5 Mitglieder
5 Anleitungen geschrieben