Einleitung
Does the audio coming from your device sound rough? Does your device not emit any audio and you've ruled out the battery or the volume as the cause? Then the speaker may be the problem. This guide goes through the steps necessary to remove the speaker from your Photive Rain device so you can replace the speaker.
Was du brauchst
-
-
Remove the four 8.5 mm screws from the back panel of the speaker by using the Phillips #1 Screwdriver.
-
Remove back panel
-
-
-
-
Detach the connector clips from the motherboard using the iFixit Opening Tool.
-
Some force may be necessary to remove the plastic clips.
-
-
-
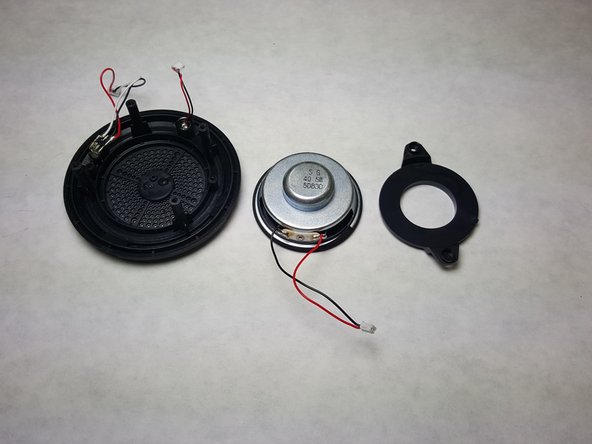
After the speaker is detached, remove the two 8.5mm screws that hold the speaker to the front panel with a Phillips #1 screwdriver.
-


To reassemble your device, follow these instructions in reverse order.
To reassemble your device, follow these instructions in reverse order.
Rückgängig: Ich habe diese Anleitung nicht absolviert.
2 weitere Personen haben diese Anleitung absolviert.
Team

IUPUI, Team 1-4, Harley Spring 2016 Mitglied von IUPUI, Team 1-4, Harley Spring 2016
IUPUI-HARLEY-S16S1G4
3 Mitglieder
4 Anleitungen geschrieben