Einleitung
If the USB-C charging port of your Pine64 PinePhone loses its functionality, you can replace it by using this guide. Charging ports can become damaged from everyday use or obstructions pushed further into the device by the charging cord, but are easily fixed following this guide.
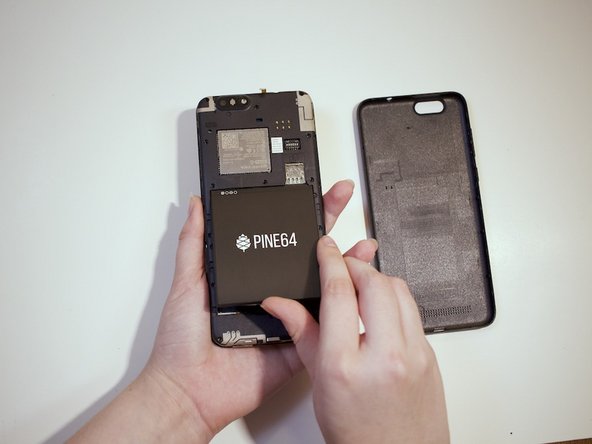
Before beginning, inspect the inside of the port and remove any debris inside. If the phone still refuses to charge, or only charges at certain angles, proceed.
Was du brauchst
-
-
-
Using a Phillips #000 screwdriver, remove each of the screws around the perimeter of the PinePhone.
-
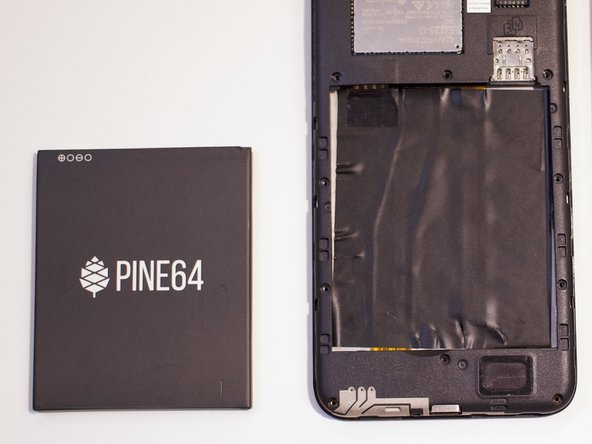
Remove the battery.
-


To reassemble your device, follow these instructions in reverse order.
To reassemble your device, follow these instructions in reverse order.
Rückgängig: Ich habe diese Anleitung nicht absolviert.
2 weitere Personen haben diese Anleitung absolviert.

Team

Western Carolina University, Team 1-2, Virtue Fall 2021 Mitglied von Western Carolina University, Team 1-2, Virtue Fall 2021
WCU-VIRTUE-F21S1G2
4 Mitglieder
2 Anleitungen geschrieben