Einleitung
If you are looking to replace the back panel of your Pioneer A1 XW-SMA1-K, here is your replacement guide.
Was du brauchst
-
-
Use a Phillips #1 screwdriver to remove the thirteen 12 mm screws in the speaker frame.
-
Remove the speaker frame by pulling vertically upwards revealing the motherboard.
-
-
-
-
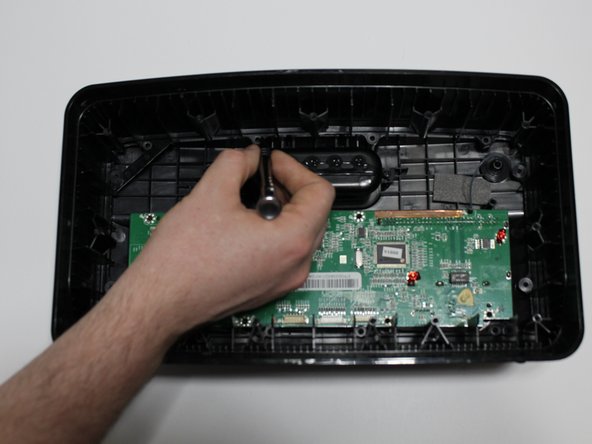
Use a Phillips #1 screwdriver to remove the twelve 12 mm screws from the middle frame.
-
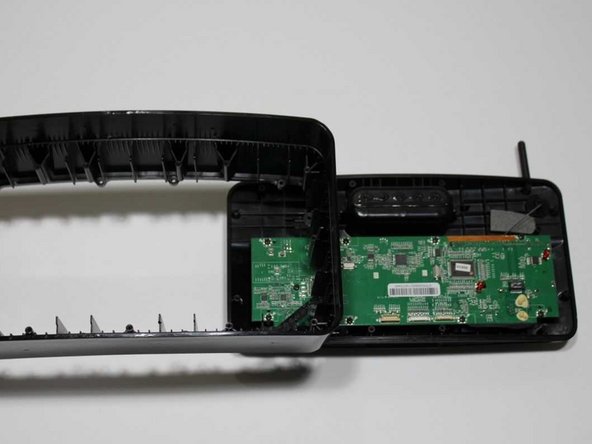
Remove the middle frame by pulling upward and vertically.
-
-
-
Use the Phillips #1 screwdriver to remove the nine 12 mm screws from the motherboard.
-
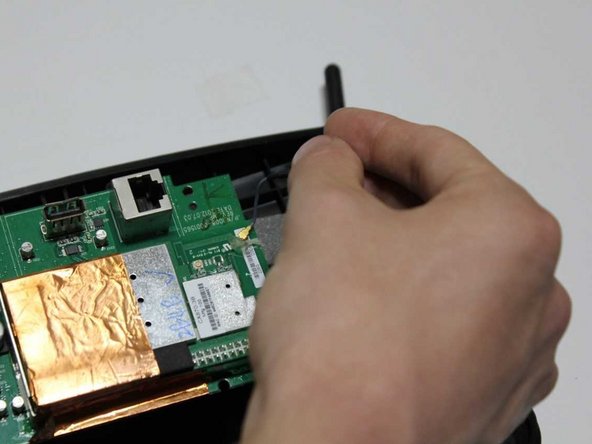
Flip the motherboard over.
-
Remove the motherboard by detaching the antenna.
-


To reassemble your device, follow these instructions in reverse order.
To reassemble your device, follow these instructions in reverse order.
Rückgängig: Ich habe diese Anleitung nicht absolviert.
Ein:e weitere:r Nutzer:in hat diese Anleitung absolviert.
Team

Carson-Newman University, Team S1-G2, Sobiech Spring 2019 Mitglied von Carson-Newman University, Team S1-G2, Sobiech Spring 2019
CNU-SOBIECH-S19S1G2
5 Mitglieder
5 Anleitungen geschrieben