Zum Hauptinhalt wechseln

Planet Eclipse Etha Bolt O-rings Replacement

Was du brauchst

  1. Planet Eclipse Etha Bolt O-rings Replacement, Bolt O-rings: Schritt 1, Bild 1 von 3 Planet Eclipse Etha Bolt O-rings Replacement, Bolt O-rings: Schritt 1, Bild 2 von 3 Planet Eclipse Etha Bolt O-rings Replacement, Bolt O-rings: Schritt 1, Bild 3 von 3
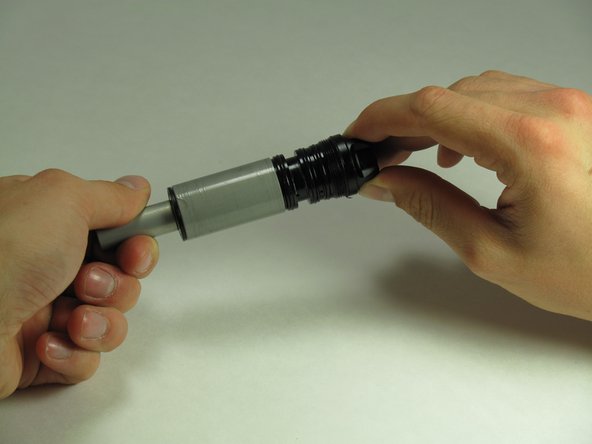
    • Using the 1/4" hex key, turn the bolt counterclockwise and remove.

  2. Planet Eclipse Etha Bolt O-rings Replacement: Schritt 2, Bild 1 von 2 Planet Eclipse Etha Bolt O-rings Replacement: Schritt 2, Bild 2 von 2
    • Slide the bolt tip and spring off of the main assembly.

    • Keep a towel handy, you may get some grease on your hands.

  3. Planet Eclipse Etha Bolt O-rings Replacement: Schritt 3, Bild 1 von 3 Planet Eclipse Etha Bolt O-rings Replacement: Schritt 3, Bild 2 von 3 Planet Eclipse Etha Bolt O-rings Replacement: Schritt 3, Bild 3 von 3
    • Unscrew the casing from the rest of the bolt.

    • Again, you may get some grease on your hands during this step.

  4. Planet Eclipse Etha Bolt O-rings Replacement: Schritt 4, Bild 1 von 3 Planet Eclipse Etha Bolt O-rings Replacement: Schritt 4, Bild 2 von 3 Planet Eclipse Etha Bolt O-rings Replacement: Schritt 4, Bild 3 von 3
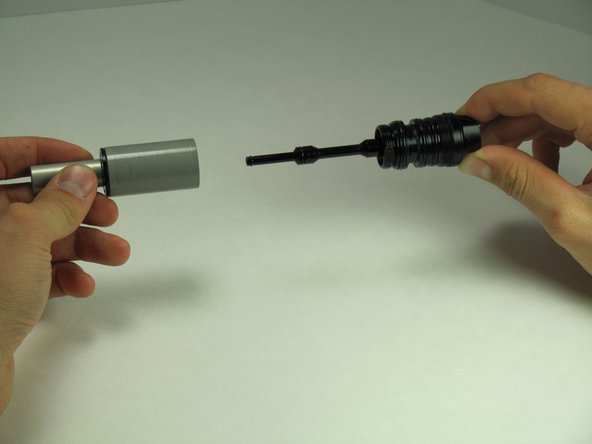
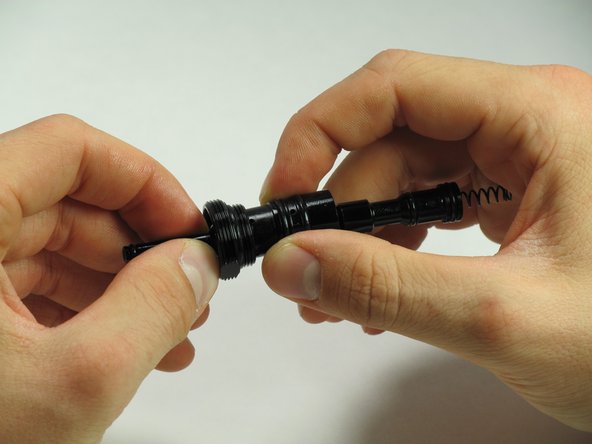
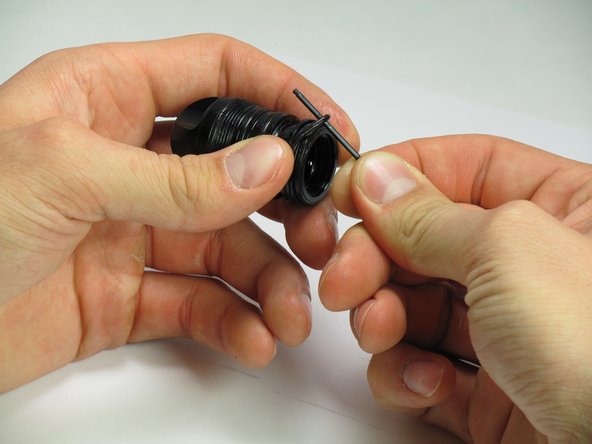
    • Grab the flat surface shown.

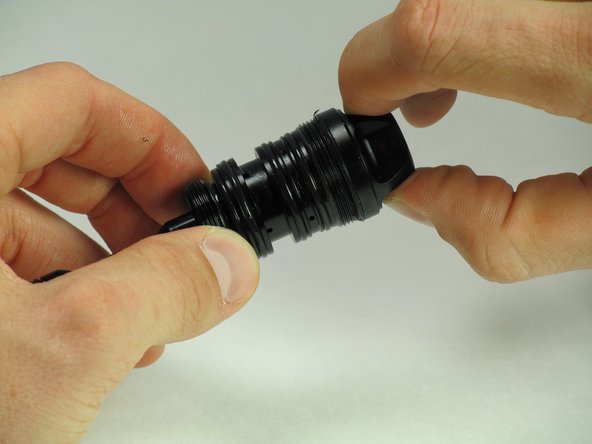
    • Unscrew this portion counter clockwise to remove it.

    • If you're having trouble unscrewing the part, try using a small wrench.

  5. Planet Eclipse Etha Bolt O-rings Replacement: Schritt 5, Bild 1 von 2 Planet Eclipse Etha Bolt O-rings Replacement: Schritt 5, Bild 2 von 2
    • Grab the threaded cover and slide it away from the spring.

    • The bolt should now be in three pieces.

    • The threaded cover is the same part that you unscrewed in the last step.

  6. Planet Eclipse Etha Bolt O-rings Replacement: Schritt 6, Bild 1 von 3 Planet Eclipse Etha Bolt O-rings Replacement: Schritt 6, Bild 2 von 3 Planet Eclipse Etha Bolt O-rings Replacement: Schritt 6, Bild 3 von 3
    • Replace and lubricate the 9 marked O-rings.

    • O-ring removal will be explained in the next step.

  7. Planet Eclipse Etha Bolt O-rings Replacement: Schritt 7, Bild 1 von 3 Planet Eclipse Etha Bolt O-rings Replacement: Schritt 7, Bild 2 von 3 Planet Eclipse Etha Bolt O-rings Replacement: Schritt 7, Bild 3 von 3
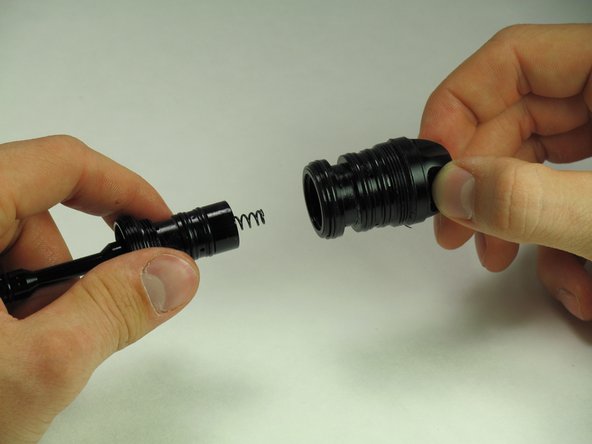
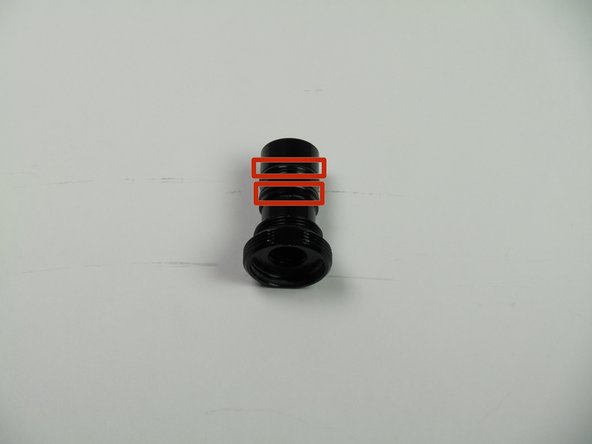
    • Grab the O-ring on the sides.

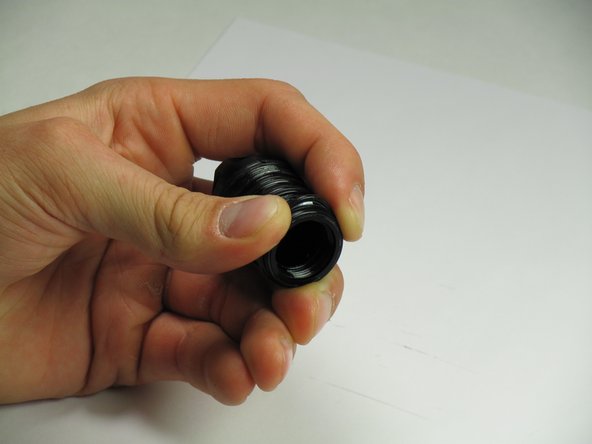
    • Pinch the O-ring upwards to create a gap between the metal and the ring.

    • Use a small object to slip into the loop and pull the O-ring off gently.

    • We recommend using a small Allen Key for this.

Abschluss

To reassemble your device, follow these instructions in reverse order.

Ein:e weitere:r Nutzer:in hat diese Anleitung absolviert.

nicholasj6

Mitglied seit: 10/14/14

261 Reputation

2 Anleitungen geschrieben

Team

Cal Poly, Team 10-42, Amido Fall 2014 Mitglied von Cal Poly, Team 10-42, Amido Fall 2014

CPSU-AMIDO-F14S10G42

5 Mitglieder

7 Anleitungen geschrieben

0 Kommentare

Kommentar hinzufügen

Seitenaufrufe:

Letzte 24 Stunden: 0

Letzte 7 Tage: 1

Letzte 30 Tage: 6

Insgesamt: 2,124