Diese Version enthält möglicherweise inkorrekte Änderungen. Wechsle zur letzten geprüften Version.
Was du brauchst
-
Dieser Schritt ist noch nicht übersetzt. Hilf mit, ihn zu übersetzen!
-
Remove the rubber screw cover near the hard drive cover with a spudger.
-
-
Dieser Schritt ist noch nicht übersetzt. Hilf mit, ihn zu übersetzen!
-
Remove the screw holding the top cover in place with a Torx T10 screwdriver.
-
-
Dieser Schritt ist noch nicht übersetzt. Hilf mit, ihn zu übersetzen!
-
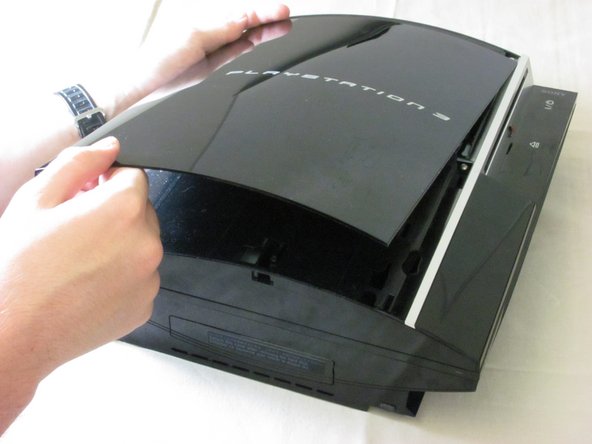
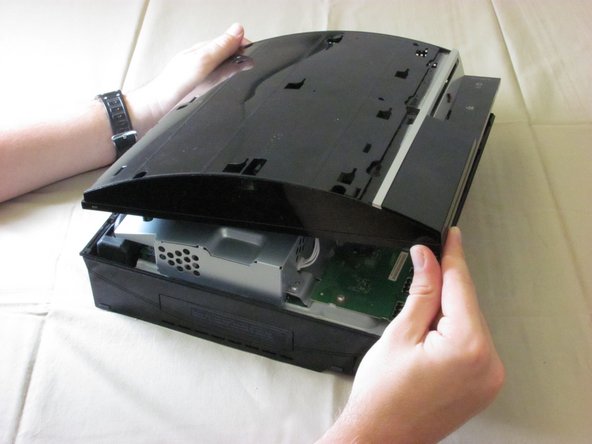
Slide the top cover down about half an inch.
-
Lift the cover off of the PS3.
-
-
Dieser Schritt ist noch nicht übersetzt. Hilf mit, ihn zu übersetzen!
-
Remove the seven screws in the top cover with a Phillips #2 screwdriver.
-
-
Dieser Schritt ist noch nicht übersetzt. Hilf mit, ihn zu übersetzen!
-
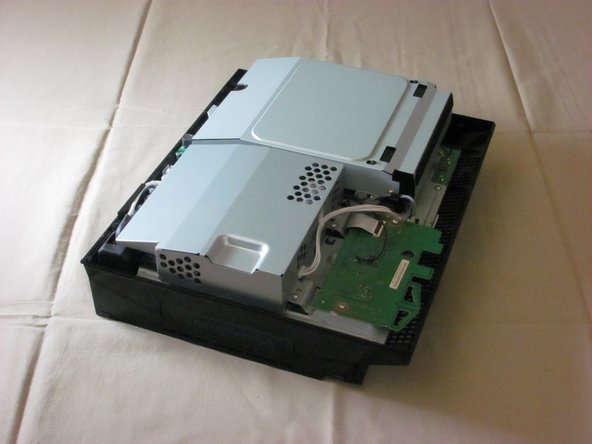
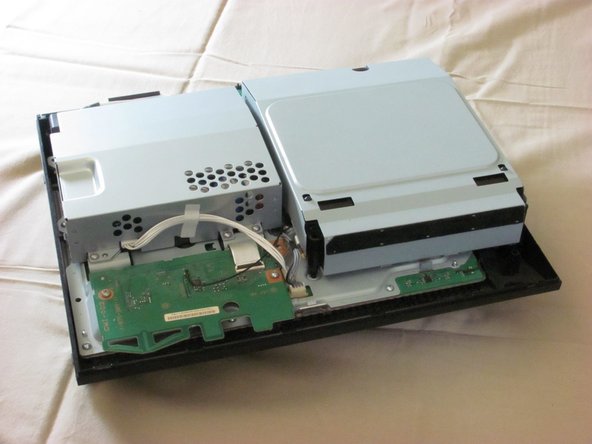
You can now lift off the top cover.
-
-
-
Dieser Schritt ist noch nicht übersetzt. Hilf mit, ihn zu übersetzen!
-
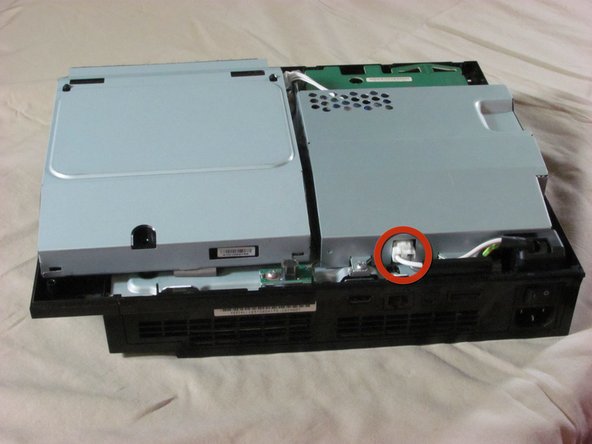
Unplug the white wires connected to the wireless board. There are two sets of wires: one set in the front, one in the back.
-
Remove the two screws on the front of the power supply.
-
-
Dieser Schritt ist noch nicht übersetzt. Hilf mit, ihn zu übersetzen!
-
Remove the screws on the back of the power supply with a Phillips #2 screwdriver.
-
-
Dieser Schritt ist noch nicht übersetzt. Hilf mit, ihn zu übersetzen!
-
Remove the power supply by lifting it straight up.
-
-
Dieser Schritt ist noch nicht übersetzt. Hilf mit, ihn zu übersetzen!
-
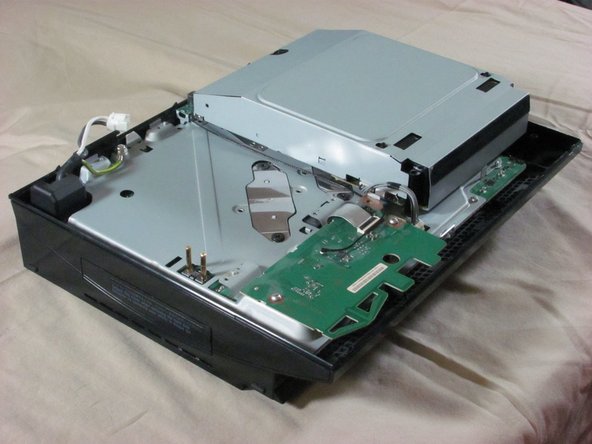
Unplug the optical drive power cable.
-
Detach the ribbon cable that connects the optical drive to the motherboard.
-
Set the optical drive aside.
-
-
Dieser Schritt ist noch nicht übersetzt. Hilf mit, ihn zu übersetzen!
-
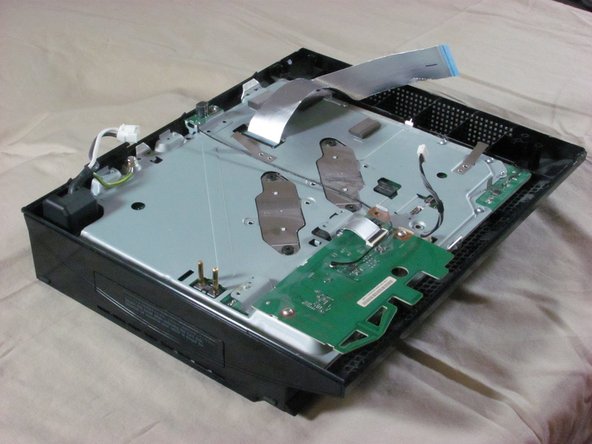
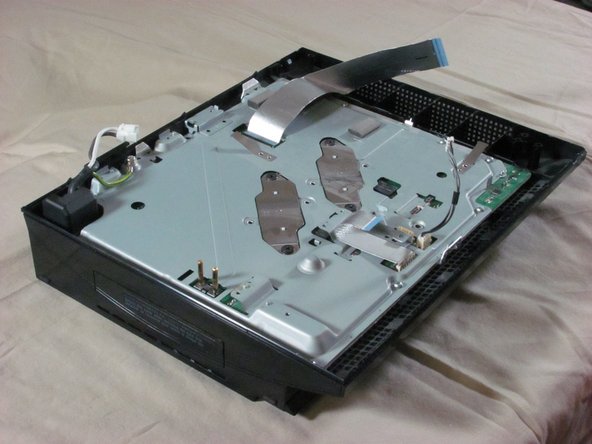
Remove three screws (Phillips #2) from the wireless board and antenna.
-
Detach the ribbon cable that connects the wireless board to the motherboard.
-
-
Dieser Schritt ist noch nicht übersetzt. Hilf mit, ihn zu übersetzen!
-
Remove nine screws (Phillips #2) from the perimeter of the metal plate covering the motherboard.
-
-
Dieser Schritt ist noch nicht übersetzt. Hilf mit, ihn zu übersetzen!
-
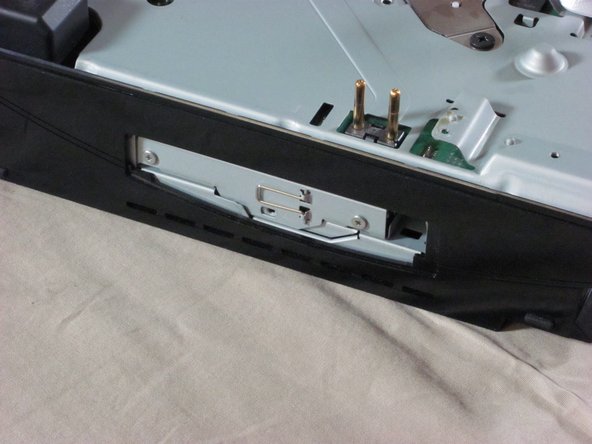
Remove the hard drive door with a spudger.
-
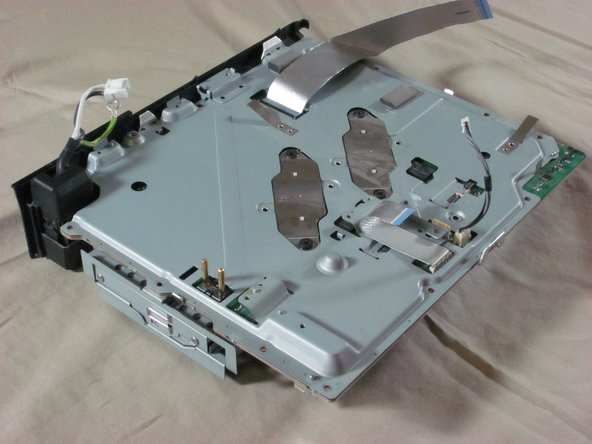
Lift the metal enclosure out of the plastic bottom case.
-
-
Dieser Schritt ist noch nicht übersetzt. Hilf mit, ihn zu übersetzen!
-
Remove the three screws (Phillips #2).
-
Disconnect the fan's power cable.
-
Lift the fan straight up and out.
-
Rückgängig: Ich habe diese Anleitung nicht absolviert.
Ein:e weitere:r Nutzer:in hat diese Anleitung absolviert.


