Einleitung
Use this guide to replace the power button for the Sony PlayStation Classic (PS Classic).
The PS Classic is a recent remodel of the Sony PlayStation One (PS1) that was first launched in 1994. Both consoles are visually the same with differences in size dimensions, cord/power attachments, and functionality.
The PS Classic is 45% smaller than the PS1 and preloaded with 20 popular games titles such as Final Fantasy VII and Grand Theft Auto. There is no disk drive for this console, as the “Open” button serves as an internal change for titles that originally shipped on multiple disks. The only playable games are the ones preloaded on the console. Unlike the original PS1, the PS Classic is powered through a micro USB port and shipped with with two wired USB controllers and a HDMI cord.
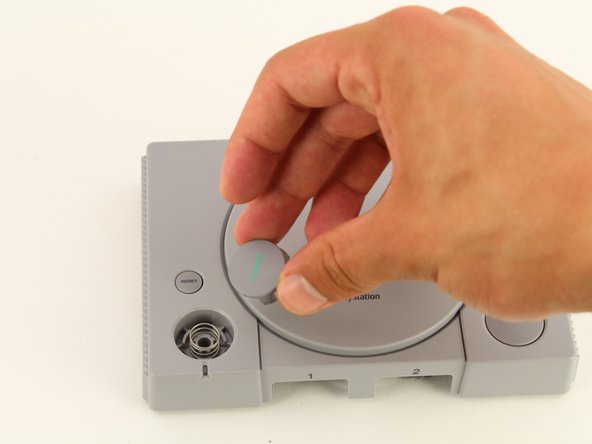
The “Power” button functions to turn the console on and off. This guide will show you how to change and replace the power button as needed.
Was du brauchst
-
-
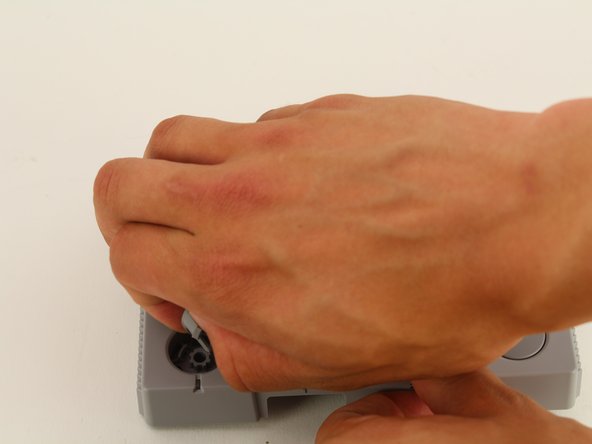
Remove the back plate from the rest of the console using your hands or the Jimmy tool.
-
-
-
-
Carefully remove the motherboard from the the rest of the console using your hands or the Jimmy tool.
-
-
-
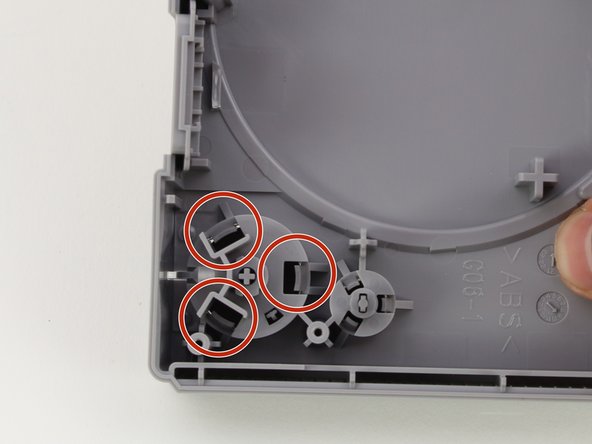
After removing the motherboard, position the casing so that the back of the power button is visible.
-
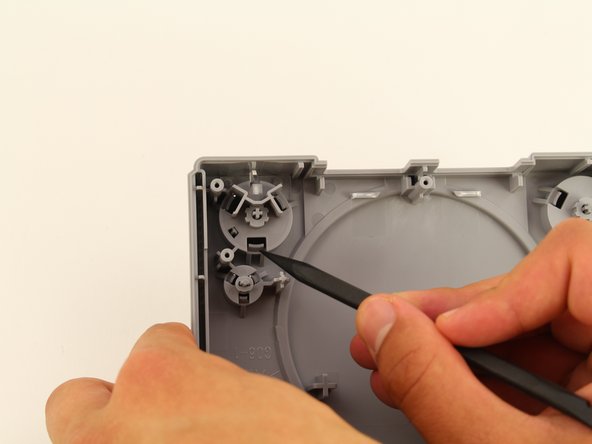
Use a spudger to apply pressure inward on the three plastic clips.
-


To reassemble your device, follow these instructions in reverse order.
To reassemble your device, follow these instructions in reverse order.
Rückgängig: Ich habe diese Anleitung nicht absolviert.
Ein:e weitere:r Nutzer:in hat diese Anleitung absolviert.
Team

Cal Poly, Team S2-G8, Maness Spring 2019 Mitglied von Cal Poly, Team S2-G8, Maness Spring 2019
CPSU-MANESS-S19S2G8
2 Mitglieder
22 Anleitungen geschrieben