Einleitung
Motherboards can be damaged when there is injury to the device or even during a power surge. When either occurs, this often results in a computer that will not power on or respond. This guide shows how to replace a defective motherboard in a Poin2 Chromebook 11.
Was du brauchst
-
-
Power down the Poin2 Chrombook 11 and disconnect the power adapter.
-
Close the Chromebook and position it with the base facing up.
-
Use a #0 Phillips screwdriver to unscrew the ten 7mm screws that hold the base to the rest of the frame
-
-
-
Insert a 1cm-wide plastic opening tool between the base and top frame.
-
Pry (up and down) around the entire border of the Chromebook to separate.
-
Use your hands to gently lift the base away from the frame.
-
-
-
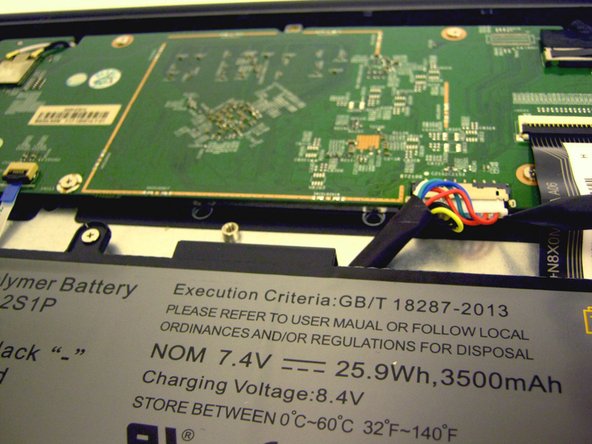
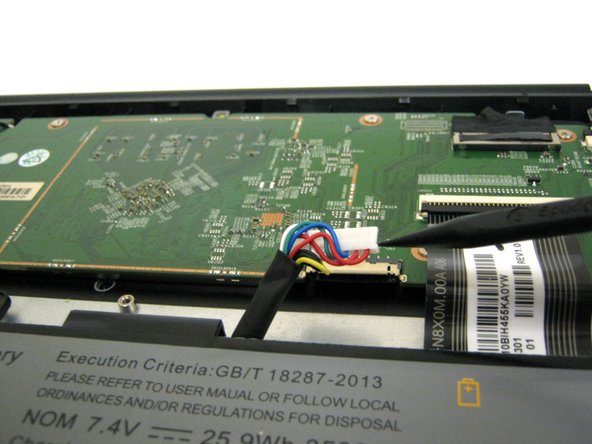
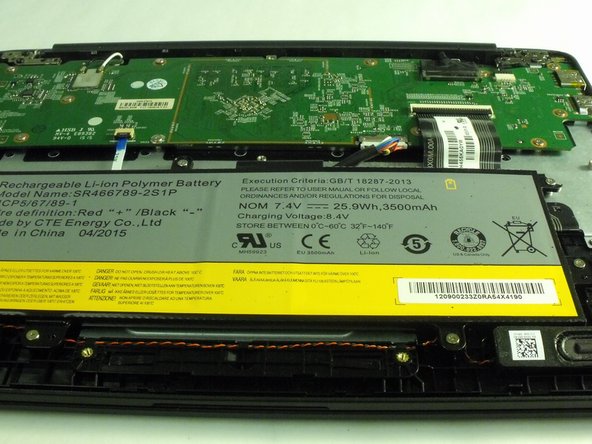
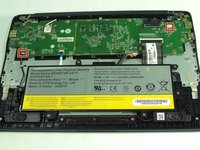
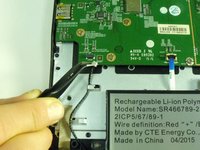
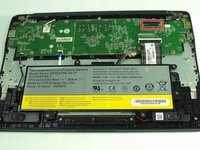
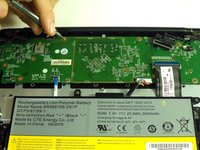
Unplug the white 8-wire battery connector using a spudger to push the two L-shaped clips out of the socket.
-
-
-
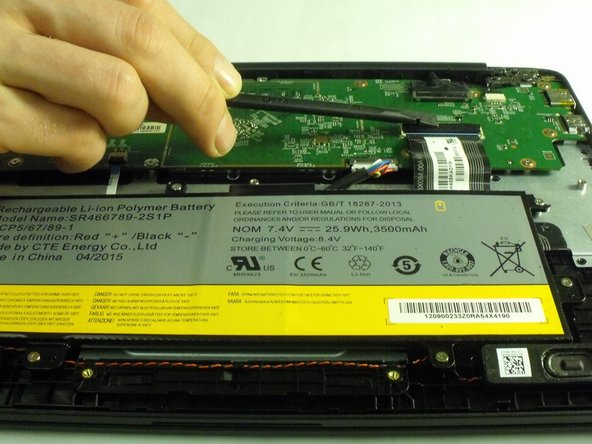
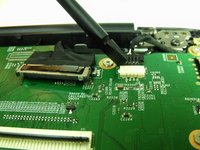
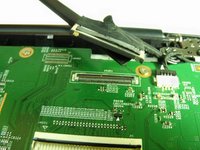
Use a spudger (or fingertips) to flip up the plastic clamps that hold down the two ribbon cables connected to the motherboard.
-
Pull the cables from their sockets.
-
-
-
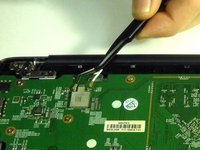
In diesem Schritt verwendetes Werkzeug:Tweezers$4.99
-
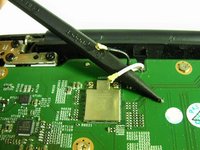
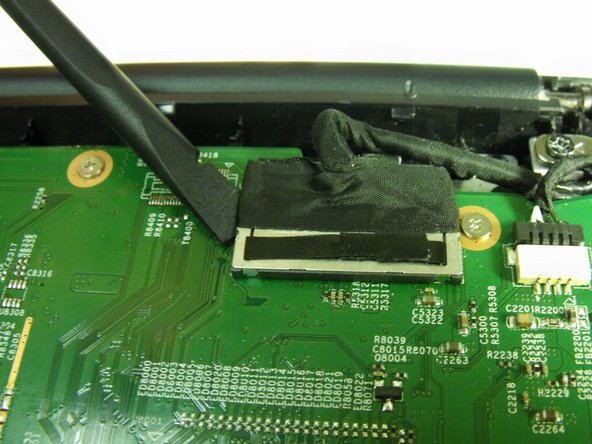
Disconnect the coaxial connectors from the motherboard using tweezers (or a spudger) to "snap" off the connectors from their sockets.
-
-
-
Disconnect the speaker and charging port cables by pulling the connectors out of their sockets.
-
-
-
Use a #000 Phillips screwdriver and remove the twelve 4mm screws that hold the motherboard.
-
-
-
Use a plastic opening tool and pry around the edges of the motherboard to release.
-


To reassemble your device, follow these instructions in reverse order.
To reassemble your device, follow these instructions in reverse order.
Rückgängig: Ich habe diese Anleitung nicht absolviert.
Eine weitere Person hat diese Anleitung absolviert.

Team

Portland State University, Team S4-G4, Romaine Spring 2018 Mitglied von Portland State University, Team S4-G4, Romaine Spring 2018
PSUN-ROMAINE-S18S4G4
1 Mitglied
4 Anleitungen geschrieben