Einleitung
If the V800 barometer/altimeter measurement starts to behave erratically you can start by following Polar recommendations: calibration, watch restart, watch cleaning, sensor entry cleaning (see https://www.youtube.com/watch?v=pZslSi8h...), contact the polar support team (they may provide you with a 30% discount for a new watch that could be useful if you destroy the V800 :-).
If these steps do not solve the problem and in particular if:
- You get a watch freeze (only a restart of the watch solves it) when you try a calibration
- No altitude displayed
then the barometer sensor may be out of service.
Beware, it is not an easy fix, you can make your watch unusable.
-
-
Disassemble the bracelet and open the watch (refer to the tutorial on replacing the motherboard Polar V800 Motherboard Replacement)
-
-
-
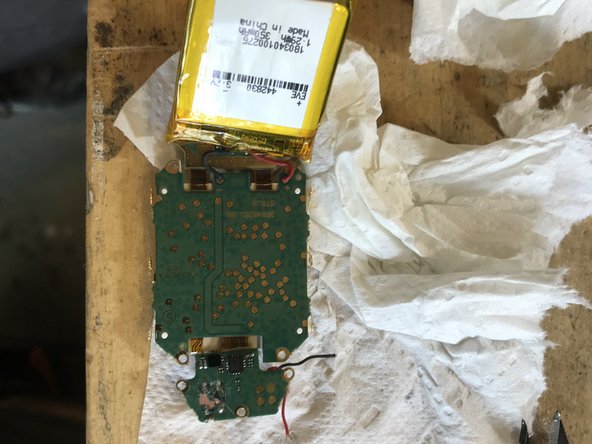
Disassemble the mother board (refer to Polar V800 Motherboard Replacement)
-
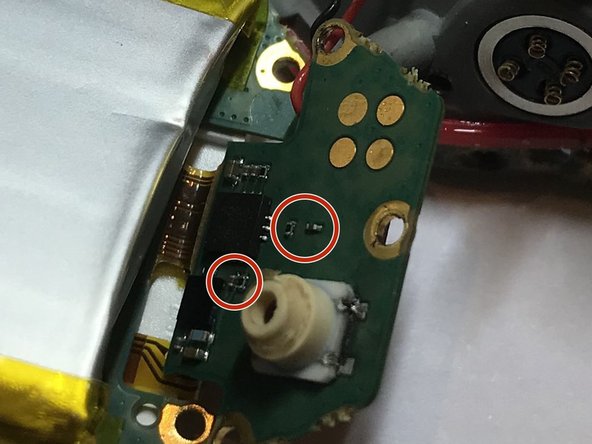
The barometer is visible inside the red circle on the photo
-
-
-
-
Using a small flat screwdriver or pliers, remove the red seal around the barometric sensor.
-
The sensor is strongly glued and welded on the mother board. Beware of the micro components positioned nearby, avoid taking support on them when removing the seal.
-
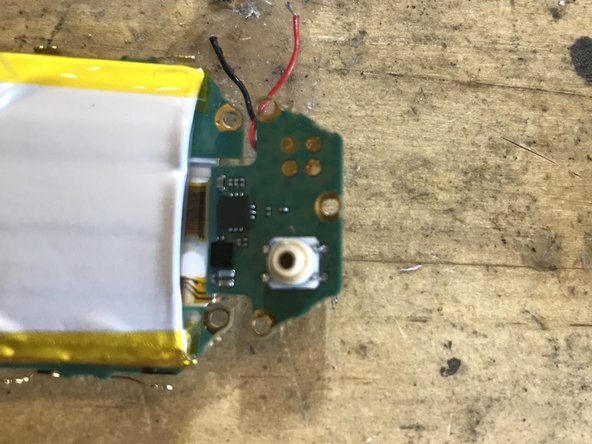
Unsolder or cut short the black/red wires soldered on the casing.
-
-
-
A blue dot allows the good position/orientation of the component. Take note of the position of this dot prior removing the faulty component.
-
Component ref MS580502BA01-50
-
-
-
With a 350°C soldering iron and a desoldering wick remove as much solder as possible. Then try to remove the component with angled pliers
-
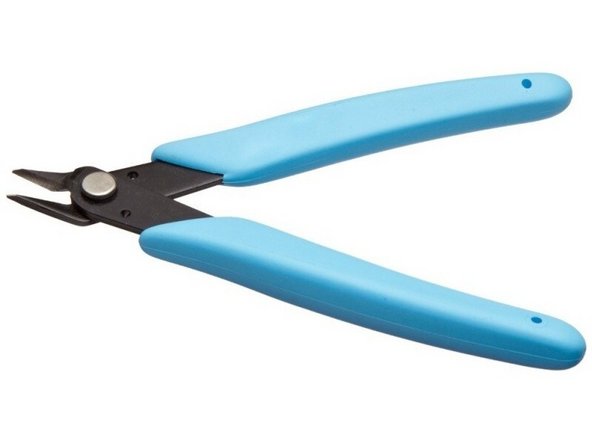
It is likely that the component wont come out (solder below it + component glued to the board). The only solution that I've found was to cut to pieces the component with mini cutting pliers.
-
The target is to get a somewhat clean and flat surface where to put the new component while keeping the soldering pads and without destroying nearbie components. That is the most complex operation.
-
-
-
Put a VERY SMALL drop of glue (no cyanoacrylate, use a glue that solidifies slower like epoxy so that you can correct misplacement of the component) in the component placement area and put it in there (take care to place the component so that the blue dot is at the right position!)
-
Solder the 4 contacts with a thin head soldering iron. The use of flux will probably help since the solders are very small.
-





Follow instruction in reverse order to assemble the device. Do not forget to resolder the black/red wires to the casing.
Follow instruction in reverse order to assemble the device. Do not forget to resolder the black/red wires to the casing.
Besonderer Dank geht an diese Übersetzer:innen:
100%


Diese Übersetzer:innen helfen uns, die Welt zu reparieren! Wie kann ich mithelfen?
Hier starten ›



